
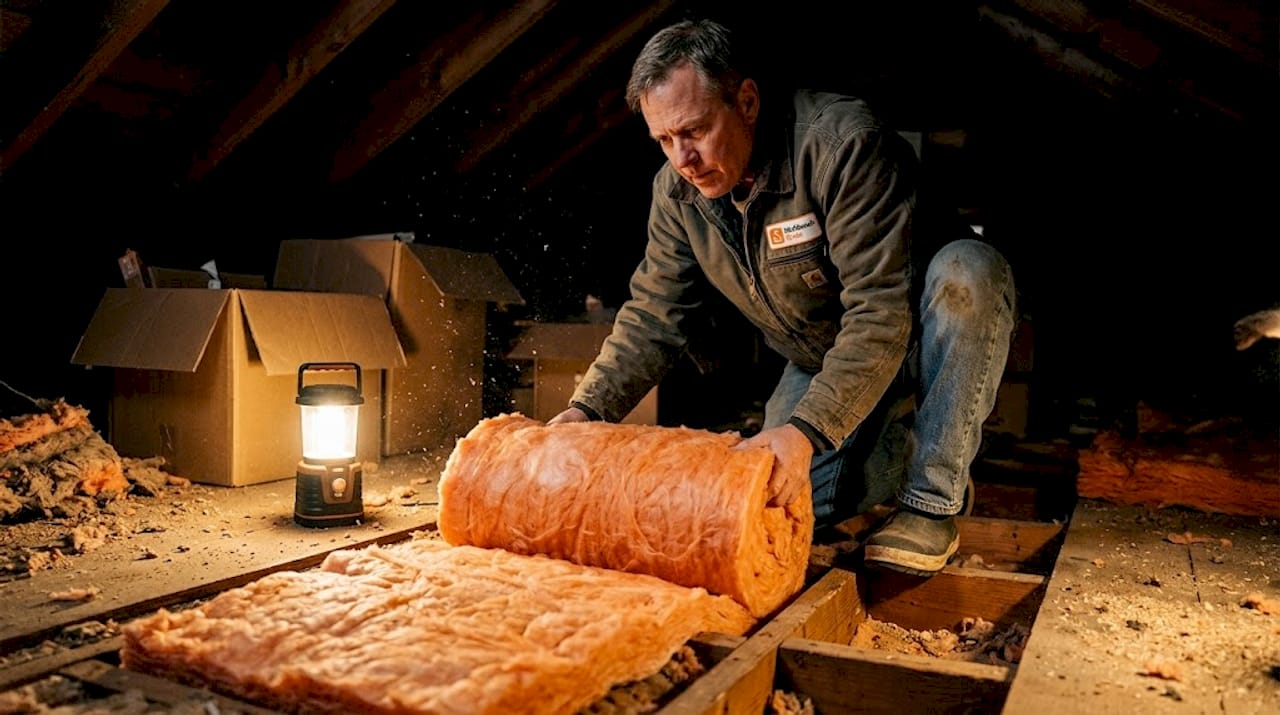
Home weatherization is one of the most cost-effective upgrades a homeowner or renter can make, yet most people assume it’s only available to low-income households through government programs. That’s a myth worth busting. What is home weatherization, really? It’s the process of improving your home’s ability to retain heat in winter, stay cool in summer, and use less energy year-round. Through sealing gaps, upgrading insulation, and tuning up mechanical systems, weatherization reduces your monthly bills, improves comfort, and protects your health. Anyone can benefit, regardless of income.
Table of Contents
- Key takeaways
- What home weatherization actually involves
- The real benefits of home weatherization
- How to weatherize your home: DIY and professional options
- Costs, programs, and financial assistance
- My take: weatherization is undervalued, and air sealing is the reason why
- Start protecting your home with Workbenchguide
- FAQ
Key takeaways
| Point | Details |
|---|---|
| Weatherization covers more than insulation | Air sealing, window upgrades, and HVAC tune-ups are all part of a complete weatherization plan. |
| Savings are real and measurable | Weatherized homes can cut HVAC energy use by 20% or more with a payback period of 3 to 7 years. |
| Free programs exist for eligible households | The federal Weatherization Assistance Program helps qualifying families save $372 to $437 annually on energy costs. |
| DIY steps deliver immediate relief | Sealing window gaps and adding weatherstripping can lower drafts and bills while you wait for bigger upgrades. |
| Weatherization is a permanent fix | Unlike fuel assistance programs, weatherization addresses root causes so savings continue for years without reapplying. |
What home weatherization actually involves
Many people picture weatherization as simply stuffing insulation into an attic. The reality is broader and, honestly, more effective when treated as a whole-home system.
Insulation: the foundation of energy retention
Good insulation slows the movement of heat through your home’s walls, ceiling, and floor. Attic insulation typically delivers the biggest return because heat rises and escapes through the roof if left unchecked. Fiberglass batts, blown-in cellulose, and rigid foam boards are the most common home insulation techniques used in residential projects. Attic and wall insulation consistently rank as the most common improvements performed in professionally weatherized homes.
One thing most guides skip: simply adding insulation inside walls without addressing thermal bridging through wall studs wastes a portion of your investment. Construction experts emphasize exterior continuous insulation as the most effective way to eliminate this problem, especially when you are already replacing siding or roofing. Timing exterior insulation upgrades with scheduled renovations saves labor costs significantly.
Air sealing: the most underrated step
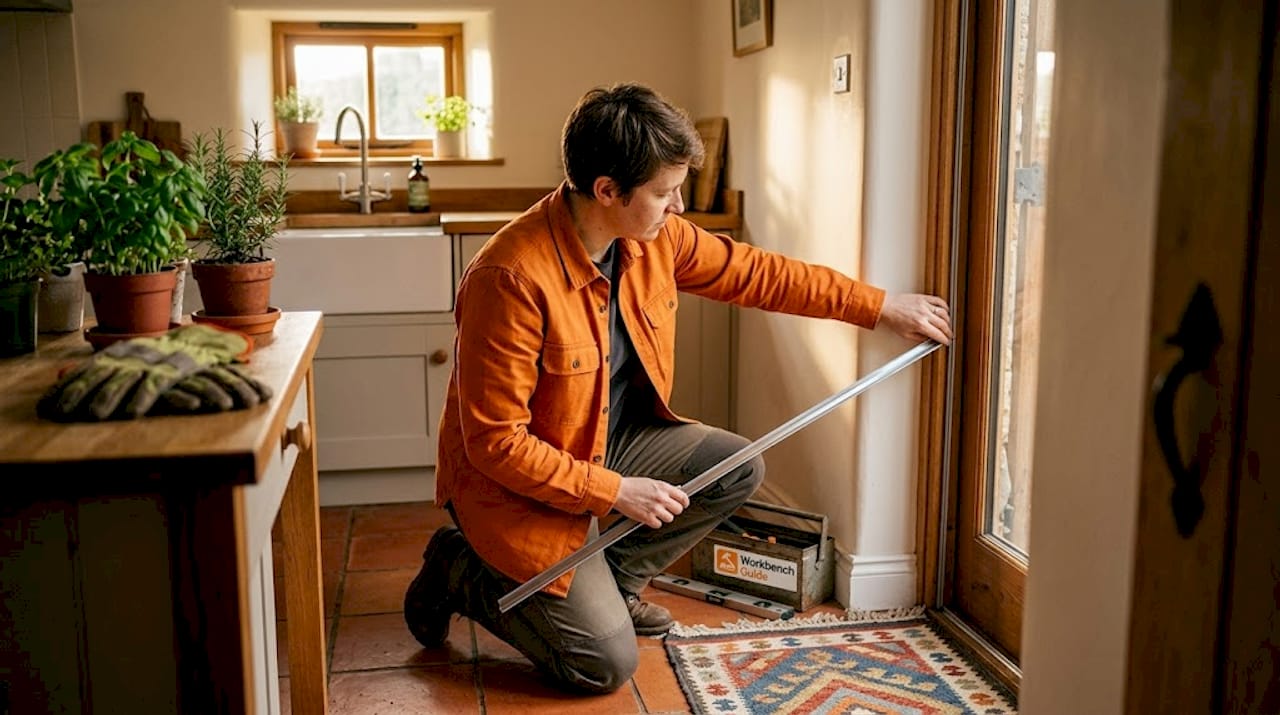
You can have perfect insulation and still lose enormous amounts of conditioned air through invisible gaps. Electrical outlets on exterior walls, gaps around pipes, attic hatches, recessed lights, and the joint where your foundation meets the framing are all common leak points. Sealing these with caulk, weatherstripping, or spray foam before you add insulation makes every other upgrade work harder.
Pro Tip: When sealing window and door frames with caulk, run your hand around the perimeter on a cold, windy day first. You’ll feel the air movement immediately and can target your sealing precisely instead of guessing.
Window, door, and mechanical system upgrades
Weatherstripping worn door seals, installing door sweeps, and adding storm windows are practical steps with fast payback. For heating and cooling systems, weatherization also includes HVAC tune-ups, duct sealing, and water heater inspections. Leaky air ducts in a forced-air system can waste 20% to 30% of your conditioned air before it ever reaches a room. Sealing those ducts with mastic or foil tape is one of the fastest ways to improve comfort and lower bills at the same time. You can learn more about how these upgrades work together in this HVAC efficiency guide from Workbenchguide.
The real benefits of home weatherization
People focus on the energy bill, and that is fair. But weatherization delivers more than a lower number at the bottom of your utility statement.
Energy savings and lower bills
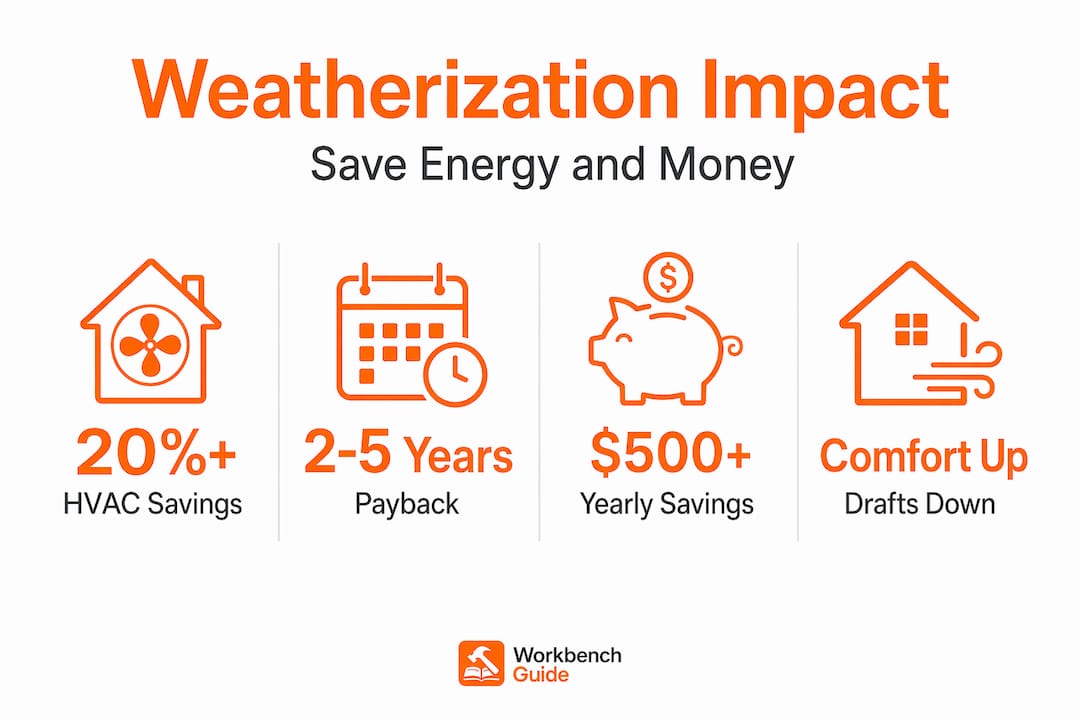
Professional air sealing and insulation reduce HVAC energy consumption by 20% or more, with payback typically achieved in 3 to 7 years. Weatherized homes use 10% to 20% less natural gas on average. Over a decade, that’s thousands of dollars back in your pocket.
| Weatherization measure | Estimated annual savings | Typical payback period |
|---|---|---|
| Attic insulation upgrade | $200 to $600 | 2 to 5 years |
| Air sealing (whole home) | $150 to $400 | 1 to 3 years |
| Duct sealing and insulation | $100 to $300 | 2 to 4 years |
| Weatherstripping and door sweeps | $50 to $150 | Less than 1 year |
| Storm window installation | $75 to $200 | 3 to 7 years |
Health and indoor air quality
This benefit gets far too little attention. When your home is properly sealed and ventilated, outdoor pollutants, allergens, and moisture have fewer pathways inside. The federal Weatherization Assistance Program helps households save $514 annually on medical expenses because of improved indoor air quality. Reducing drafts also eliminates the cold spots that aggravate respiratory conditions in winter.
“Weatherization addresses the root causes of high energy bills, delivering permanent savings unlike temporary fuel assistance programs. Once weatherized, a home saves energy for years without requiring follow-up applications.”
Comfort and home value
Drafty rooms, uneven temperatures between floors, and windows that sweat in winter are quality-of-life issues, not just efficiency problems. Weatherization eliminates most of those complaints. Homes with documented energy efficiency upgrades also tend to sell faster and at higher prices, because buyers recognize lower operating costs as a genuine financial advantage.
How to weatherize your home: DIY and professional options
You do not need a contractor for every step. Here’s a practical breakdown of what you can tackle yourself and when to call in a pro.
DIY steps you can do this weekend
- Inspect and seal door frames. Run your hand around every exterior door on a windy day. Add weatherstripping where you feel air movement, and install a door sweep if light is visible at the bottom.
- Caulk window frames. Check where the window frame meets the wall, both inside and outside. Apply silicone caulk to any gaps larger than a hairline crack.
- Seal electrical outlets on exterior walls. Remove the cover plate, install a foam outlet gasket (available at hardware stores for about $1 each), and replace the cover. Fast, cheap, and surprisingly effective.
- Add attic hatch insulation. If your attic access hatch has no insulation on top of it, you have a direct heat escape route. Attach rigid foam to the top of the hatch with construction adhesive.
- Check and add attic insulation. Most older homes are underinsulated. The U.S. Department of Energy recommends R-38 to R-60 for most attic zones in colder climates.
Pro Tip: Most DIYers fail at rigid foam insulation by cutting boards too tight. Cut each board about a quarter inch narrower than the opening, then seal the gap with spray foam. You’ll get a more airtight barrier than a board forced in snugly.
When to hire a professional
Whole-home air sealing, spray foam in wall cavities, and mechanical system upgrades (furnace, water heater, duct systems) benefit significantly from a certified energy auditor or weatherization contractor. A professional blower-door test identifies leaks you simply cannot find by feel alone. Homes built between the 1940s and 1970s often have complex air sealing challenges due to older construction methods, and diagnostic work before any insulation installation is strongly recommended.
For a step-by-step starting point, the Workbenchguide article on winterizing your home covers the most common beginner tasks clearly.
Costs, programs, and financial assistance
Understanding the cost of home weatherization upfront helps you plan realistically and find available help.
What it actually costs
DIY weatherization basics, such as caulk, weatherstripping, outlet gaskets, and attic hatch covers, typically run $100 to $500 for most homes. A professional whole-home weatherization project is a different scale. Typical costs range from $6,000 to $10,000 for low-income households served through assistance programs, with government-funded projects averaging $7,669. Private market projects can run higher depending on home size and the scope of insulation and mechanical upgrades.
The Weatherization Assistance Program
The federal Weatherization Assistance Program (WAP) is funded through the U.S. Department of Energy and administered by states. It provides free weatherization services to eligible low-income households. For every $1 invested, the program returns $2.78 in health and safety benefits alone.
Eligibility generally requires:
- Income at or below 200% of the federal poverty level
- Proof of income, utility bills, and legal residency
- Priority consideration for elderly residents, people with disabilities, and households with young children
- Property owner approval if you are a renter
One honest limitation: many regions face backlogs with wait times stretching several months. If you qualify but are waiting, start with the DIY steps above. They deliver real relief while you wait for the bigger upgrades.
Other funding options
Beyond WAP, many state and local utility companies offer rebates for insulation, air sealing, and HVAC upgrades. The federal Inflation Reduction Act created tax credits covering up to 30% of weatherization-related home energy improvements through 2032. Search your state’s energy office website or ask your utility company about home energy efficiency rebates in your area.
My take: weatherization is undervalued, and air sealing is the reason why
I’ve spent years advising homeowners on maintenance and repairs, and weatherization is consistently the area where I see the biggest gap between what people know and what they should do. Most homeowners go straight to insulation quotes when they hear “weatherization.” Air sealing almost never comes up until a professional mentions it.
That’s a problem because insulation alone without air sealing leaves a significant portion of your energy savings on the table. Think of it this way: insulation slows heat transfer, but unsealed gaps let heat move freely. You are padding your walls while leaving the windows open.
I’ve also seen how health benefits from weatherization surprise people the most. A client in an older home was dealing with chronic dust and allergy symptoms for years. After a professional air sealing job, the issue dropped dramatically. No medication change. Just a tighter building envelope.
My advice: don’t wait for the perfect budget or a program approval to start. The $20 you spend on weatherstripping and caulk this weekend will pay back faster than almost any other home improvement. Treat weatherization as a series of small, permanent decisions rather than one big project, and the results compound over time in ways that feel genuinely satisfying.
— Sean
Start protecting your home with Workbenchguide
Weatherizing your home is one part of a broader maintenance plan that keeps costs down year-round. Workbenchguide gives you the tools to stay on top of every season: step-by-step DIY guides, seasonal checklists, and reminders so nothing slips through the cracks. Whether you are ready to tackle a weekend sealing project or plan a full insulation upgrade, the home maintenance checklist at Workbenchguide walks you through what to do and when. You can also explore preventative maintenance strategies that pair naturally with weatherization to protect your home’s value for the long term.
FAQ
What is home weatherization in simple terms?
Home weatherization is the process of improving your home to reduce energy waste, lower heating and cooling costs, and increase year-round comfort through insulation, air sealing, and system upgrades.
How much can weatherization reduce my energy bills?
Professional air sealing and insulation can reduce HVAC energy consumption by 20% or more, and the federal Weatherization Assistance Program saves households $372 to $437 annually on heating and cooling costs.
Can renters apply for weatherization assistance?
Yes, renters can apply for weatherization programs, but they typically need written approval from their property owner before any work begins, as outlined in program eligibility requirements.
What is the easiest DIY weatherization step?
Adding weatherstripping to exterior doors and caulking window frames are the fastest and cheapest steps, often costing under $50 and paying back within the first heating season.
How long does professional weatherization take?
A whole-home professional weatherization project typically takes one to three days on site, though scheduling and program approval can extend the overall timeline, especially in areas with program backlogs.