Your air conditioner dies on the hottest day of the year. The repair bill lands at $900. Sound familiar? That scenario plays out in thousands of homes every summer, and the frustrating part is that most of those breakdowns were completely avoidable. A few simple maintenance habits, done consistently, can keep your HVAC running efficiently for years and save you from the gut-punch of an emergency repair call. This guide walks you through exactly what to do, when to do it, and how to know when it’s time to call in a pro.
Table of Contents
- Get ready: Tools, safety, and what you can (and can’t) do
- Step-by-step DIY tasks to boost efficiency and prevent breakdowns
- Extra care: Coils, fins, and special system needs
- When and why to schedule professional service
- Why most homeowners stop short—and how a simple system beats expensive repairs
- Streamline your HVAC and home care with WorkbenchGuide
- Frequently asked questions
Key Takeaways
| Point | Details |
|---|---|
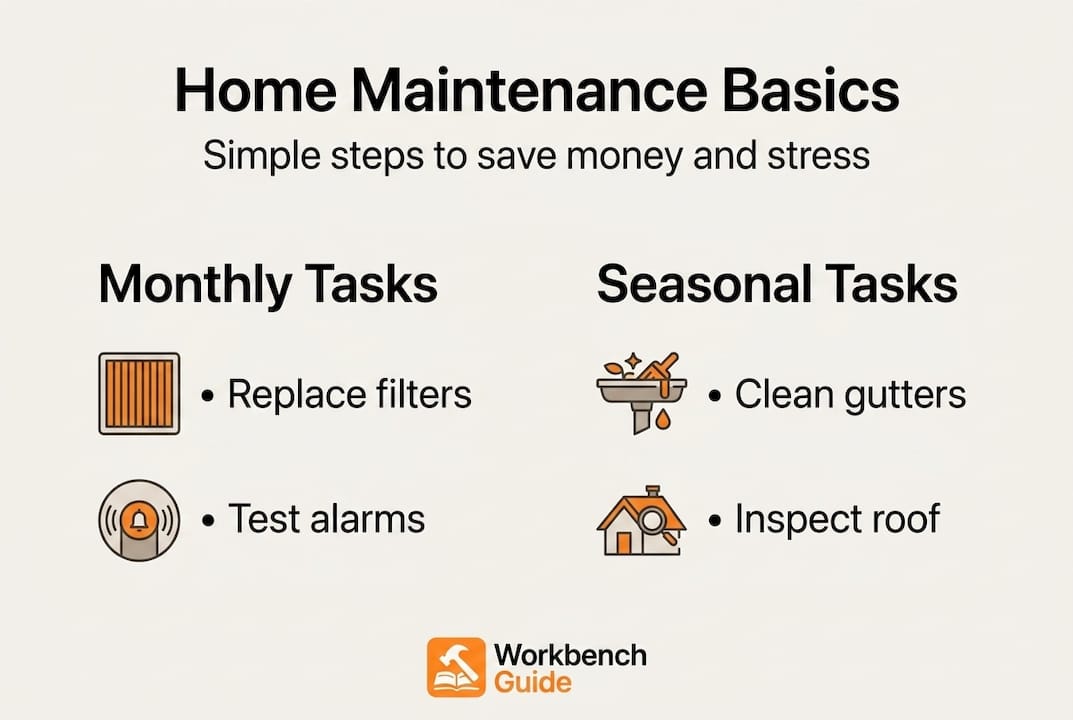
| DIY core tasks matter | Changing filters, clearing drains, and basic cleaning are the most impactful homeowner steps. |
| Professional tune-ups pay off | Seasonal service visits prevent surprise breakdowns and costly emergency repairs. |
| Consistency protects your budget | Simple routines done on time extend system life and boost efficiency, saving money long-term. |
| Know your limits | Leave refrigerant, electrical, and gas work to certified pros for safety and warranty protection. |
Get ready: Tools, safety, and what you can (and can’t) do
Before you roll up your sleeves, let’s break down what you can safely tackle and what requires an expert.
Not every HVAC task belongs on your weekend to-do list. Some jobs are genuinely DIY-friendly, while others carry real safety risks or can void your system warranty if you attempt them without a license.
What’s safe for DIY vs. what needs a pro:
| Task | DIY safe? | Notes |
|---|---|---|
| Replacing air filters | Yes | Every 1-3 months |
| Clearing debris from condenser | Yes | Power off first |
| Flushing condensate drain | Yes | Use vinegar or a stiff brush |
| Cleaning supply/return vents | Yes | Vacuum and wipe |
| Refrigerant handling | No | Licensed technician only |
| Electrical component repair | No | Shock and fire risk |
| Gas combustion inspection | No | Carbon monoxide hazard |
| Coil chemical cleaning | No | Requires proper equipment |
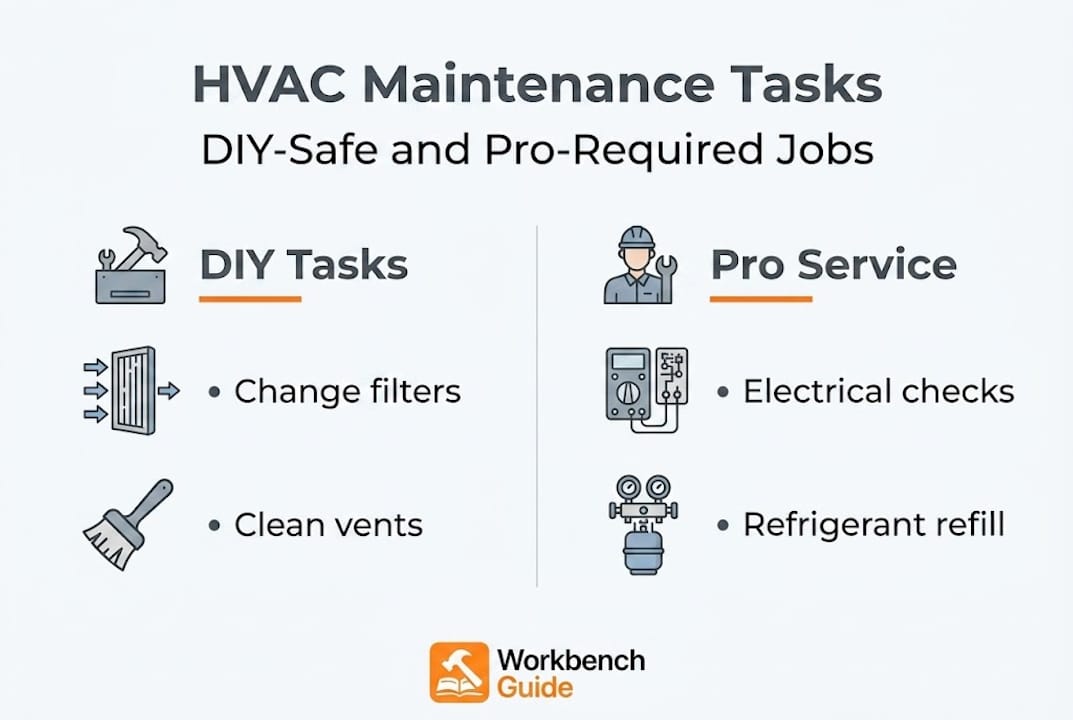
As a general rule, DIY-safe tasks include filters, debris removal, drain flushing, and vent cleaning. Never attempt refrigerant work, electrical repairs, or gas combustion checks yourself since these carry serious safety hazards and can void your warranty.
Essential safety steps before you start:
- Turn off power at the thermostat AND the breaker before touching any component
- Wear gloves and a dust mask when handling old filters or cleaning coils
- Never use a pressure washer on coils or fins; the force bends them instantly
- Keep a flashlight handy to inspect dark areas inside the air handler
Basic tool and supply checklist:
- New air filters (correct size, check your owner’s manual)
- Rubber gloves and safety glasses
- White distilled vinegar (for drain line flush)
- Stiff wire or drain cleaning brush
- Garden hose with gentle spray nozzle
- Fin comb (optional, for bent fins)
- Vacuum with brush attachment
- Screwdrivers (flathead and Phillips)
Special cases: Heat pumps run year-round, so they need maintenance in both spring and fall. Mini-splits have washable filters inside each wall unit. Older systems (10+ years) benefit from twice-yearly professional checks even if they seem to be running fine.
Pro Tip: Before any maintenance session, snap a photo of your current filter, thermostat settings, and any visible components. If something looks different after you’re done, you have a clear reference point.
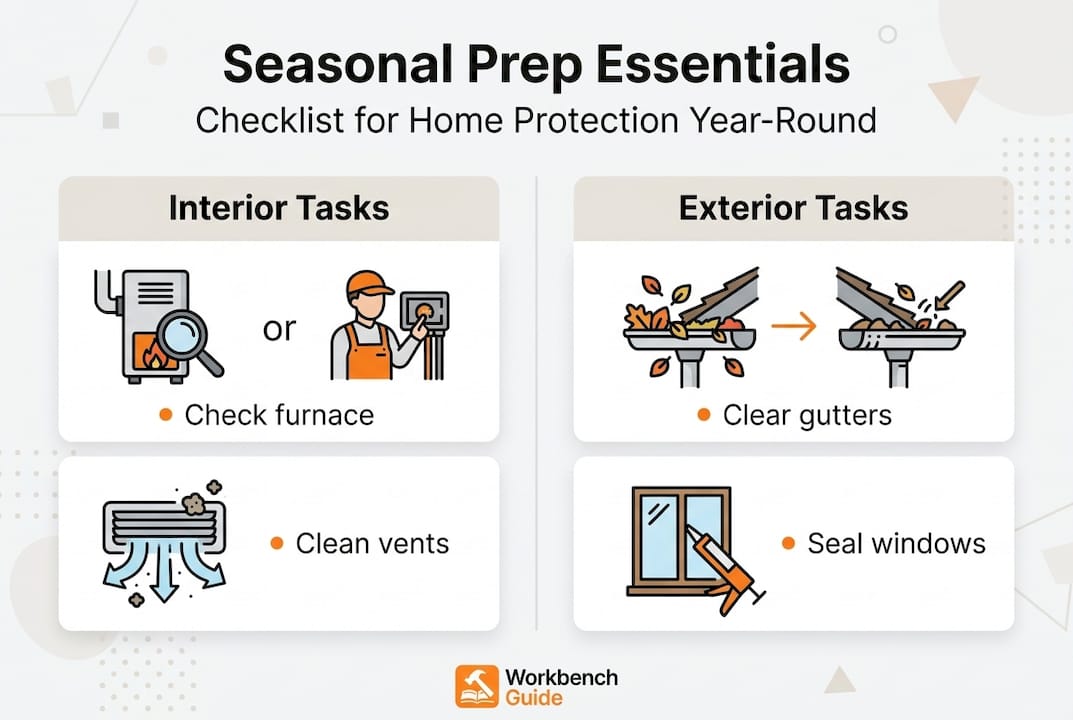
Staying on top of these tasks is much easier when you work from a solid maintenance checklist rather than trying to remember everything from scratch each season. Small, consistent checks are exactly what preventing costly repairs is all about.
Step-by-step DIY tasks to boost efficiency and prevent breakdowns
Now that you’re set with the right tools and know your limits, let’s walk through HVAC maintenance tasks you can do yourself.
These four core tasks take less than an hour combined, yet they address the most common causes of HVAC inefficiency and unexpected breakdowns. Work through them in order for the cleanest, safest results.
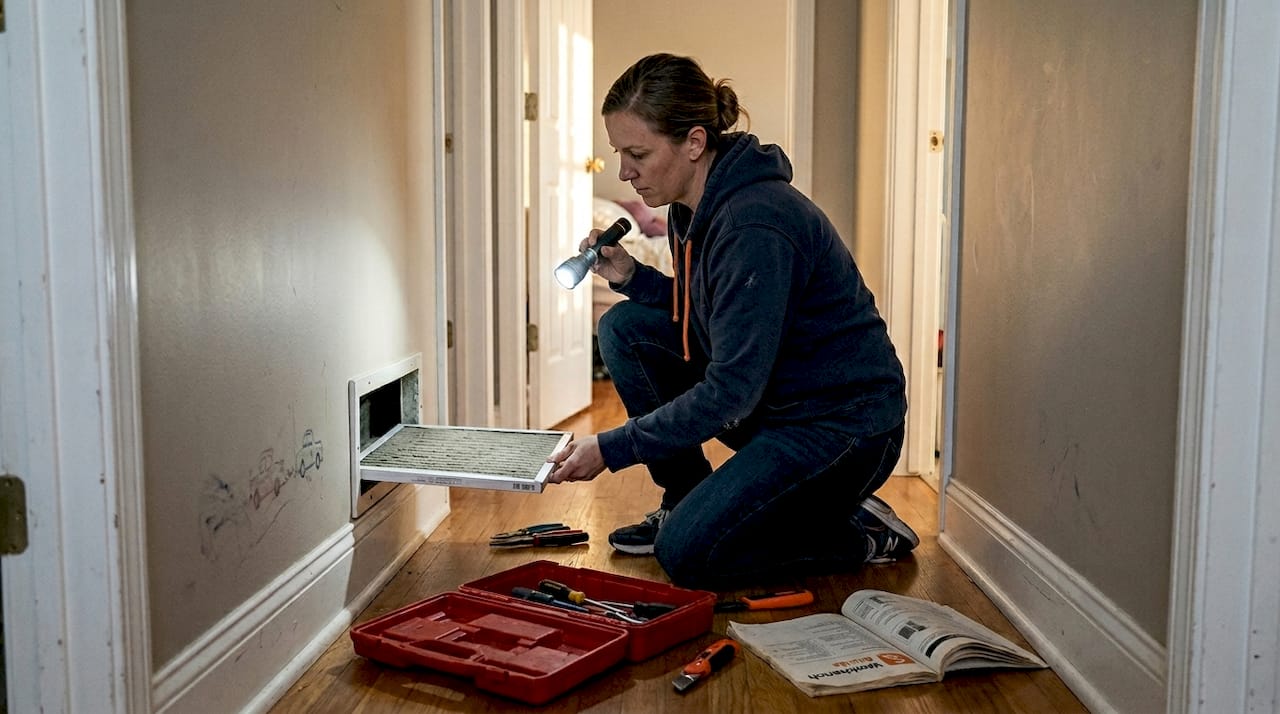
1. Change the air filter
- Turn off your system at the thermostat.
- Locate the filter slot, usually at the return air vent or inside the air handler cabinet.
- Note the arrow on the filter frame showing airflow direction before removing the old one.
- Slide out the old filter and seal it in a bag immediately to trap dust and allergens.
- Insert the new filter with the arrow pointing toward the blower motor.
- Write the installation date on the filter frame with a marker.
The Department of Energy recommends replacing or cleaning air filters every 1-3 months, or monthly if you have pets, live in a dusty area, or run your system heavily. A clogged filter forces the blower to work harder, which raises your energy bill and stresses the motor.
2. Clear the condensate drain line
- Locate the PVC drain pipe near your indoor air handler, usually a white pipe leading to a floor drain or outside.
- Pour one cup of white distilled vinegar into the access port (a T-shaped cap on the pipe).
- Wait 30 minutes, then flush with a cup of clean water.
- If the line is severely clogged, use a stiff wire or wet/dry vacuum at the outdoor end to pull the blockage out.
Carrier recommends clearing the condensate drain line monthly with vinegar or a stiff wire to prevent clogs, water damage, and system shutdowns. A backed-up drain can trigger the float switch that shuts your system off entirely, leaving you with no cooling on a hot day.
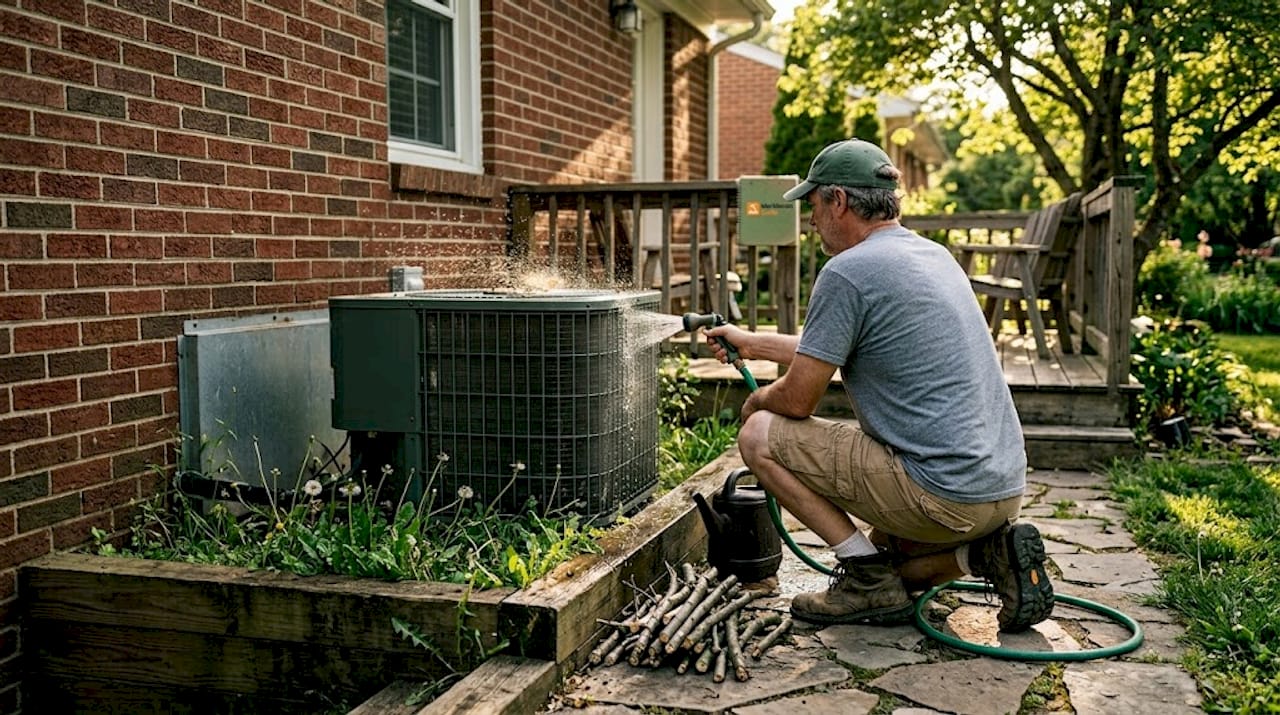
3. Clean the outdoor condenser unit
- Shut off power at the disconnect box next to the unit.
- Remove any leaves, grass clippings, or debris from around the base and inside the top grille.
- Trim any vegetation to at least 2 feet away from all sides of the unit.
- Use a garden hose on a gentle setting to rinse the coil fins from the inside out, which pushes debris outward rather than deeper into the coil.
- Let the unit dry for 10-15 minutes before restoring power.
Trane’s maintenance guidance confirms this approach: remove debris, trim vegetation 2 feet away, and gently rinse coils with a hose rather than a pressure washer. Blocked condenser coils force the compressor to run hotter and longer, which is one of the fastest ways to shorten your system’s life.
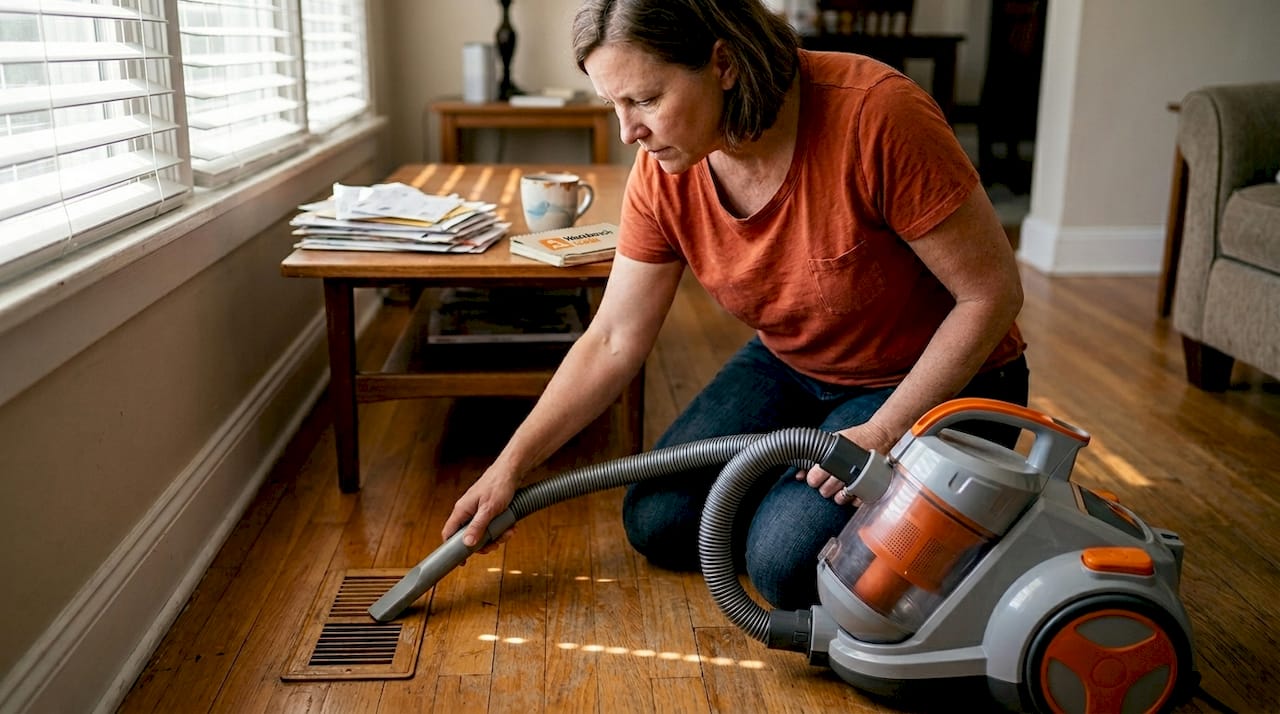
4. Clean supply and return vents
Remove each vent cover, vacuum the duct opening as far as your attachment reaches, and wipe the cover clean before reinstalling. This takes about 5 minutes per vent and noticeably improves airflow.
Pro Tip: If water drips from your indoor unit or you notice a musty smell, your condensate drain is likely clogged. Check it before assuming a bigger problem exists.
You can find detailed, season-specific instructions for all of these tasks in our HVAC maintenance guides.
Extra care: Coils, fins, and special system needs
Beyond the basics, some HVAC parts need extra attention and sometimes a professional’s touch.
Your system’s coils and fins do the actual work of transferring heat. When they’re dirty or damaged, efficiency drops fast and your energy bill climbs. Understanding how to care for them, and when to step back, saves you money and prevents accidental damage.
Why coils and fins matter
The evaporator coil (inside) absorbs heat from your home’s air. The condenser coil (outside) releases that heat outdoors. Both are covered in thin aluminum fins that maximize surface area for heat transfer. When those fins get coated in dust or bent out of shape, airflow is restricted and the system has to work harder to do the same job.
Dirty coils can reduce efficiency by up to 37%, and neglected systems use 20-40% more energy overall. Preventive maintenance extends system life by 5-10 years with a reported ROI of 545%. Those numbers make a strong case for spending 45 minutes on maintenance rather than waiting for a breakdown.
Coil and fin care by system type:
| System type | DIY coil care | Special notes |
|---|---|---|
| Central AC | Rinse outdoor coil gently with hose | Avoid chemical cleaners unless trained |
| Heat pump | Clean both indoor and outdoor coils | Never cover the unit in winter |
| Mini-split | Wipe indoor unit coil with damp cloth | Wash reusable filter monthly |
| Older systems (10+ yrs) | Visual inspection only | Schedule pro cleaning twice yearly |
Bent fins: fix or leave it?
Fins bend easily from hail, debris, or accidental contact. A fin comb (a cheap tool available at any hardware store) can straighten them if you’re comfortable working carefully around the coil. However, Lennox advises that inspecting and straightening bent fins with a fin comb should only be done by qualified individuals; otherwise, leave it to a professional. If more than 20% of the fins on a coil look crushed or matted, call a technician.
System-specific tips:
- Heat pumps: These run in both heating and cooling modes, so they need seasonal checks in spring and fall. Never cover a heat pump in winter since it needs airflow to operate.
- Mini-splits: Each indoor unit has a washable filter behind the front panel. Pop it open, rinse the filter under warm water, let it dry completely, and reinstall. Do this monthly during heavy use.
- Older systems: Systems over 10 years old are more prone to refrigerant leaks and electrical wear. A twice-yearly professional inspection catches small problems before they become expensive ones.
Pro Tip: Check your home maintenance tips library for seasonal reminders specific to your climate zone. A homeowner in Phoenix has very different coil cleaning needs than one in Minnesota.
When and why to schedule professional service
Even with diligent DIY care, periodic professional maintenance is essential. Here’s what to expect and how it protects your investment.
DIY maintenance handles the surface-level work. A licensed HVAC technician goes deeper, checking components you can’t safely access and catching problems that don’t show obvious symptoms until they cause a breakdown.
What a professional tune-up typically includes:
- Refrigerant level check and leak test
- Electrical connection inspection and tightening
- Capacitor and contactor testing
- Coil cleaning with professional-grade solutions
- Blower motor lubrication and belt inspection
- Thermostat calibration check
- Condensate drain inspection and flush
- Safety control testing
Lennox recommends scheduling professional tune-ups twice yearly: spring for the cooling system and fall for the heating system. This timing ensures your equipment is ready before peak demand hits, which is exactly when failures are most likely and most expensive.
Cost comparison: what you’re really paying for
| Service type | Typical cost | What it covers |
|---|---|---|
| DIY maintenance | $10-30 (supplies) | Filters, drain, debris, vents |
| Professional tune-up | $80-150 | Full system inspection and cleaning |
| Annual maintenance plan | $150-500/year | Two tune-ups plus priority service |
| Emergency repair | $300-1,200+ | Single repair, no prevention |
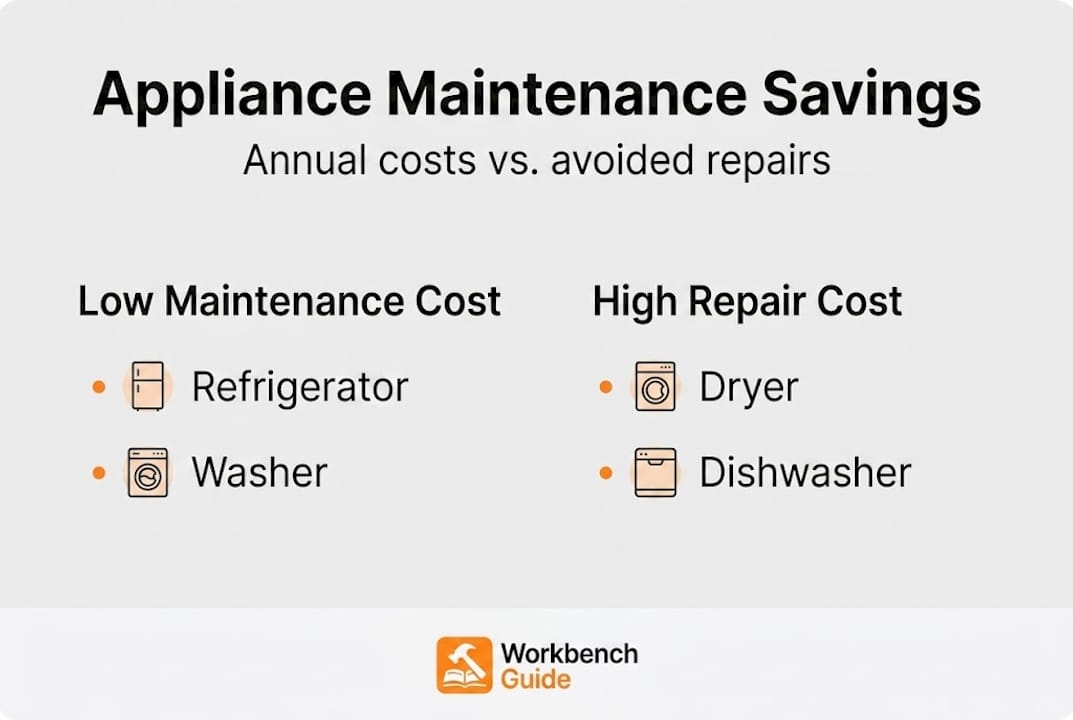
Emergency repairs cost 3-5 times more than a standard tune-up, ranging from $300 to $1,200 or more compared to $80-150 for a scheduled visit. Annual residential plans typically run $150-500 and often include discounts on parts and priority scheduling.
The real math: If a $150 tune-up prevents a single $600 compressor repair, you’ve saved $450 and avoided a week of waiting in the heat. Do that twice and you’ve more than paid for a full year of professional service.
When to call sooner rather than later:
- Your energy bill spikes with no change in usage
- The system cycles on and off more frequently than usual
- You hear grinding, squealing, or banging sounds
- Rooms that used to cool quickly now feel uneven
- You notice ice forming on the refrigerant lines
You can get a realistic sense of typical service costs in your area before calling a contractor, so you’re never walking into a quote blind.
Why most homeowners stop short—and how a simple system beats expensive repairs
Here’s the uncomfortable truth: most homeowners already know they should change their filters and clean their condenser. The information isn’t the barrier. The barrier is that HVAC maintenance feels invisible. When you fix a leaky faucet, you see the result immediately. When you flush a drain line, nothing dramatic happens. The payoff is a breakdown that never occurs, which is genuinely hard to appreciate.
That invisibility leads to a pattern we see constantly: homeowners either do nothing until something breaks, or they overcomplicate it with elaborate maintenance programs they abandon after two months. Neither extreme works.
What actually works is a simple, scheduled routine tied to something you already do. Change your filter when you pay your quarterly utility bill. Flush the drain line on the first day of each month during cooling season. Rinse the condenser coil every spring before you turn the AC on for the first time. These aren’t big tasks. They take minutes. But they compound over years into a system that runs efficiently, lasts longer, and rarely surprises you with a four-figure repair bill.
The homeowners who protect their investment best aren’t the ones with the most sophisticated tools. They’re the ones using easy maintenance systems that make it nearly impossible to forget. A checklist on your phone. A calendar reminder. A simple log of when you last changed the filter. That’s it. No gadgets required.
Streamline your HVAC and home care with WorkbenchGuide
Ready to put these maintenance habits on autopilot? Here’s how to make it even easier.
Keeping track of filter change dates, drain flush schedules, and professional service appointments across an entire home is a lot to manage mentally. WorkbenchGuide is a modern home maintenance platform built specifically for homeowners who want to stay ahead of repairs without turning home care into a second job. You get smart maintenance reminders, a detailed maintenance checklist that covers every season, and step-by-step guides for tasks just like the ones in this article. When a job goes beyond DIY, WorkbenchGuide connects you with trusted contractors so you’re never scrambling in an emergency.
Frequently asked questions
How often should HVAC filters be replaced?
Replace or clean your filters every 1-3 months, or monthly if you have pets, high dust levels, or run your system heavily. Consistent replacement is the single easiest way to maintain airflow and efficiency.
Is it safe to clean HVAC coils myself?
You can gently rinse outdoor coil fins with a garden hose, but straightening bent fins or applying chemical coil cleaners is best left to a licensed technician. Lennox notes that fin straightening should only be done by qualified individuals to avoid damaging the coil.
What are signs my HVAC needs professional service?
Increased energy bills, uneven temperatures between rooms, unusual noises like grinding or squealing, or frequent short cycling all signal it’s time for a professional tune-up rather than a DIY fix.
How much can regular maintenance save on repairs?
Preventive maintenance can extend your HVAC’s life by 5-10 years and reduce energy use by 20-40%, which translates to thousands of dollars saved over the life of the system.
What is a typical cost of annual HVAC maintenance?
Annual residential maintenance plans typically range from $150 to $500 per year and usually include two seasonal tune-ups plus priority scheduling for repairs.