
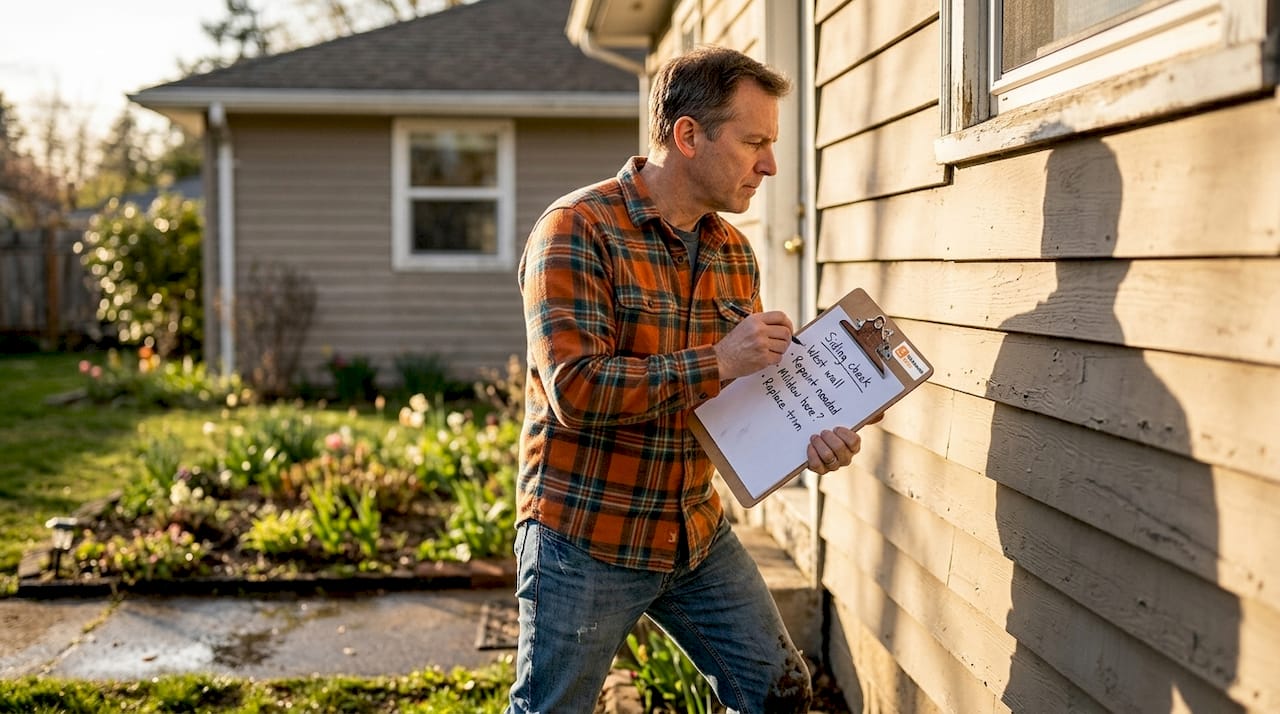
Your siding is doing a job 24 hours a day, and most homeowners never think about it until something goes catastrophically wrong. Water gets behind a cracked panel in October, freezes in January, and by March you’re looking at rotted sheathing, mold behind the walls, and a repair bill that could have been $200 if caught early but is now $8,000. Understanding why inspect siding matters is not about being a perfectionist homeowner — it’s about protecting a structure you’re likely paying a mortgage on for the next 20 years.
Table of Contents
- The vital role siding plays in protecting your home
- How often and when to inspect your siding for best results
- Identifying common siding damage signs and issues during inspection
- How proper siding installation and maintenance extend its lifespan
- Practical steps for conducting effective siding inspections at home
- Why most homeowners overlook siding inspections — and what to do about it
- Maintain your home smartly with WorkbenchGuide
- Frequently asked questions
Key Takeaways
| Point | Details |
|---|---|
| Siding protects your home | Siding acts as the first defense against moisture, pests, and energy loss, preserving your home’s structure and value. |
| Inspect twice a year | Regular inspections in spring and fall, plus after storms, catch damage early and prevent costly repairs. |
| Look for damage signs | Check for warping, cracks, discoloration, and soft spots by touch to identify problems before they worsen. |
| Professional installation matters | Properly installed siding lasts decades, while poor DIY installation leads to failures and expensive fixes. |
| Use practical inspection steps | Inspect on dry days with good lighting, maintain clearance from ground, and press siding panels to detect hidden damage. |
The vital role siding plays in protecting your home
Most people think of siding as the skin of a house, and that’s accurate — but only if you understand what skin actually does. It’s not decorative. It regulates, protects, and seals. Your siding shields walls from moisture, preventing the kind of rot and mold that spreads invisibly through wall cavities before showing any surface signs.
Beyond moisture, siding is a major player in energy efficiency. Gaps, cracks, and failing seams allow air to move freely through the wall assembly, forcing your HVAC system to compensate. That’s money leaving your house literally through the walls. Well-maintained siding also preserves curb appeal, which has a direct and documented effect on resale value. Buyers notice the exterior first, and damaged siding signals neglect even if the interior is flawless.
Here’s what’s at stake when siding fails without being caught:
- Moisture intrusion: Water behind panels causes rot in the structural sheathing and framing
- Mold growth: Wet wall cavities create ideal conditions for mold that is expensive and sometimes hazardous to remediate
- Pest access: Gaps and soft spots are entry points for carpenter ants, termites, and rodents
- Energy loss: Air leaks through damaged siding raise heating and cooling costs significantly
- Structural damage: Long-term moisture exposure can compromise load-bearing framing members
- Reduced home value: Visible siding damage is one of the first things a home inspector flags during a sale
Regular home inspections that include the exterior are what separate homeowners who spend a little each year from those who face massive, unexpected repair bills.
How often and when to inspect your siding for best results
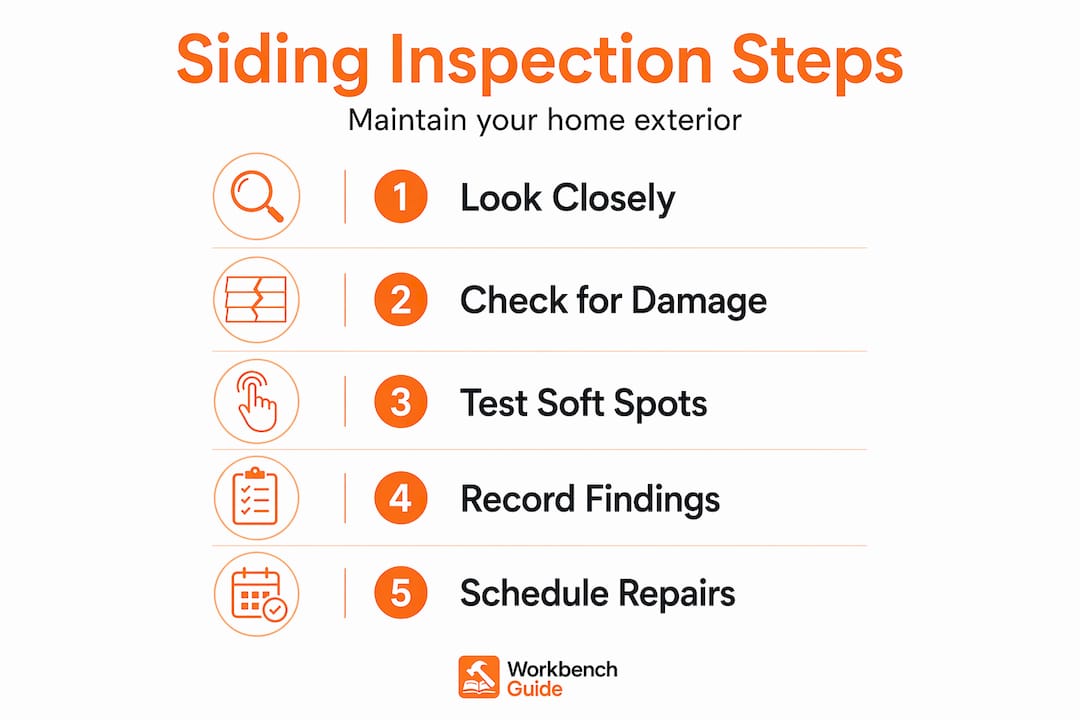
The importance of siding inspection is directly tied to timing. Catching damage early is only possible if you’re looking at the right moments. The good news is that you don’t need to inspect every month — you just need to inspect strategically.
Experts recommend inspecting siding at least twice per year — in spring and fall — plus after any severe storm, hail event, or high-wind episode. That’s three to five checks a year for most homeowners in climates with distinct seasons, and it costs you nothing but an hour of your time.
Here’s why the timing matters:
- Spring inspection: Winter is brutal on siding. Freeze-thaw cycles expand and contract materials repeatedly, opening up cracks and loosening fasteners. A spring inspection catches that winter damage before the rainy season drives water into every new gap.
- Fall inspection: Before temperatures drop and rain or snow arrives, fall is your window to address anything that could worsen over winter. Caulk fails faster when it’s wet and cold, so fixing it dry is far easier.
- Post-storm inspection: Hail leaves dents and cracks that aren’t always visible from the ground. Wind can lift panels at corners or near the roof line. Always walk the perimeter within a day or two after a significant storm.
- After any major landscaping or construction nearby: Vibration from heavy equipment, falling branches, or debris impact can cause damage that looks minor on the surface but compromises the panel’s integrity.
Pro Tip: Set a recurring calendar reminder for the first weekend in April and the first weekend in October. Pair your siding check with gutter cleaning — you’re outside anyway, and the habits reinforce each other.
Preventing costly home repairs almost always comes down to consistent, timely preventative maintenance rather than heroic interventions after the fact.
Identifying common siding damage signs and issues during inspection
Now that you know when to inspect, you need to know what you’re looking for. This is where most DIY inspections fall short — people look without really seeing. Siding damage has a range of presentations, and some of the most serious signs are easy to miss if you don’t know what to check.
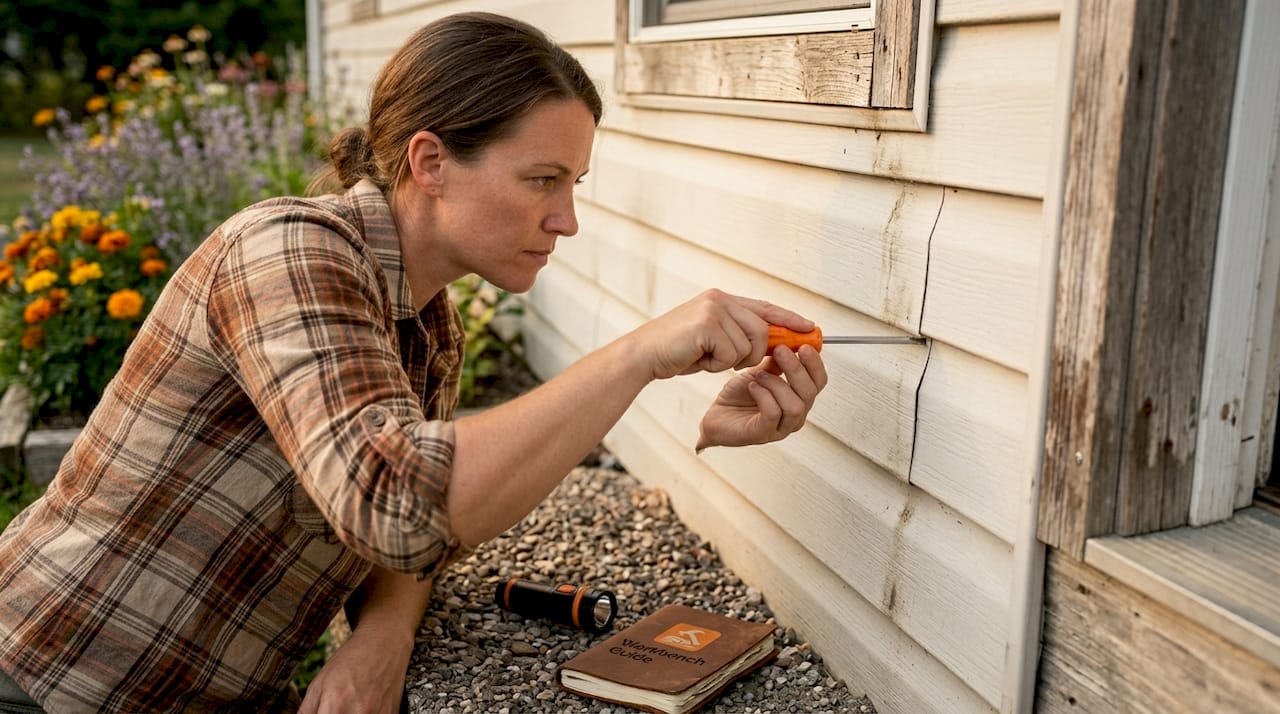
Common damage indicators include cracks, warping, fading or peeling paint, spongy spots, panel gaps, and mold or mildew staining. Each of those signals a different problem with a different urgency level.
What to look for on every inspection:
- Cracks and splits: Even hairline cracks allow water infiltration. Look especially at horizontal seams and corners.
- Warping or buckling: Panels that bow outward often signal moisture trapped behind them or improper installation without expansion gaps.
- Soft or spongy spots: Press each panel firmly every few feet. If it gives under pressure, there’s rot or a broken fastener underneath — something you would never see just by looking.
- Discoloration or chalky residue: UV degradation causes chalking on older vinyl and fiber cement. Staining can indicate water tracking from a compromised area above.
- Peeling paint or bubbling: On painted siding, bubbles mean moisture is trapped beneath the paint film — a sign that water has already gotten in.
- Mold or algae growth: Dark streaks or fuzzy patches, especially in shaded areas or near downspouts, are moisture red flags.
- Gaps near trim, windows, and corners: These areas are the most vulnerable to failure. Caulk shrinks over time, and even small gaps are open invitations for water.
Pro Tip: Bring a flashlight and a flathead screwdriver on your walk-around. Use the screwdriver handle (not the tip) to gently tap panels — a hollow sound compared to a solid one can indicate a panel that has pulled away from the sheathing.
Pairing this kind of detailed exterior check with your annual safety checks makes the whole process efficient and easy to remember.
How proper siding installation and maintenance extend its lifespan
One of the most underappreciated reasons to check siding regularly is catching installation errors before they become structural failures. Bad installation is more common than most homeowners realize, and it often hides perfectly well for two or three years before the consequences show up.
Correctly installed siding can last up to 40 years. Poorly maintained or improperly installed siding can fail in as few as 5 years. That is not a minor gap in outcomes — that’s the difference between a long-term asset and a recurring expense.
Common DIY installation mistakes include nailing panels too tightly (which prevents thermal expansion and causes buckling), missing or improperly installed flashing around windows and doors, and failing to leave adequate clearance at the bottom. These aren’t cosmetic issues — they are moisture pathways.
| Factor | Professional installation | DIY or improper installation |
|---|---|---|
| Expected lifespan | 25 to 40 years | 5 to 15 years |
| Moisture protection | Full flashing and weatherproof sealing | Often incomplete or missing |
| Expansion gaps | Correct clearance throughout | Frequently too tight or inconsistent |
| Warranty validity | Typically maintained | Often voided by improper install |
| Early failure risk | Low | High |
What routine inspections actually do for you:
- Catch installation errors while repairs are still simple
- Identify caulk failure before water infiltrates
- Spot fastener corrosion or loosening before panels separate
- Verify that clearance from soil and vegetation is maintained
- Confirm gutters and downspouts are directing water away from the wall base
Supporting this with regular home inspections that cover the full exterior is the most reliable way to protect your investment over time.
Practical steps for conducting effective siding inspections at home
A siding inspection checklist doesn’t need to be complicated. What it needs to be is consistent. These steps work whether you have vinyl, fiber cement, wood, or engineered wood siding.
Step-by-step siding inspection process:
- Pick the right day. Inspect on dry days during morning or late afternoon light. Raking light — sun at a low angle — makes dents, warping, and surface irregularities far more visible than midday light, which flattens everything out.
- Start at one corner and go clockwise. Walk the full perimeter without skipping sections. Move methodically, working from the roof line down to the base.
- Look and touch. Eyes catch visible issues; your hands catch hidden ones. Press panels every 3 to 4 feet, paying special attention near trim, window frames, and corners where water concentrates.
- Check clearance at the base. Maintain at least 6 inches of clearance between the siding and finished grade. Siding that sits too close to soil or mulch wicks moisture constantly.
- Evaluate gutters and downspouts. Water that overflows or discharges near the foundation runs directly up the wall base. Make sure extensions are in place and functional.
- Document everything. Take photos with your phone. Date them and note the location on the wall. This record is valuable when comparing to next season’s inspection or when talking to a contractor.
Items to note and record during every check:
- Any crack wider than a hairline
- Warping or bowing visible from 10 feet away
- Soft spots detected by pressing
- Gaps at caulked joints wider than 1/8 inch
- Mold, staining, or biological growth
- Missing or damaged trim pieces
Pro Tip: Use your home maintenance checklist to log each inspection with a date and photos. Six months from now, you’ll know exactly what you saw last time and whether anything has gotten worse.
Why most homeowners overlook siding inspections — and what to do about it
Here’s the uncomfortable truth: most homeowners treat siding the way most people treat their car’s brakes. They assume everything is fine until something obvious goes wrong, and by then the fix is much larger than it needed to be.
The most common misconception is that siding problems are cosmetic. A little fading, a small crack, some peeling paint — these read as aesthetic issues, not structural ones. That framing is exactly what leads people to postpone action. The crack that looks minor is letting in a tablespoon of water every rainstorm. Over 18 months, that’s enough moisture to rot through sheathing and reach wall framing.
Busy schedules are the other reason inspections get skipped. It’s not ignorance — it’s prioritization. When the kitchen faucet drips, you see and hear it every day. Siding damage is quiet, hidden, and easy to ignore until you literally cannot ignore it anymore.
The solution is not heroic discipline. It’s systems. Linking your siding inspection to something you already do twice a year — gutter cleaning, HVAC filter changes, daylight saving time — removes the decision from your to-do list and makes it automatic. Spending 30 minutes catching small issues is almost always the difference between a $40 tube of caulk and a $6,000 wall repair.
The benefits of inspecting siding regularly are not theoretical. They’re measured in repair bills you never have to pay, energy costs that stay flat, and a home that holds its value when you’re ready to sell.
Maintain your home smartly with WorkbenchGuide
Keeping up with siding and exterior inspections is much easier when you don’t have to remember everything on your own. WorkbenchGuide gives homeowners a centralized place to manage exactly this kind of routine maintenance — with customizable checklists built around your home’s specific needs, seasonal reminders that keep inspections from falling through the cracks, and step-by-step DIY guides for everything from caulking siding gaps to identifying rot early. Use the home maintenance checklist to set up your spring and fall siding inspections, and explore the preventative maintenance tips to build a full-year protection plan for your home. Your siding is working constantly — the least you can do is check on it twice a year.
Frequently asked questions
How often should I inspect my home’s siding?
You should inspect siding twice per year, in spring and fall, and also after any severe storm to catch damage before it escalates.
What are early warning signs of siding damage?
Look for cracks, warping, discoloration, mold growth, and soft or spongy spots when you press the panels — these are the most reliable early indicators.
Can DIY siding installation cause problems?
Yes — DIY installation mistakes like improper nailing, missing flashing, and skipped expansion gaps cause premature moisture damage and failure compared to professional work.
What is the minimum clearance between siding and ground?
Siding must sit at least 6 inches above finished grade per IRC Section R703 to prevent moisture wicking and rot at the wall base.
How does damaged siding affect energy bills?
Gaps and cracks in siding allow drafts that can raise energy bills by more than 20% over several years by forcing your heating and cooling system to work harder.