

Your attic is the one part of your home you never think about until something goes wrong. That’s exactly the problem. While you’re living your daily life, issues like moisture, mold, pest infestations, and deteriorating insulation can quietly build up in that dark space above your ceiling. By the time you notice water stains on your drywall or hear scratching sounds at night, you’re often looking at repairs that cost thousands of dollars. This guide shows you what to look for, how to inspect your attic safely, and why making it a regular habit is one of the smartest moves any homeowner can make.
Table of Contents
- What makes attic inspections critical for homeowners?
- Most overlooked problems you’ll find in the attic
- Attic inspection checklist for DIY and safety
- How attic inspections protect your wallet and home
- The surprising truth most homeowners miss about attic inspections
- Explore resources for smarter attic inspections and home care
- Frequently asked questions
Key Takeaways
| Point | Details |
|---|---|
| Attic checks spot hidden issues | Inspecting your attic reveals problems like moisture, pests, and damaged insulation that threaten home health. |
| Annual inspections save money | Regular attic inspections prevent costly repairs by catching damage early before it spreads. |
| DIY checklists boost safety | A structured attic checklist ensures you cover moisture, ventilation, pests, and fire hazards each inspection. |
| Proactive care protects your investment | Maintaining your attic with routine checks preserves your property’s value and keeps your family safe. |
What makes attic inspections critical for homeowners?
Most homeowners think of their attic as dead space. Storage for holiday decorations, maybe. But your attic is actually doing a lot of heavy lifting for your home every single day. It acts as a buffer between your living space and the roof, helps regulate indoor temperatures, and protects the structural bones of your house from weather and moisture.
When something goes wrong up there, the ripple effects are serious:
- Structural damage: Moisture that collects in the attic softens wooden beams and rafters over time, leading to sagging ceilings or even partial roof collapse in severe cases.
- Energy loss: Poor or damaged insulation lets conditioned air escape, driving up heating and cooling bills by as much as 20 to 30 percent.
- Health risks: Mold spores and pest droppings can circulate through your home’s ventilation system, causing respiratory problems for your family.
- Fire hazards: Rodents chewing on electrical wiring in the attic is one of the leading causes of house fires in residential homes.
- Pest spread: A small rodent entry point in the attic can become a full infestation that spreads throughout the house within weeks.
“Inspecting the attic is key to preventing structural and environmental damage.” Annual safety checks are one of the most cost-effective ways to protect your home’s long-term value.
The good news is that most of these problems are completely preventable when you catch them early. A roof inspection checklist paired with a routine attic walkthrough gives you a full picture of what’s happening at the top of your home. Studies consistently show that homeowners who conduct annual inspections spend significantly less on emergency repairs over a 10-year period compared to those who wait until problems become visible.
Having framed why attic checks matter so much, let’s look at the specific problems you’re most likely to find up there.
Most overlooked problems you’ll find in the attic
Attic problems don’t announce themselves. They hide in corners, behind insulation, and along the edges of the roof deck where a quick glance won’t reveal anything. Here are the issues that home maintenance experts consistently flag as the most common and the most costly when left unchecked.
| Problem | Early sign | If ignored |
|---|---|---|
| Moisture/mold | Musty smell, dark spots | Structural rot, health hazards |
| Pest infestation | Droppings, chewed wires | Fire risk, full home infestation |
| Damaged insulation | Thin or compressed batts | High energy bills |
| Blocked vents | Condensation buildup | Moisture damage, mold growth |
| Roof deck damage | Sagging, water stains | Roof failure, interior flooding |
Here’s a numbered breakdown of where to focus your attention and why:
-
Moisture and mold: This is the number one attic problem in most climates. It usually starts with a small roof leak or inadequate ventilation. Warm, moist air rises from your living space and has nowhere to escape. The result is condensation that collects on wood surfaces and insulation. Mold can begin growing within 24 to 48 hours of water exposure, so even a slow drip matters.
-
Rodent or pest droppings: Rats, mice, squirrels, and even raccoons see your attic as prime real estate. They enter through gaps as small as a quarter inch around roof vents, eaves, or where utility lines enter the house. The home safety inspection steps used by professionals always include checking for entry points and droppings along walls and on top of insulation.
-
Damaged or missing insulation: Insulation gets compressed by foot traffic, chewed by pests, or saturated with moisture. Once insulation loses its structure, it stops working. Damaged batts are often invisible from below, which is exactly why getting up there matters.
-
Exposed or frayed wiring: Old knob-and-tube wiring, improper DIY electrical work, and rodent chewing all create fire hazards. Look for any wiring that is touching insulation directly, has frayed sheathing, or shows scorch marks.
-
Blocked or inadequate ventilation: Your attic needs airflow to stay dry and regulate temperature. Blocked soffit vents, improperly installed baffles, and covered ridge vents all trap heat and moisture. This accelerates the degradation of roofing materials from the inside out.
According to the home maintenance checklist, home services experts examine all five of these areas as a baseline during professional attic inspections. You can absolutely check most of these yourself with the right preparation.
Pro Tip: Use your nose before you use your eyes. A musty or ammonia-like smell when you open the attic hatch is your first warning sign. Musty usually means mold. Ammonia often means animal urine. Either one means it’s time for a closer look.
There’s a practical framework for doing this inspection efficiently and safely, and that’s exactly what the next section covers.
Attic inspection checklist for DIY and safety
Before you climb up there, get the right gear together. Skipping safety steps is how a routine inspection turns into a trip to urgent care.
Gear you need:
- Respirator or N95 mask (for mold spores and insulation fibers)
- Safety goggles
- Headlamp or flashlight
- Work gloves
- Long sleeves and pants (fiberglass insulation irritates skin badly)
- Knee pads
- A piece of plywood or boards to kneel on so you don’t step through the drywall
Once you’re geared up, here’s how to work through the space methodically:
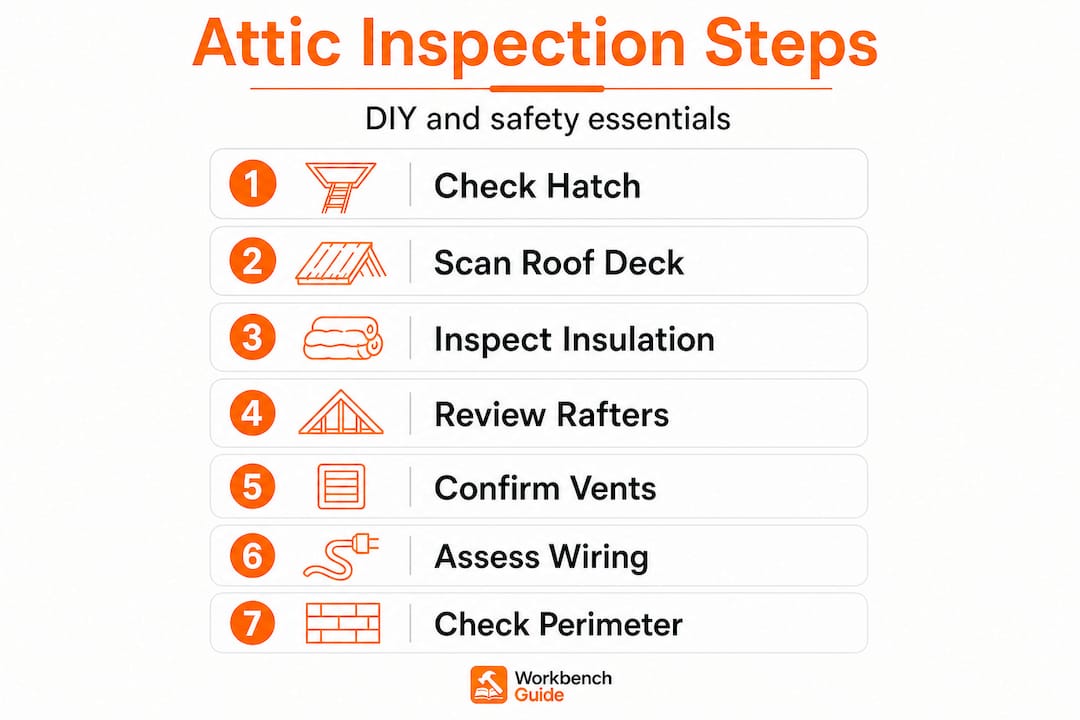
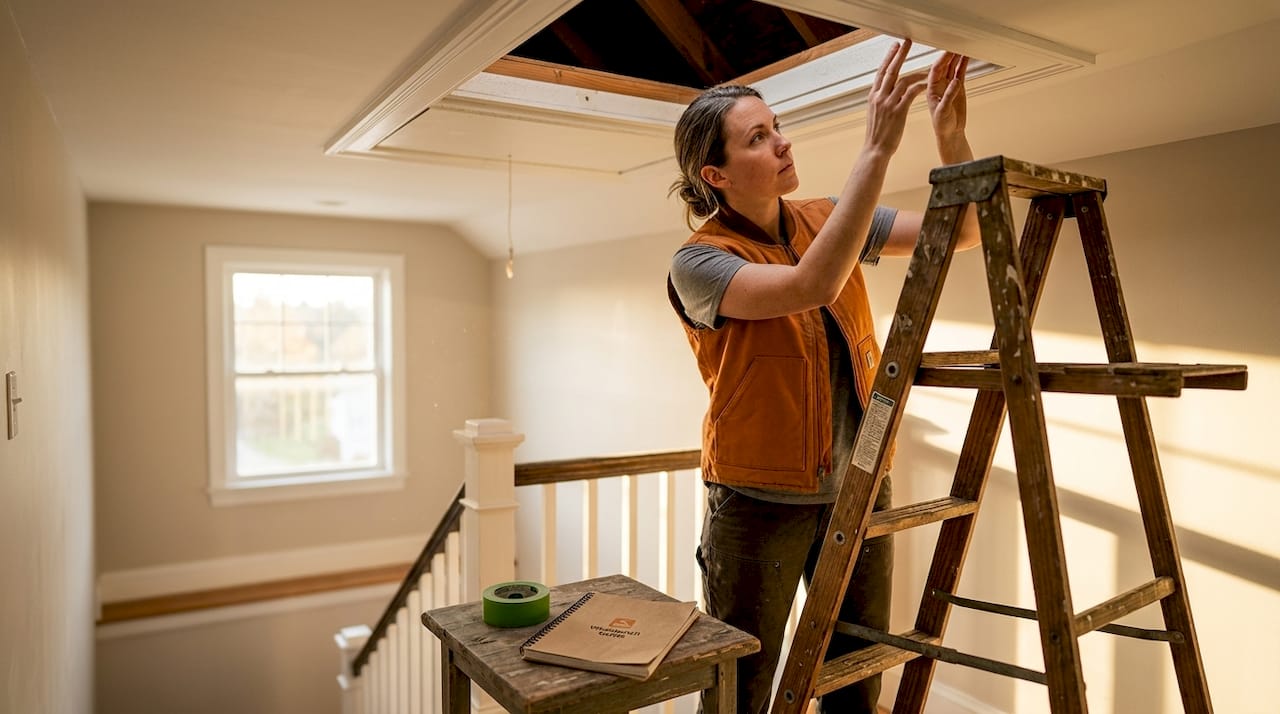
Step 1: Start at the hatch or access door. Look for daylight gaps around the frame, which means air leakage. Check the hatch itself for insulation on the back.
Step 2: Scan the roof deck from the center. Look for dark stains, sagging sections, or areas where daylight is visible through the roof boards. These are active or recent leak sites.
Step 3: Check insulation depth and condition. In most climate zones, you want R-38 to R-60 value (roughly 10 to 15 inches of blown cellulose or 13 to 18 inches of fiberglass batts). If it’s thin, flat, or wet, it needs replacing.
Step 4: Follow the rafters and look at every connection point. Check for soft wood (press lightly with a screwdriver handle). Soft spots indicate rot.
Step 5: Locate all vents and confirm they are unobstructed. Look for condensation rings or water marks near vent openings.
Step 6: Look for wiring. Note any wiring that is in direct contact with insulation, has visible damage, or is improperly spliced without a junction box.
Step 7: Check the perimeter where the roof meets the exterior walls. This is where rodents most commonly enter and where ice dams most often cause damage.
| Inspection method | Best for | Limitations |
|---|---|---|
| DIY inspection | Routine checks, visible issues | Cannot assess hidden damage safely |
| Professional inspector | Full structural and electrical review | Costs $200 to $500 per visit |
| Thermal imaging camera | Finding hidden moisture and air leaks | Requires training to interpret results |
The roof inspection guide covers complementary steps for checking your roof from the outside, which pairs well with your attic walkthrough. If you want to go deeper on understanding the overall condition of your home, the home audit guide walks you through every system from foundation to roof.
Pro Tip: Take photos of every area you inspect. Label them by location (northeast corner, center ridge, south vent). This creates a baseline you can compare on your next inspection to spot changes early.
Now that you have a workable checklist, let’s talk about what this routine effort actually saves you over time.
How attic inspections protect your wallet and home
The financial case for regular attic inspections is straightforward once you look at the numbers. A minor roof leak caught during an inspection might cost $200 to $400 to patch. Left undetected for two or three years, that same leak can rot the roof deck, damage ceiling joists, and trigger a mold remediation project that runs anywhere from $3,000 to $10,000 or more.
The math is not complicated. Here’s what routine inspections help you avoid:
- Mold remediation: $2,000 to $6,000 for small to moderate infestations
- Roof deck replacement: $1,500 to $4,000 depending on extent
- Pest extermination and exclusion: $500 to $3,000 for a full rodent treatment
- Insulation replacement: $1,500 to $4,000 for a full attic reinsulation
- Emergency HVAC repair: $500 to $2,000 when attic heat gain overloads your system
“Describes how inspecting the attic can protect homes from structural and environmental damage.” Catching problems in their early stages consistently delivers five to ten times the return compared to reactive repairs.
Beyond money, there are safety benefits you can’t put a price on. Fires caused by rodent-chewed wiring are rarely covered fully by insurance if deferred maintenance is proven to be a factor. Mold exposure has been linked to chronic respiratory issues, especially in children and elderly family members. A routine annual inspection takes less than an hour of your time and directly reduces those risks.
The resources at prevent costly repairs and the maintenance checklist give you a full-year view of home upkeep tasks so attic inspections stay on your calendar, not just on your to-do list.
The surprising truth most homeowners miss about attic inspections
Here’s the honest take after working with homeowners on maintenance routines: the biggest mistake people make is treating attic inspections as a one-and-done item on a moving-in checklist. They get the home inspected before purchase, feel reassured, and then never look up there again for a decade.
That is not how houses work. Your attic changes constantly. Seasons shift temperature and humidity dramatically. Animals are always testing for entry points. Roofing materials have a lifespan. Insulation settles. Ventilation gets blocked by new insulation that was installed without proper baffles. These are not static systems.
The homeowners who do best financially are the ones who treat the attic like they treat their car. You don’t wait until the engine fails to open the hood. You check the oil, the tires, the brakes. That preventive mindset, applied to your home, is worth thousands of dollars over a typical ownership period.
There’s also a confidence factor that gets overlooked. Most people avoid the attic because they feel uncertain about what they’re looking at. Once you do one thorough inspection using a checklist, you know your attic. You have photos. You have a baseline. The next time takes half as long and you know exactly what’s changed. That confidence is what turns a dreaded chore into a manageable habit.
Reading through expert safety inspection insights can help you understand what professionals actually focus on, so you can approach your own inspection with their eye for detail instead of guessing.
The bottom line: inspecting your attic is not about finding disaster. It’s about knowing your home well enough that disaster doesn’t get a foothold.
Explore resources for smarter attic inspections and home care
Workbench Guide is built for exactly this kind of proactive homeownership. Whether you’re doing your first attic walkthrough or building a full seasonal maintenance routine, the tools here make it easy to stay on top of everything. Start with the year-round maintenance checklist to keep attic checks and other critical tasks scheduled and organized. The preventative maintenance guide helps you think like a homeowner who never gets surprised by a repair bill. And if you’re ready to tackle bigger projects, browse DIY project ideas that build skills and save money at the same time. Your attic is waiting. Let’s make sure it stays in great shape.

Frequently asked questions
How often should I inspect my attic?
Attics should be inspected at least once a year and after major weather events for signs of moisture, pests, and structural issues.
What signs indicate attic problems?
Look for water stains, mold, unusual odors, droppings, damaged insulation, and blocked vents during your inspection, all of which appear on expert inspection checklists.
Is it safe to inspect the attic myself?
DIY attic inspections are safe if you wear protective gear, have proper lighting, and avoid stepping on unsupported areas between joists, as outlined in attic safety checklists.
Should I hire a professional for attic inspections?
Consider hiring a pro if you suspect structural damage, extensive mold, or pests, or if your inspection reveals issues beyond routine maintenance, since professional checks cover areas DIY methods can miss.
Can regular attic inspections save money?
Routine attic checks help catch minor issues before they become expensive repairs, and consistent maintenance is proven to protect both your home and your long-term budget.