
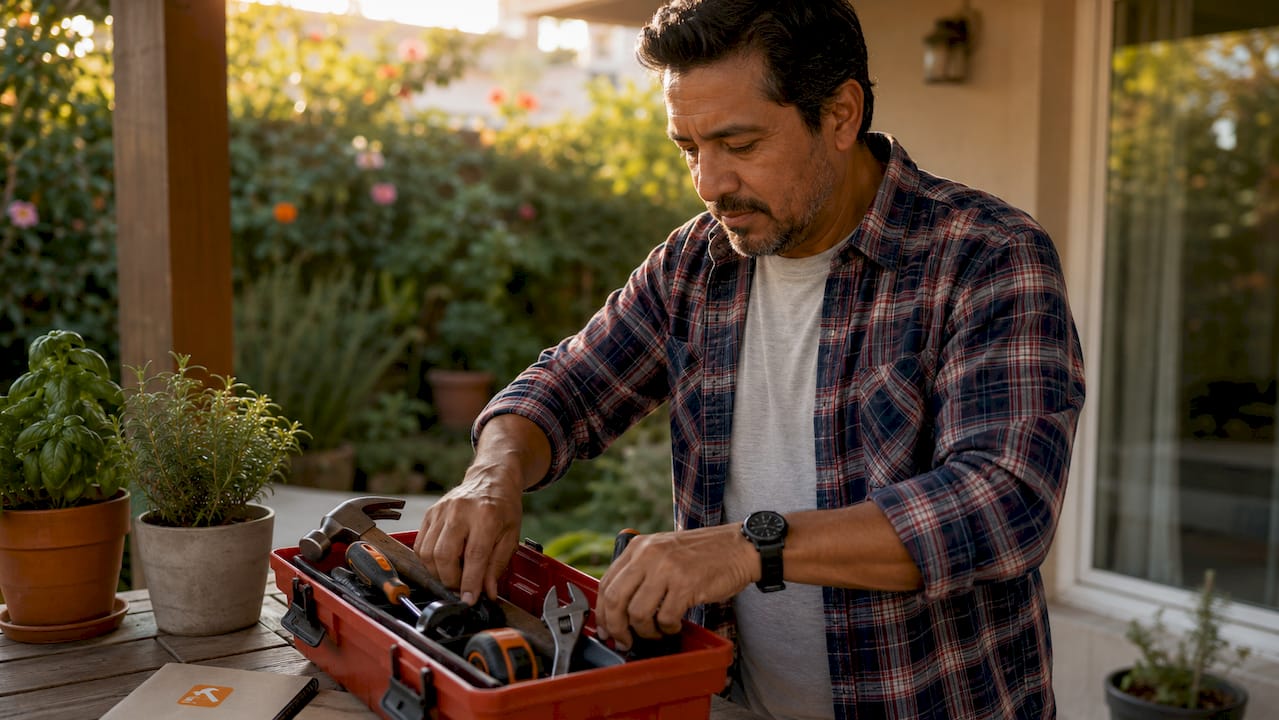
A well-chosen home toolkit is defined as the collection of hand tools, power tools, and safety gear that lets you handle the majority of common repairs and improvements without calling a contractor. The tools every DIYer needs fit into roughly 11 to 12 core categories, covering everything from hanging shelves to fixing a leaky cabinet hinge. ANSI-rated safety glasses, a 25-foot locking tape measure, and a 12–18V cordless drill are the three items that appear on every expert-backed list. Get those right, and you have a foundation that handles most of what a home throws at you.
1. What are the must-have hand tools every DIYer should own?
Hand tools are the backbone of any home kit. They require no power source, they last decades with basic care, and they handle the tasks you face most often. Smart tool curation matters more than owning every tool on the shelf. A tight set of quality hand tools beats a garage full of cheap ones every time.
Claw hammer
A 16–20 oz claw hammer covers nailing, hanging, and light demolition. The weight range gives you enough force without tiring your arm on a long project. Look for a fiberglass or hickory handle, which absorbs vibration better than steel.
Screwdrivers
You need both Phillips and flathead in at least two sizes each. A 4-in-1 or 6-in-1 combination screwdriver cuts down on clutter and covers most fastener types in one handle.
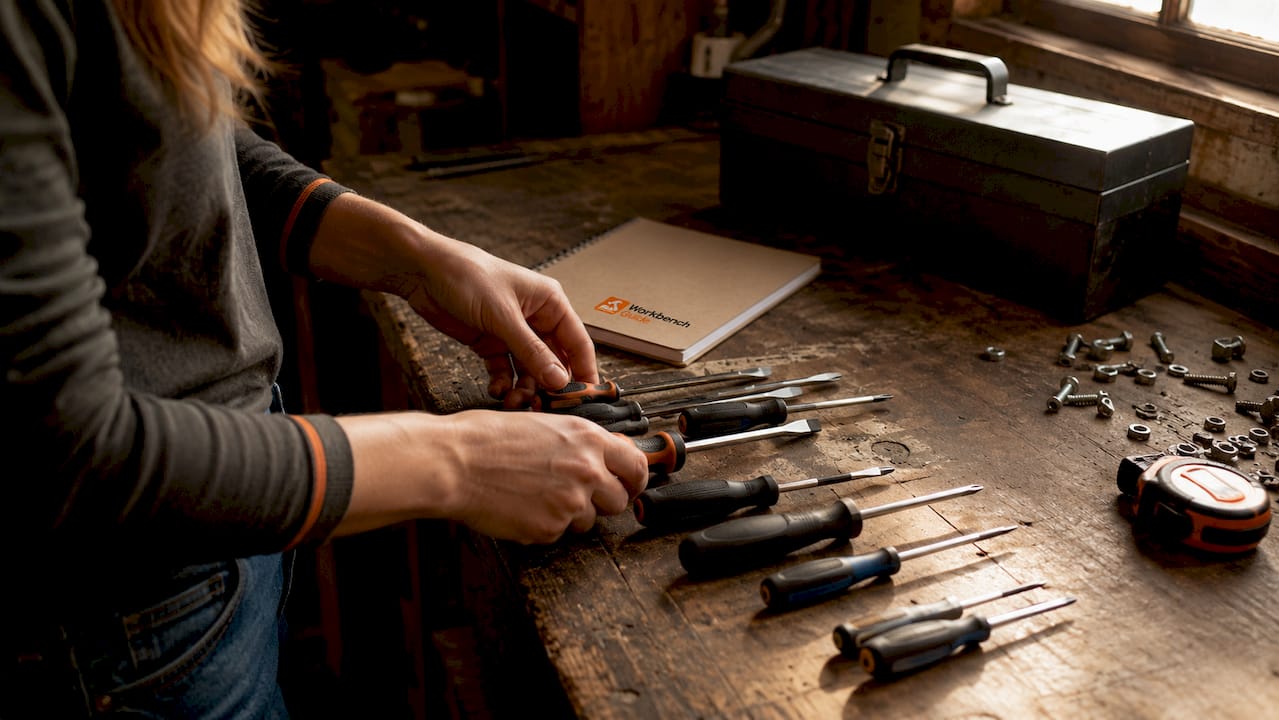
Pro Tip: Upgrade to a ratcheting screwdriver when your budget allows. It delivers superior torque and reduces the risk of stripped screws compared to a standard manual driver.
Tape measure
A 25-foot locking tape measure is the standard for room-scale projects. The locking blade keeps your measurement in place while you mark, which prevents the most common measuring mistake: the tape snapping back before you write anything down.
Adjustable pliers
Slip-joint pliers and a pair of needle-nose pliers together cover gripping, bending, and reaching into tight spaces. Adjustable pliers replace three or four fixed-size pairs, which saves both money and drawer space.
Utility knife
A utility knife with snap-off blades stays sharp longer than a fixed blade because you break off the dull segment and expose a fresh edge. Use it for scoring drywall, cutting caulk, and trimming materials to fit.
2. Which power tools are essential for DIY projects at home?
Power tools multiply what you can accomplish in a single afternoon. The right ones reduce physical effort and improve accuracy. The wrong ones sit in a closet and collect dust. Start with two and build from there.
Cordless drill/driver
A 12–18V cordless drill with a clutch is the single most useful power tool a homeowner can own. The voltage range gives you enough torque for drilling into wood, drywall, and light masonry without the bulk of a professional-grade tool.
The clutch is the feature most beginners overlook. A torque-setting clutch stops the drill when it reaches a set resistance level, which prevents stripped screws and protects your wrist from the sudden jerk of an overtightened fastener. Set the clutch low for soft materials and higher for hardwood or metal.
Pro Tip: Buy a drill that comes with two batteries. One charges while you work with the other, so you never stop mid-project waiting for power.
- Look for a drill with at least 300 inch-pounds of torque for general home use.
- Variable speed trigger gives you control for delicate tasks like driving screws into trim.
- A built-in LED work light is worth paying extra for when you work inside cabinets or under sinks.
Circular saw
A circular saw handles straight cuts in plywood, lumber, and composite decking. You do not need a miter saw or table saw for most home projects. A 7¼-inch circular saw with a sharp blade covers shelving, framing repairs, and deck boards. Pair it with a straightedge guide for cuts that need to be perfectly straight.
Glue gun
A hot glue gun is underrated as a repair tool. It bonds wood trim, fabric, and lightweight materials in seconds. For quick fixes that do not need structural strength, it beats waiting 24 hours for wood glue to cure.
3. What safety and measuring tools should every DIYer never skip?
Safety gear is not optional equipment. ANSI-rated safety glasses, work gloves, and a dust mask are the minimum protection for any project that involves cutting, drilling, or sanding. Skipping them is how minor projects turn into emergency room visits.
Measuring tools belong in the same category as safety gear. Inaccurate cuts waste materials and create gaps that take twice as long to fix. The tools below work together to keep your work square, level, and correctly sized.
| Tool | Type | Primary use |
|---|---|---|
| ANSI-rated safety glasses | Safety | Eye protection from debris and dust |
| Work gloves | Safety | Hand protection from cuts and splinters |
| Dust mask or N95 respirator | Safety | Lung protection during sanding or cutting |
| Spirit level (24-inch) | Measuring | Checking horizontal and vertical alignment |
| Speed square | Measuring | Marking 90-degree and 45-degree angles |
| Carpenter’s pencil | Measuring | Marking cut lines that stay visible |
| Multimeter | Safety/Electrical | Checking circuits before electrical work |
A multimeter deserves special mention. Most homeowners never think to own one until they face an electrical problem. It verifies whether a circuit is live before you touch it, which is the difference between a safe repair and a serious shock. A basic digital multimeter costs under $30 and covers voltage, continuity, and resistance checks.
A home safety inspection before starting any major project helps you identify hazards before tools ever come out.
4. How to organize and maintain your DIY tools for longevity and readiness
A disorganized toolkit costs you time and money. Tools left loose in a drawer get damaged, go missing, and take twice as long to find when you need them fast. A toolbox or tool bag keeps everything protected, accessible, and in one place.
The choice between a toolbox and a tool bag depends on how you work. A rigid toolbox protects tools better and stacks easily in a closet. A canvas tool bag is lighter and easier to carry from room to room. For most homeowners, a medium-sized tool bag with a rigid base is the best starting point.
Maintenance is what separates tools that last 20 years from tools that rust out in two. Follow these habits:
- Wipe metal surfaces with a dry cloth after each use to prevent rust.
- Apply a light coat of machine oil to saw blades and drill bits every few months.
- Store cordless drill batteries at partial charge (around 40–60%) if you will not use them for weeks. Full charge storage degrades lithium-ion cells faster.
- Check screwdriver tips for wear. A worn tip strips screws and damages fastener heads.
- Inspect power tool cords and battery contacts for cracks or corrosion before each use.
Start small and upgrade based on what your projects actually demand. Buying a full set of specialized tools before you need them leads to wasted money and cluttered storage. The right approach to home upgrades is to let your project list drive your tool purchases, not the other way around.
Pro Tip: Label your tool bag sections with masking tape and a marker. When you finish a project, return every tool to its labeled spot before putting the bag away. This single habit eliminates the “where did I put that?” problem entirely.
Key takeaways
A small, well-chosen toolkit covers the vast majority of home repairs when it includes quality hand tools, a 12–18V cordless drill, ANSI-rated safety gear, and basic measuring tools.
| Point | Details |
|---|---|
| Start with hand tools | A claw hammer, screwdrivers, tape measure, pliers, and utility knife handle most common repairs. |
| Prioritize the cordless drill | A 12–18V drill with a clutch is the most versatile power tool for home use. |
| Never skip safety gear | ANSI-rated glasses, gloves, and a dust mask are required for any cutting or drilling task. |
| Measure before you cut | A spirit level, speed square, and 25-foot tape measure prevent costly material waste. |
| Organize from day one | A tool bag with labeled sections saves time and protects tools from damage. |
What I’ve learned about building a toolkit that actually gets used
Most people buy tools the wrong way. They either buy too little and get frustrated halfway through a project, or they spend $500 on a set they use twice. I’ve watched both happen, and neither builds the confidence that makes DIY worth doing.
The insight that changed how I think about this: a small, well-chosen kit handles 80% of common house problems more effectively than a large random collection. That means your first purchase should be a quality claw hammer, a good set of screwdrivers, and a reliable cordless drill. Not a full 200-piece socket set. Not a compound miter saw. Those come later, when a specific project demands them.
Proper tool handling is the skill most beginners underestimate. A drill used incorrectly strips screws and splits wood. A circular saw without a guide produces cuts that do not fit together. Learning technique before buying more tools is the faster path to good results. Workbenchguide’s step-by-step repair guides are built around this idea: show the technique first, then let the tool do its job.
The other thing I’d tell any new homeowner: do not wait for a big project to build your kit. Start with the basics, fix the small things around the house, and let your confidence grow with your skill. The right tools do not make you a better DIYer overnight. Practice does. But the right tools make practice a lot less frustrating.
— Sean
Workbenchguide makes home projects easier to plan and track
Knowing which tools to buy is only half the job. Knowing what to do with them, and when, is what keeps a home in good shape year after year. Workbenchguide gives homeowners a home maintenance checklist that maps out exactly what to check, fix, and schedule across every season. The platform pairs that checklist with step-by-step DIY guides so you always know what the next task is and how to handle it. If a project goes beyond your toolkit, contractor help is one click away. For homeowners who want to stay ahead of repairs instead of reacting to them, Workbenchguide is the place to start.
FAQ
What tools should a beginner DIYer buy first?
A beginner should start with a claw hammer, Phillips and flathead screwdrivers, a 25-foot tape measure, adjustable pliers, a utility knife, and a 12–18V cordless drill. These 11 to 12 core tools cover the majority of common home repairs.
What voltage cordless drill is best for home use?
A 12–18V cordless drill is the standard recommendation for home DIY projects. That voltage range delivers enough torque for wood, drywall, and light masonry without excessive weight.
Do I really need ANSI-rated safety glasses?
Yes. ANSI-rated safety glasses meet a tested impact resistance standard that regular eyewear does not. Any task involving cutting, drilling, or sanding produces debris that can cause permanent eye damage.
What is a clutch on a cordless drill and why does it matter?
A clutch is a torque-limiting ring on a cordless drill that stops driving when it reaches a set resistance. It prevents stripped screws and protects your wrist from sudden kickback, which makes it especially useful for beginners.
How do I keep my tools in good condition long-term?
Wipe tools dry after each use, oil metal surfaces every few months, and store cordless batteries at partial charge when not in use. A labeled tool bag keeps everything organized and prevents the physical damage that comes from loose storage.