

Most homeowners figure out how to plan home upgrades the hard way: a kitchen remodel that runs 40% over budget, a bathroom project stalled for six weeks waiting on a permit, or a contractor who disappears after demo day. These are not rare horror stories. They are what happens when good intentions skip the planning phase. This guide walks you through every stage of home improvement planning, from assessing your systems to managing contractors, so your next project runs on your terms instead of improvised chaos.
Table of Contents
- Key takeaways
- How to plan home upgrades: start with a full assessment
- Building a budget that actually holds
- Sequencing and timeline management
- Working effectively with contractors
- Preparing your home for the renovation
- My honest take on home upgrade planning
- Plan smarter with Workbenchguide
- FAQ
Key takeaways
| Point | Details |
|---|---|
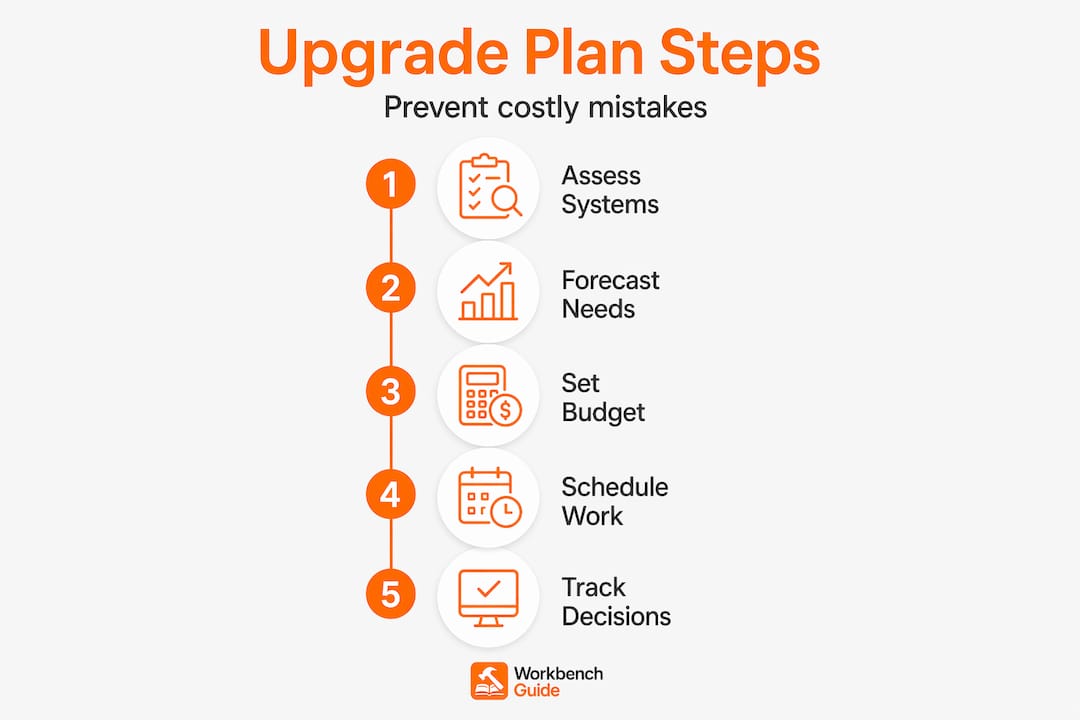
| Start with a systems assessment | Document the age and condition of every major system before deciding what to upgrade first. |
| Budget with a real contingency | Set aside 15% to 30% above your estimate to cover hidden issues and permit delays. |
| Sequence work in the right order | Structural and mechanical work must come before finishes to avoid expensive rework. |
| Lock decisions before demolition | Finalize cabinets, appliances, and fixtures early so material lead times do not stall your project. |
| Manage contractors with documentation | Use written contracts, decision logs, and a communication plan to prevent scope creep. |
How to plan home upgrades: start with a full assessment
Before you touch a single wall, you need to know what you are actually working with. A documented systems assessment captures the age, condition, and history of every major component in your home. Think roof, HVAC, plumbing, electrical panel, foundation, and windows. Most homeowners skip this step because it feels tedious. That is exactly why so many projects blow up mid-renovation when a contractor opens a wall and finds 40-year-old knob-and-tube wiring that now requires a full rewire.
The right tools for this stage are simpler than you think. A smartphone camera, a home upgrade checklist, and a folder for invoices and warranties will get you most of the way there. Photos and checklists create a phased plan that prioritizes what is actually failing, not just what looks dated. Walk every room and document what you see, note any moisture stains, soft spots in flooring, flickering outlets, or drafty windows.
Once you have that picture, you can sort your list into priority tiers:
- Must fix now: Active leaks, structural concerns, failing electrical, or anything that affects safety and habitability
- Should address soon: Systems within five years of their expected lifespan, outdated plumbing, poor insulation
- Dream upgrades: Cosmetic improvements, additions, and aesthetic renovations that depend on the above being solid
This three-tier system prevents you from spending $25,000 on a gorgeous kitchen only to discover the crawl space has moisture damage that now requires $15,000 in structural work. Cosmetic changes always come last.
Pro Tip: Pull your home’s permit history from your local building department. It tells you what work was done, when, and whether it was properly inspected. This one step can save you from inheriting someone else’s unpermitted problem.
Create a long-term forecast while you are at it. If your HVAC is 12 years old and furnaces typically last 15 to 20 years, schedule that replacement in your three to five-year plan now, before it fails in January and forces a rushed, expensive decision.
Building a budget that actually holds
The average homeowner wildly underestimates renovation costs. Cost overruns of 20% or more are common, and the primary culprits are hidden mechanical and structural issues discovered only after work begins. The fix is not to estimate better. It is to plan for uncertainty from the start.

Here is a practical breakdown of how to structure your home upgrade budget:
| Budget category | Typical share | Notes |
|---|---|---|
| Materials | 40% to 50% | Includes fixtures, finishes, and appliances |
| Labor | 30% to 40% | Often underestimated, especially in skilled trades |
| Permits and fees | 2% to 5% | Varies widely by municipality and project scope |
| Contingency fund | 15% to 30% | Non-negotiable; higher for older homes |
A 15% to 30% contingency is not pessimism. It is risk management. Use the lower end for newer homes with documented systems and straightforward projects. Go higher for homes built before 1980, anything with known moisture history, or projects that touch plumbing and electrical simultaneously. Think of contingency as a required line item, not optional padding.
On the question of where to splurge versus save: put money into things you cannot easily change later and items that take daily wear. Subflooring, windows, and plumbing rough-in work deserve your full budget. Cabinet hardware, light fixtures, and paint colors can be upgraded affordably in three years if your taste changes.
Pro Tip: Get three itemized bids, not just three total numbers. When bids are broken down by labor, materials, and scope, you can compare them accurately and spot where one contractor is cutting corners or padding margins.
Permit fees deserve special attention. Many homeowners forget to budget for them, and they are not trivial. A full bathroom addition in a major metro can require $1,500 to $3,000 in permits alone. Factor this in before you finalize your numbers, not after.
Sequencing and timeline management
The order you tackle work is not a preference. It is a technical requirement. Doing things out of sequence causes rework, inspection failures, and costs that dwarf what you saved by rushing ahead.
The correct sequence for most home upgrades follows this logic:
- Structural work first: Foundation repairs, framing corrections, load-bearing adjustments
- Water management: Roofing, waterproofing, drainage, exterior moisture barriers
- Mechanical and electrical rough-in: HVAC ducts, plumbing supply and drain lines, electrical wiring
- Inspections before closing walls: Rough-in approvals from building inspectors must happen before drywall goes up
- Insulation: Installed only after rough-ins are inspected and approved
- Drywall, then finishes: Painting, flooring, tile, trim work
- Cabinetry and fixtures: Installed after flooring is set and walls are complete
- Final landscaping and exterior: Addressed last to avoid damage from construction traffic
Long-lead items are where projects stall most predictably. Custom cabinetry takes 6 to 12 weeks to fabricate and deliver. Some specialty appliances require 12 to 20 weeks. If you do not order these on day one of planning, you will end up with a gutted kitchen and no cabinets for two months.
Build your critical path calendar backward from your cabinet and appliance delivery dates. Schedule demolition to align with those windows, not around your schedule or your contractor’s availability. This single habit eliminates the most common source of project stalls.
Permits add another timing layer. Some municipalities require work to begin within six months of permit issuance, and inspection scheduling must be built into your timeline with deliberate buffer days. Do not assume inspections happen the day after you call. Add one to two weeks for each inspection gate when building your calendar.
Working effectively with contractors
Choosing a contractor on price alone is one of the most reliable ways to regret a renovation. The contractor who bids 30% below everyone else is either cutting scope, planning to use cheaper materials, or underestimating the job and hoping to recover the difference through change orders. Interview at minimum three contractors and ask beyond price: How do you handle unexpected conditions? Can I see references from projects similar to mine? Who specifically will be on site daily?
Once you have selected your contractor, the contract is your protection. It should specify:
- Exact scope of work, including what is explicitly excluded
- Materials by brand, model number, and specification where relevant
- Payment schedule tied to milestone completions, not arbitrary dates
- Start and completion dates with defined consequences for delays
- A process for handling change orders in writing before work proceeds
A decision log is something most homeowners have never heard of but wish they had used. Tracking your design choices with a rationale and date creates an audit trail that prevents disputes. When your contractor says you approved a substitution for a different tile, you can check your log and respond with facts, not memory.
Preferred communication channels should be agreed on before work starts. Text for quick site questions, email for formal change orders and approvals. Set an expectation that any change to scope, materials, or cost requires written approval before work proceeds. This single rule eliminates most contractor disputes.
Pro Tip: Never pay more than 10% upfront as a deposit for any project. A contractor who demands 50% before starting has a cash flow problem, and that problem will become your problem.
Preparing your home for the renovation
The physical preparation of your home before work begins is a step most guides skip. It directly affects how livable your space is during the project and how efficiently your contractor can work.
Practical preparation steps that make a real difference include:
- Clear work zones completely, removing furniture, art, and personal items at least three feet beyond the work area
- Cover floors in adjacent rooms and hallways with heavy-duty paper or drop cloths to manage dust migration
- Create sealed plastic barriers between active construction and living areas to contain dust and debris
- Designate a separate entry and exit path for your crew to avoid tracking debris through the house
- Schedule a dumpster or junk removal service before demolition begins, not after
- Plan for dust control proactively, because fine drywall and concrete dust penetrates everything
If you are living in the home during construction, be realistic about which rooms will be unusable and for how long. Set up a temporary kitchen if yours will be out of service. Book short-term accommodations for the weeks when multiple trades are working simultaneously and the disruption is at its peak. The cost of a week in a rental is far less than the stress of living in a construction site with two kids and a dog.
After work wraps, build a post-renovation maintenance plan. New systems need their first service sooner than you expect. A home maintenance checklist that tracks when filters, caulking, and mechanical systems need attention protects the investment you just made.
My honest take on home upgrade planning
I have watched homeowners approach renovations in two very different ways, and the gap in outcomes is not subtle. The ones who spend two to three months in the planning phase before swinging a single hammer almost always finish close to budget and on time. The ones who skip to execution within weeks of getting the idea spend the back half of their project firefighting problems that were entirely predictable.
What surprises people most is how much of good planning comes down to patience with decisions. Underestimating the time needed to finalize design selections is one of the most consistent causes of delays and cost increases in renovations. Choosing tile, fixtures, and appliances sounds fast until you are on your fourth Saturday at the showroom and still undecided. Lock those choices before demolition, every time.
My other strong conviction is about contingency budgeting. Treating it as optional is not a risk tolerance decision. It is wishful thinking. Every older home has something behind its walls that was not visible during your initial walk-through. The contingency does not make you pessimistic. It makes you ready.
The homeowners who handle contractor relationships best treat them as professional partnerships, not adversarial negotiations. Respect your contractor’s expertise, communicate clearly in writing, and respond to questions quickly. Delays caused by an owner who cannot make a decision in time are just as costly as delays caused by a slow crew.
— Sean
Plan smarter with Workbenchguide
Workbenchguide exists for exactly the situation this article describes: a homeowner with a real project, a real budget, and no interest in making expensive mistakes. The platform gives you project checklists and step-by-step guides that walk you through every phase of a renovation, from initial assessment through final inspection. Use the home maintenance checklist to track system ages, upcoming service needs, and seasonal tasks so nothing falls through the cracks. Whether you are planning a room refresh or a whole-house makeover, Workbenchguide keeps your project organized, your budget visible, and your next step clear.
FAQ
What is the first step in planning a home upgrade?
Start with a full systems assessment. Document the age and condition of your roof, HVAC, plumbing, and electrical before prioritizing any cosmetic or structural changes.
How much contingency should I budget for a home renovation?
Set aside 15% to 30% of your total project budget as a contingency. Older homes and projects involving plumbing or electrical work warrant the higher end of that range.
Why does renovation sequencing matter?
Working in the wrong order causes rework and failed inspections. Rough plumbing and electrical must pass inspection before walls close, and structural work must be complete before mechanical systems are installed.
How far in advance should I order custom cabinets and appliances?
Order custom cabinets and specialty appliances as early as possible in your planning phase. Lead times commonly run 6 to 12 weeks for cabinets and up to 20 weeks for certain appliances.
What should a contractor agreement include?
A solid contract specifies exact scope, material specifications, a milestone-based payment schedule, start and completion dates, and a written process for approving any changes to scope or cost before work begins.