
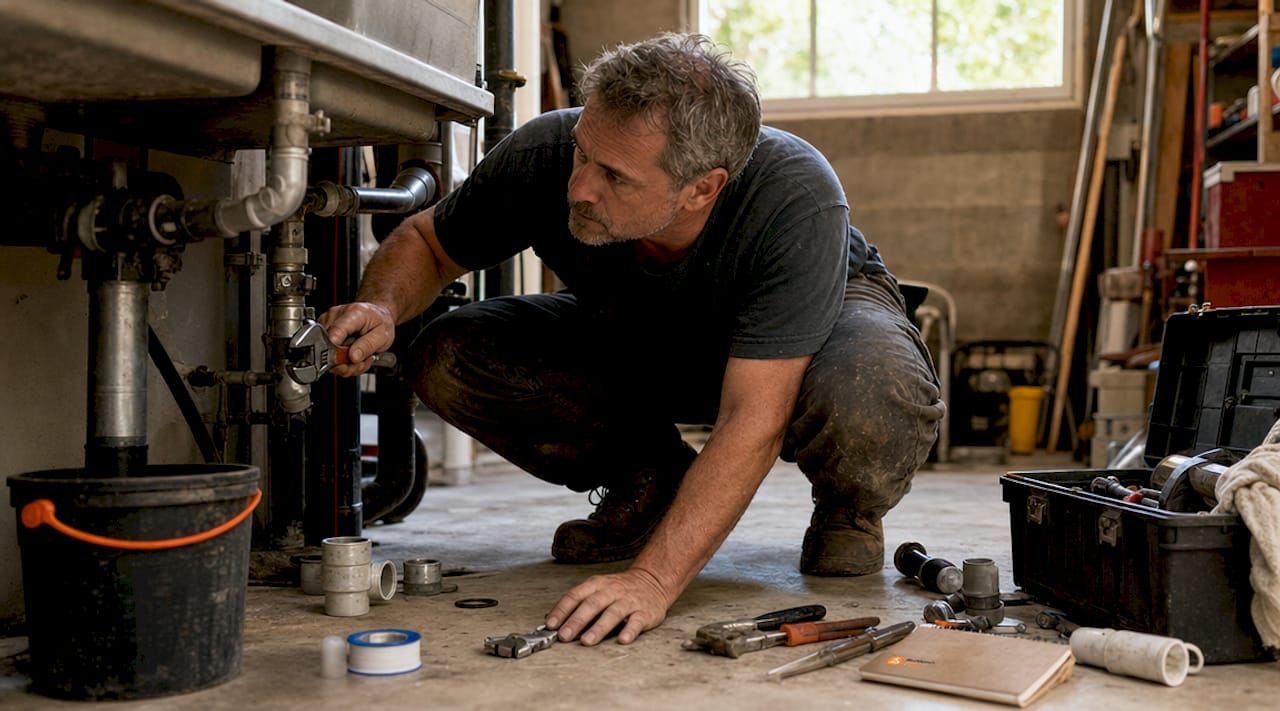
Step by step plumbing repair is the process of methodically diagnosing and fixing common household plumbing issues using the right tools, materials, and safety measures. Most homeowners will face a leaking pipe, dripping faucet, or clogged drain at some point. 66% of U.S. homeowners experienced plumbing problems in summer, and 27% suffered property damage as a result. That statistic means the difference between a quick fix and a costly insurance claim often comes down to how fast and how correctly you act. This guide walks you through every stage of the process, from grabbing the right tools to knowing when to call a licensed plumber.
What essential tools and materials do you need for plumbing repairs?
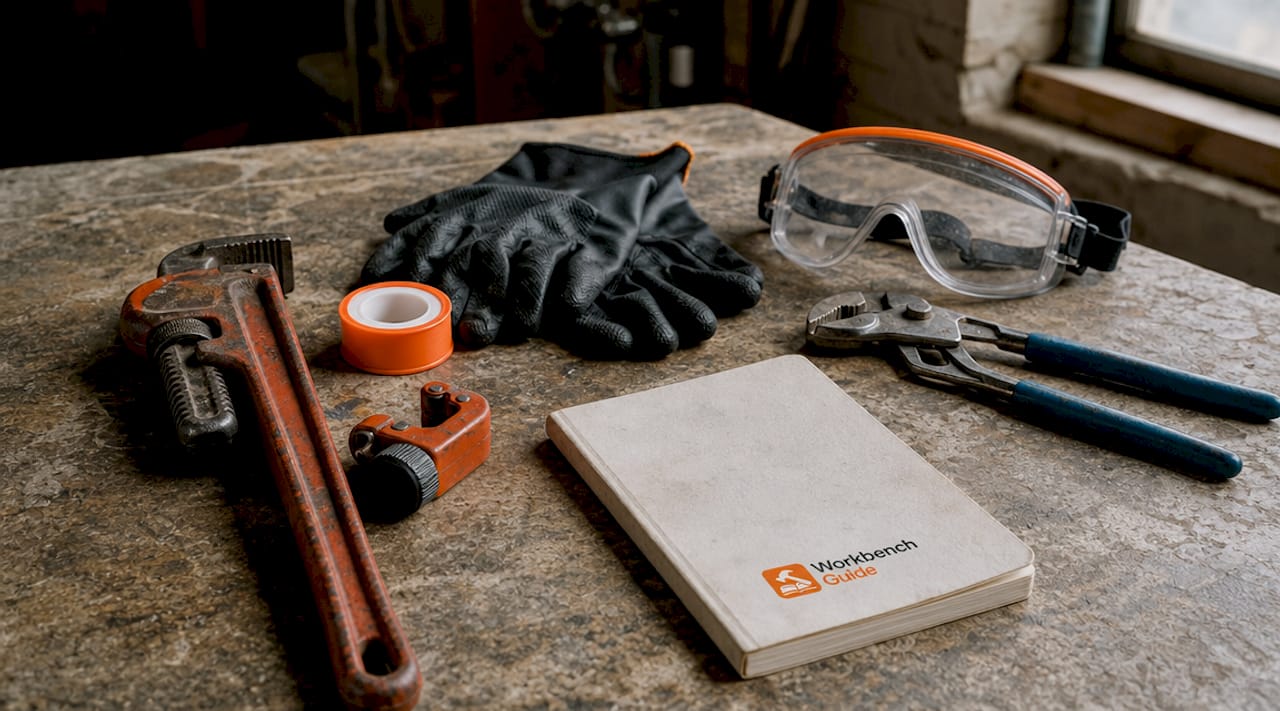
The right tools make the difference between a clean repair and a stripped fitting. Before you touch a single pipe, gather your core toolkit. Quality multi-purpose tools reduce fixture damage and improve your odds of a successful first attempt, which is why a basin wrench and an adjustable wrench should sit at the top of your list.
Must-have tools
- Adjustable wrench: Fits most supply line nuts and compression fittings without scratching chrome
- Basin wrench: Reaches up behind sinks to loosen or tighten mounting nuts that no other tool can access
- Pipe cutter: Produces clean, square cuts on copper and plastic pipe, which is critical for leak-free joints
- Plumber’s tape (PTFE tape): Wraps threaded connections to create a watertight seal
- Plunger: A flange plunger works on toilets; a cup plunger handles sinks and tubs
- Hand auger (drain snake): Clears clogs that a plunger cannot reach
Repair materials to keep on hand
| Material | Best use | Expected durability |
|---|---|---|
| Self-fusing silicone tape | Emergency pipe wrap, no tools needed | Temporary, hours to days |
| Pipe repair clamp | Pinhole or small crack on straight pipe | 10 or more years |
| Epoxy putty | Tight spaces, irregular surfaces | Permanent when cured |
| Push-fit couplings | Joining cut pipe sections, no soldering | Long-term permanent |
| Replacement washers and cartridges | Dripping faucets | Several years |
Pro Tip: Buy a 27-piece plumbing toolkit that covers wrenches, tape, and cutters before you face an emergency. Scrambling to a hardware store with water spraying from a pipe is a situation you want to avoid.
Safety gear matters too. Keep safety glasses on when cutting pipe, and wear rubber gloves when handling epoxy putty or working near drain chemicals. Always turn off the water supply before you open any fitting.
How do you diagnose common plumbing problems effectively?
A structured diagnostic phase avoids unnecessary labor and incorrect part replacement. Guessing costs money. The goal is to isolate the exact location and cause of the problem before you buy a single part.
Follow these diagnostic steps in order:
- Shut off the correct supply valve. Under-sink valves control individual fixtures. The main shutoff controls the whole house. Turn off only what you need to keep the rest of your home functional.
- Inspect visible fixtures first. Look for water stains, mineral deposits, or active drips around faucet bases, supply lines, and drain connections.
- Listen for running water. A toilet that runs between flushes points to a faulty flapper or fill valve. Running water you cannot see suggests a supply line leak inside a wall.
- Check the water meter. Turn off all fixtures and watch the meter dial for 15 minutes. Movement confirms an active leak somewhere in the system.
- Use a flashlight and a moisture meter. Shine a light under cabinets and behind appliances. A moisture meter confirms dampness in drywall or subfloor before you start cutting.
Distinguishing a localized leak from a whole-house issue changes your repair plan completely. A dripping faucet is a fixture problem. A pressure drop at every tap points to the main line or pressure regulator. Infrared cameras, available at most tool rental shops, can detect moisture behind walls without destructive investigation.
Pro Tip: Before you replace any part, isolate the problem location by running one fixture at a time and watching for the symptom to appear. This single habit eliminates the most common DIY mistake: replacing the wrong component.
What are the step-by-step repair processes for the most common plumbing fixes?
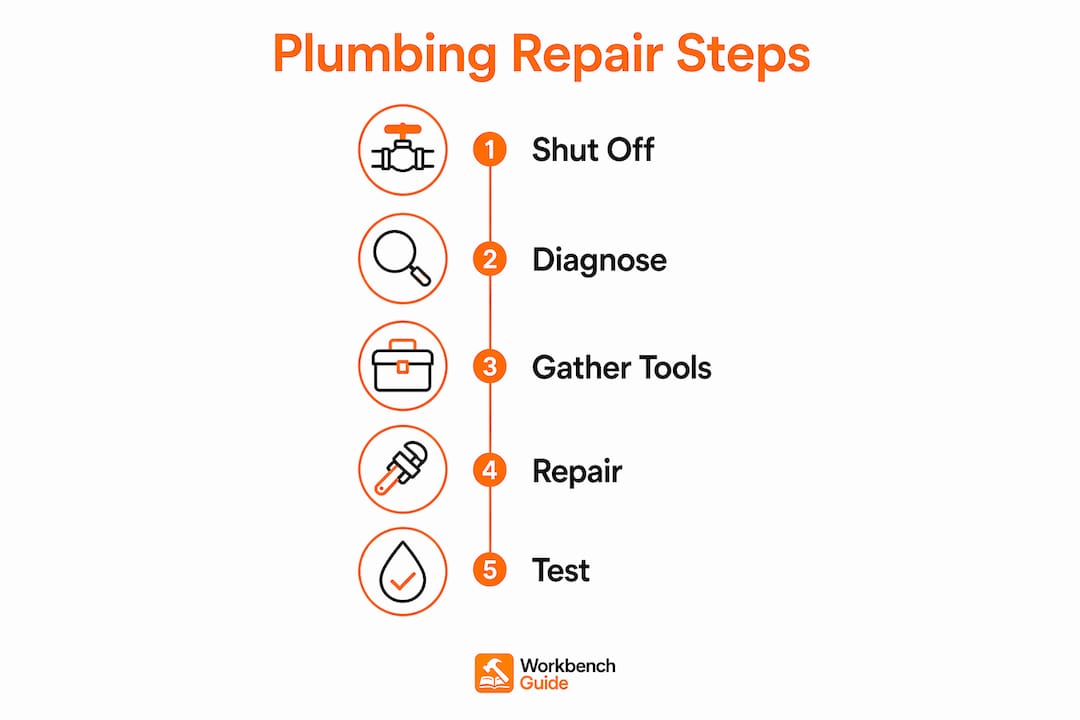
Most routine plumbing repairs take under 30 minutes with basic tools. That number applies to leaking pipes, toilet flappers, and pipe patches. The key is following a clear sequence for each repair type rather than improvising.
Fixing a leaking pipe
- Shut off the water supply to the affected section and open a downstream faucet to drain the line.
- Dry the pipe surface completely with a cloth or heat gun. No repair material bonds to a wet surface.
- For a pinhole leak or small crack, wrap self-fusing silicone tape tightly around the pipe, overlapping each layer by half. This is a temporary fix only.
- For a more durable result, slide a pipe repair clamp over the leak and tighten the bolts evenly until snug.
- For tight or awkward spaces, knead epoxy putty until the two parts blend to a uniform color, press it firmly over the leak, and allow it to cure for at least one hour before restoring water pressure.
- For a permanent fix, cut out the damaged section with a pipe cutter and install a push-fit coupling. Push-fit couplings require no soldering and connect in seconds.
- Restore water pressure slowly and inspect the repair for 10 minutes before declaring it done.
Repairing a dripping faucet
- Turn off the supply valves under the sink and open the faucet to release residual pressure.
- Remove the faucet handle by unscrewing the decorative cap and the handle screw beneath it.
- Unscrew the packing nut and pull out the stem or cartridge.
- Replace the rubber washer at the base of the stem, or swap the entire cartridge if it shows wear or cracking.
- Reassemble in reverse order. Tighten the packing nut to just snug, then add a quarter turn. Over-tightening causes handle binding and new leaks.
- Turn the supply back on and test for drips.
Pro Tip: Photograph the cartridge or washer before you remove it, then bring it to the hardware store for an exact match. Faucet manufacturers like Moen, Delta, and Kohler each use proprietary cartridge designs.
Clearing a clogged drain
- Start with a plunger. For sinks, block the overflow opening with a wet rag to create suction, then plunge firmly 10 to 15 times.
- If the plunger fails, remove the P-trap under the sink by unscrewing the slip nuts by hand. Place a bucket underneath first. Clean out any debris and reinstall.
- For deeper clogs, feed a hand auger into the drain opening, lock the cable, and rotate the handle clockwise as you push forward. When you feel resistance, work the auger back and forth to break up or hook the clog.
- Flush with hot water for two minutes after clearing.
Fixing a running toilet
- Remove the tank lid and observe the fill cycle. If water runs into the overflow tube, the float is set too high.
- Bend the float arm down slightly on older ball-float systems, or turn the adjustment screw on newer fill valves to lower the water level one inch below the overflow tube.
- If the toilet still runs, press down on the flapper. If the running stops, the flapper is worn and needs replacement. Turn off the supply valve, flush to empty the tank, unhook the old flapper from the overflow tube ears, and snap the new one in place.
- Restore water and confirm the tank fills and stops correctly.
When should you use a temporary fix and when to call a professional?
Temporary repair materials like silicone tape and epoxy putty are designed to buy time before a permanent repair. They are not substitutes for proper pipe replacement. Understanding that boundary protects your home.
Temporary fixes are appropriate when:
- You have an active leak and need to stop water damage while waiting for parts
- The damaged section is accessible and the pipe is otherwise in good condition
- The repair involves a single pinhole or hairline crack, not a split or corroded section
Call a licensed plumber immediately when you encounter any of these situations:
- A burst pipe with significant water volume
- Leaks near or involving gas lines
- Extensive corrosion affecting multiple pipe sections
- Water damage that has already reached walls, floors, or electrical panels
- Any repair that requires opening walls or working on the main supply line
A temporary fix applied correctly buys you hours or days. A temporary fix treated as permanent can cause thousands of dollars in water damage within weeks. Know the difference before you walk away from a repair.
For guidance on urgent situations, Workbenchguide’s emergency repair guide covers the critical first steps when water is actively damaging your home.
Key takeaways
Successful DIY plumbing repair depends on diagnosing the problem correctly, using the right material for each repair type, and recognizing when a temporary fix must give way to a permanent solution.
| Point | Details |
|---|---|
| Diagnose before you repair | Check the water meter, inspect fixtures, and isolate the leak location before buying any parts. |
| Match the material to the job | Use silicone tape for emergencies, epoxy putty for tight spaces, and push-fit couplings for permanent pipe repairs. |
| Follow the correct sequence | Shut off water, dry the surface, apply the repair, test under pressure, and inspect for 10 minutes. |
| Avoid over-tightening | Tighten packing nuts snug plus a quarter turn to prevent handle binding and new leaks. |
| Know when to stop | Burst pipes, corroded sections, and gas-adjacent leaks require a licensed plumber, not a DIY fix. |
What I’ve learned from years of watching homeowners tackle plumbing
Most plumbing failures I’ve seen were not caused by the original leak. They were caused by the repair that went wrong afterward. The two most common patterns: someone skipped the diagnostic step and replaced a faucet cartridge when the real problem was a cracked supply line, or someone used silicone tape on a joint under constant pressure and called it done.
The repair instructions in this guide work. What makes them work is the order. Shutting off the water before you touch anything is not optional. Drying the surface before applying epoxy is not optional. Testing under pressure before you close up the cabinet is not optional. Every step that gets skipped becomes the reason the repair fails.
One habit I’d push every homeowner to adopt: keep a small repair kit under every sink. A roll of PTFE tape, a set of replacement washers, and a tube of epoxy putty cost less than $20 total. They have saved more than a few people from a flooded bathroom at midnight. Pair that kit with annual plumbing checks and you will catch most problems before they become emergencies.
The goal is not to become a plumber. The goal is to handle the 80% of common issues that do not require one.
— Sean
Keep your home protected with Workbenchguide
Plumbing repairs are easier when you have a system behind you. Workbenchguide gives homeowners step-by-step DIY guides, project checklists, and maintenance reminders so nothing falls through the cracks. The home maintenance checklist covers plumbing inspections, seasonal checks, and repair tracking in one place. For broader repair coverage, the household repair guides walk you through fixes room by room. Stop reacting to problems and start staying ahead of them with Workbenchguide.
FAQ
How long does a typical plumbing repair take?
Most routine repairs, including leaking pipes, dripping faucets, and toilet flappers, take under 30 minutes with basic tools. Complex repairs involving pipe replacement or wall access take longer and may require professional help.
What is the best temporary fix for a leaking pipe?
Self-fusing silicone tape is the fastest temporary fix and requires no tools. For a more durable stop-gap, a pipe repair clamp holds for years but should still be followed by a permanent pipe section replacement.
Can I fix a dripping faucet without a plumber?
Yes. Replacing a worn washer or cartridge is a straightforward DIY repair. Turn off the supply valve, remove the handle, swap the worn part, and reassemble. The most common mistake is over-tightening the packing nut.
How do I know if my plumbing problem needs a licensed plumber?
Burst pipes, leaks near gas lines, extensive corrosion, and any repair requiring wall access go beyond standard DIY scope. If water has already reached electrical panels or structural elements, call a licensed plumber immediately.
What is the difference between a temporary and a permanent pipe repair?
Temporary repairs using tape or epoxy putty stop active leaks but do not restore the pipe’s structural integrity. Permanent repairs involve cutting out the damaged section and installing push-fit couplings or replacement fittings that restore full pressure capacity.