
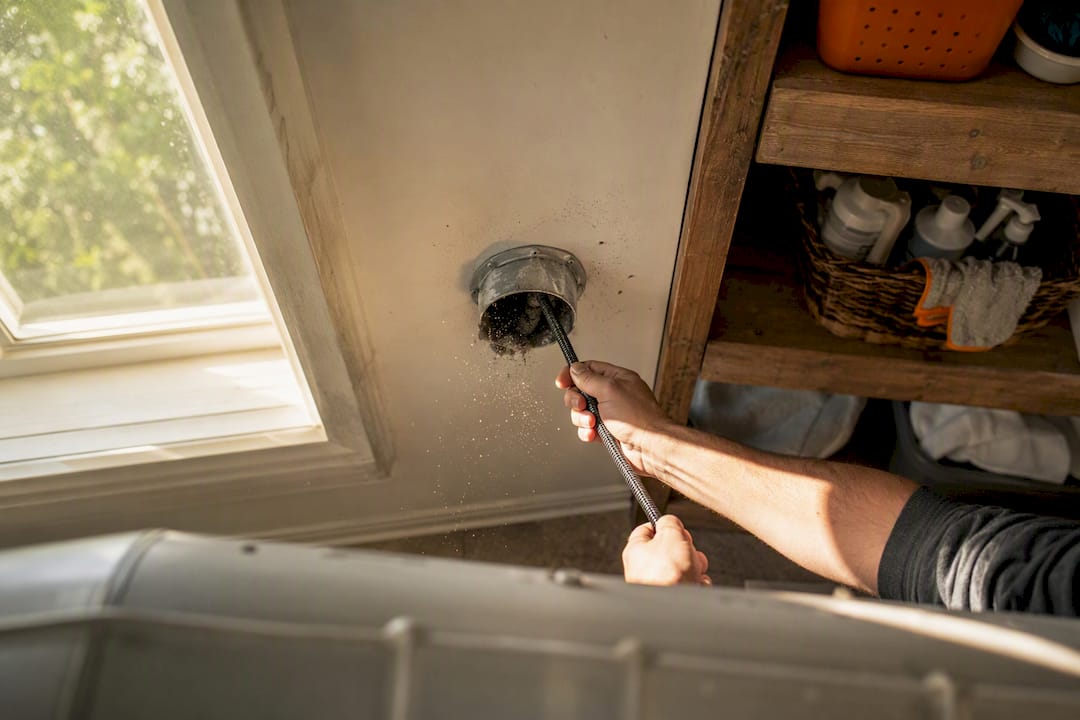
Most homeowners can clean an accessible dryer vent themselves if the duct run is short and terminates through a nearby exterior wall. Once you’re dealing with a long run, a roof termination, animal nests, or a dryer that smells like it’s burning, stop and call a professional. Plan on an annual inspection at minimum, more often if you’re washing for a big family or running a long, twisty duct. A standard professional job typically runs $100 to $185, with roof access, repairs, or pest removal pushing that number higher.
Here’s the quick version before you dig into the how-to:
- DIY-appropriate: short, straight runs to an exterior wall, no smell, no repeated fuse trips.
- Call a pro: long or roof-terminated runs, burning smell, animal nests, or a dryer that keeps blowing thermal fuses.
- Frequency: at least once a year for most households; every six months for heavy laundry loads or long ducts.
- Cost: consumer brush kits run $20 to $50; professional cleaning averages $100 to $185 for a standard job.
Dryers involved the vast majority of annual home structure fires tied to laundry appliances during the early 2010s, according to NFPA data. That single stat is why dryer vent cleaning isn’t optional home maintenance. It’s a fire-prevention task that happens to also save you money on energy bills.
Key Takeaways
Regular dryer vent cleaning cuts fire risk, improves drying efficiency, and costs far less than the cleanup after a preventable laundry-room fire.
| Point | Details |
|---|---|
| DIY works for simple runs | Short, straight ducts to an exterior wall are safe to clean yourself with a brush kit and shop vac. |
| Know the danger signs | A burning smell, repeated thermal-fuse trips, or a hot dryer means stop and call a professional. |
| Fires are common and preventable | Dryers caused 92% of the 15,970 annual laundry-appliance home fires NFPA tracked, largely from uncleaned vents. |
| Clean at least once a year | Heavy laundry loads or long duct runs call for cleaning every six months instead. |
| Track it so you don’t forget | Workbenchguide lets you log cleanings, store photos, and set reminders instead of relying on memory. |
Table of Contents
- What Are the Warning Signs of a Clogged Dryer Vent?
- How Do You Clean a Dryer Vent Yourself?
- How Much Does Professional Dryer Vent Cleaning Cost?
- When Should You Hire a Professional Instead of DIY?
- What’s a Good Dryer Vent Maintenance Schedule?
- How Do You Know a Contractor’s Quote Is Actually Good?
- Why We Recommend Pairing DIY Cleaning with Scheduled Professional Checkups
- Track Your Dryer Vent Cleaning Without the Guesswork
- Where to Find More on Dryer Vent Safety
- Sources
What Are the Warning Signs of a Clogged Dryer Vent?
Your dryer usually tells you something’s wrong before it becomes dangerous. The most common tell is time: clothes that used to dry in 40 minutes now take an hour or more, even on a normal load. A dryer that runs hotter than usual, or a laundry room that feels noticeably warmer and more humid after a cycle, points to the same problem: exhaust air isn’t escaping the way it should.
A few signs mean stop and investigate right now, not later:
- Clothes take significantly longer to dry than they used to.
- The dryer or the clothes inside feel unusually hot to the touch.
- You smell burning, scorching, or something like hot dust.
- The laundry room feels more humid than normal after a cycle.
- The exterior vent flap doesn’t open, or barely opens, while the dryer runs.
- Lint accumulates visibly around the lint trap, behind the dryer, or at the exterior cap.
Checking the exterior flap is the fastest, free diagnostic you have. Step outside while a load is running; you should feel warm air pushing the flap open. If it stays shut or the airflow feels weak, the duct is likely obstructed.
The stakes here are real. A USFA analysis found that failure to clean the vent was a leading cause of clothes dryer fires and accounted for the majority of fires tied to operational deficiencies. Lint is fuel. A dryer’s heating element supplies the ignition source. When airflow can’t carry lint out through the duct, the two combine in exactly the way you’d expect. For gas dryers, a blocked vent adds a second hazard: exhaust gases, including carbon monoxide, can back up into your home instead of venting outside. If you smell gas or suspect a blockage on a gas unit, shut off the gas supply and get it inspected before running the dryer again.
How Do You Clean a Dryer Vent Yourself?
Cleaning your own duct isn’t complicated, but skipping the safety checks or rushing the disassembly is how people end up with a bigger mess or a damaged vent connection.
Tools and prep
Gather these before you start:
- An extendable brush kit (look for one that reaches at least 12 to 20 feet).
- A shop vacuum with a hose attachment, not just a household vacuum.
- A screwdriver or nut driver for hose clamps.
- Work gloves and safety glasses.
- A sturdy ladder if your vent terminates through the roof or a second-story wall.
Before touching anything, unplug the dryer. If it’s a gas dryer, shut off the gas supply valve behind the unit. Pull the dryer away from the wall carefully so you don’t kink or crush the transition duct connecting it to the wall vent.
Quick maintenance (do this every few months)
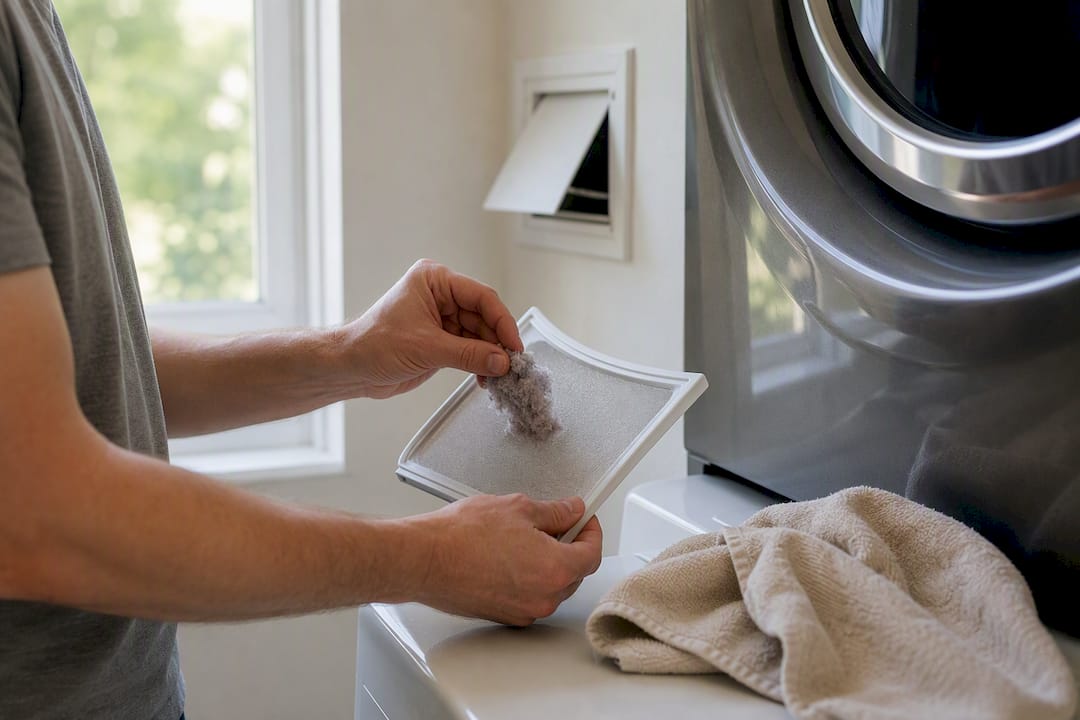
Start with the lint trap: remove it, clean out lint by hand, and wash it if residue from dryer sheets has built up a film. Vacuum the space behind and underneath the dryer, where a surprising amount of lint collects unnoticed. Detach the transition duct at the back of the dryer and brush out what you can reach from that end. Then head outside and clean the exterior hood and screen, since lint tends to cake there even when the rest of the run is clear. Reconnect everything, run a load, and step outside again to confirm the flap opens and warm air flows the way it should.
Deep cleaning (annually, or when quick maintenance isn’t enough)
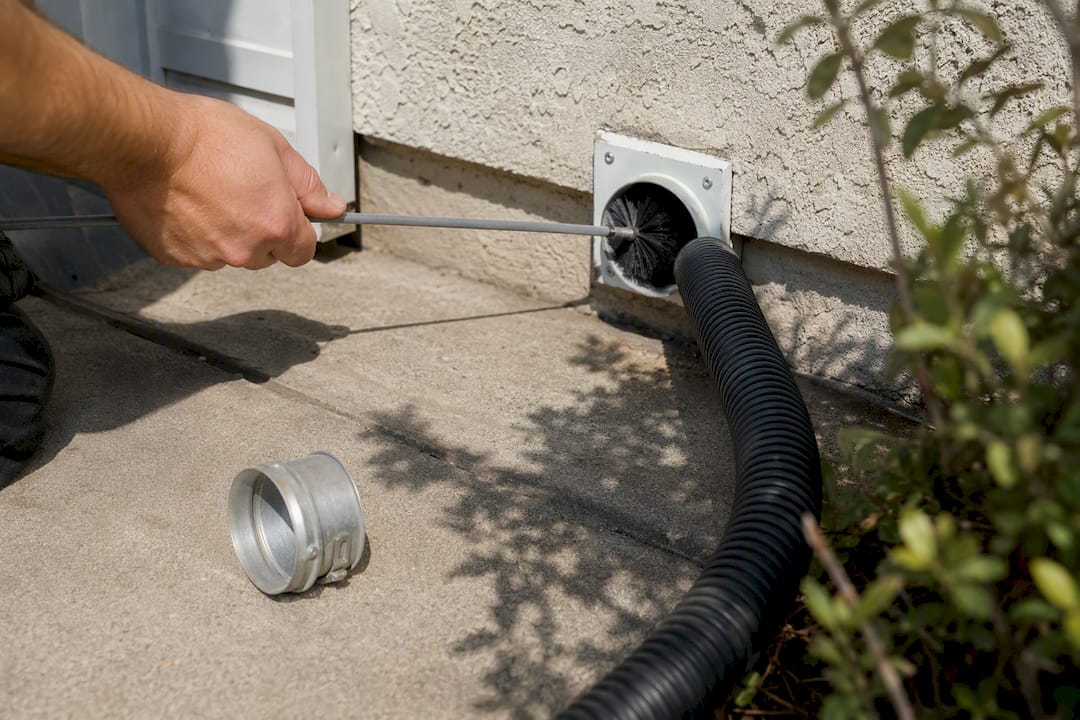
A deep clean works both ends of the duct at once. Disconnect the duct at the dryer and, if accessible, remove the exterior cap too. Feed your brush kit in from the dryer side while running the shop vac at the exterior end to pull loosened lint out rather than pushing it deeper into the run. Work the brush past every elbow, since compacted lint collects at bends more than in straight sections. If you find an animal nest or heavy blockage near the exterior cap, stop and call a professional. Removing wildlife debris safely and checking for structural damage to the cap isn’t a DIY job.
Verifying you actually cleared it
Run a full drying cycle afterward and time it against your dryer’s normal cycle length. Go outside and check that the flap opens fully and you feel strong, warm airflow. If drying times are still long or the flap barely moves, you didn’t clear the full run, and a consumer brush kit may not have the reach or suction to finish the job.
The most common DIY mistakes: pushing a clog deeper instead of pulling it out, using flexible plastic or foil transition ducts (both are fire hazards and should be replaced with rigid or semi-rigid metal), skipping the exterior cap entirely, and declaring victory without the airflow test.
Pro Tip: A drill attachment on your brush kit saves your arms and does a better job clearing 15 to 20 feet of straight duct. But if your run is longer than that or has more than two or three elbows, a consumer kit and a drill still won’t match the reach and suction of commercial equipment that professionals use.
How Much Does Professional Dryer Vent Cleaning Cost?
A standard professional cleaning for a single-story home with a straightforward wall vent typically costs $100 to $185. That price assumes an accessible duct, no repairs, and no pest issues. Move outside that baseline and the number climbs quickly.
Several factors drive cost up:
- Duct length and turns. Longer runs and more elbows mean more time and more equipment wear, since compacted lint collects at every bend.
- Accessibility. A roof-terminated vent requires ladder work, harnesses, and more labor time than a ground-level exterior wall vent.
- Duct material. If your technician finds flexible plastic or foil ducting, replacing it with rigid metal duct adds a repair line to your invoice.
- Pests. Bird or rodent nests at the exterior cap require removal and sometimes cap replacement, not just a brush-out.
- Same-day or emergency service. Booking urgently, especially after you’ve noticed a burning smell, often carries a premium.
When you’re comparing quotes, ask the same set of questions to every contractor: does the price cover full duct-to-cap cleaning, or just the accessible portion? Does it include a visual or camera inspection? Is airflow verified after the job, and how? Are repairs, parts, and nest removal quoted separately, or bundled? A quote that skips these details usually means a quicker, shallower job than you’re expecting to pay for.
When Should You Hire a Professional Instead of DIY?
A few situations should end DIY attempts immediately, regardless of how confident you feel with a brush kit. Call a professional if you notice a burning smell, if your dryer has tripped its thermal fuse more than once, if the duct run exceeds roughly 20 to 25 feet, or if the vent terminates on a roof where ladder work carries real fall risk. Visible animal nests at the exterior cap, fixed ducting made of plastic or foil, and blockages hidden inside a wall cavity all belong to a professional too.
What separates a professional job from a DIY one isn’t just equipment, though that matters. Professionals use commercial rotary brushes and high-powered vacuums that can dislodge and remove compacted lint at elbows and long runs, something a household vacuum or basic rod kit often can’t do reliably. Many services also run a camera down the duct to spot damage, sagging, or disconnected joints you’d never see otherwise, and they can replace unsafe duct material on the spot in a way that meets local code.
A quality inspection should include: cleaning from the dryer connection all the way to the exterior cap, removal and inspection of the cap itself, a camera or visual check of elbows and the termination point, an airflow test after the work is done, and written notes on anything that needs repair. If you’re vetting a provider, a service page like Clean Vents’ dryer vent cleaning service shows the kind of full-service checklist you should expect to see spelled out before you book.
What’s a Good Dryer Vent Maintenance Schedule?
A few small habits prevent most of the problems above from ever developing. Clean the lint trap after every load, and check it for tears or a waxy film left by dryer sheets and fabric softener. Every few months, vacuum behind the dryer and check that the exterior flap opens and closes freely; a damaged transition duct should be replaced immediately rather than patched.
| Task | How Often |
|---|---|
| Clean lint trap | Every load |
| Vacuum behind dryer, check exterior flap | Every 3 months |
| Full duct inspection and cleaning (DIY or pro) | Annually for most homes; more often for heavy use or long runs |
| Replace damaged transition duct | Immediately upon discovery |
Keep a simple log of when the duct was last cleaned, who did it, and any repairs made. That record is what lets you catch a shortening interval before it becomes a burning smell. A tool built for appliance maintenance workflows makes this far easier than a sticky note on the dryer.
How Do You Know a Contractor’s Quote Is Actually Good?
Before you book anyone, ask directly: do you clean the entire path from the dryer connection to the exterior cap, or just what’s easy to reach? Do you include a camera inspection or airflow test as part of the standard price? Are repairs and parts itemized separately from the cleaning fee? Do you use commercial rotary brushes and vacuum equipment, or a consumer-grade kit?
Watch for red flags. A flat rate quoted over the phone with no inspection promised is one. So is a contractor who won’t show you before-and-after notes, or who tells you a basic consumer brush is sufficient for a long or roof-terminated run. Anyone recommending plastic duct for a permanent installation is giving you advice that runs against both fire-safety guidance and most local codes.
A quality provider delivers, at minimum: full-path cleaning, exterior cap inspection with repair if needed, a documented airflow test, and a written invoice detailing exactly what was done and what, if anything, needs follow-up.
Why We Recommend Pairing DIY Cleaning with Scheduled Professional Checkups
Safe, accessible duct runs are genuinely fine to clean yourself; there’s no reason to pay a callout fee for a five-foot straight shot to an exterior wall. But pairing that DIY habit with an annual professional inspection catches the problems you can’t see, hidden damage, compacted elbows, or duct material that needs replacing.
Track Your Dryer Vent Cleaning Without the Guesswork
Finding a contractor when you suddenly notice a burning smell is stressful and expensive. Workbenchguide gives you a better starting point: a maintenance calendar that reminds you when your dryer vent is due for cleaning, before it becomes a fire risk or an emergency service call. You can log whether you did it yourself or hired a pro, store photos of the exterior cap and duct condition, and keep contractor notes and invoices in one place instead of scattered across email and paper receipts.
That kind of record also makes it easier to compare quotes later, since you’ll know exactly what was done last time and when. Start a free maintenance checklist with Workbenchguide and set your first dryer vent reminder today.
Where to Find More on Dryer Vent Safety
For readers who want the original guidance behind this article’s safety and cost figures:
- NFPA’s fire statistics show how common dryer-related home fires actually are.
- The U.S. Fire Administration’s analysis breaks down what causes dryer fires and how to prevent them.
- Home Depot’s how-to guide walks through the safe DIY cleaning sequence step by step.
Sources
- U.S. Fire Administration: Clothes dryer fire factors and prevention (USFA analysis)
- NFPA: Home fires involving clothes dryers and washing machines
- DIY vs. Professional Dryer Vent Cleaning: An Honest Comparison | LintSnap
- How to clean a dryer vent | The Home Depot
- 9 Warning Signs & Symptoms of a Clogged Dryer Vent — From HVAC Experts
Leave a Reply