
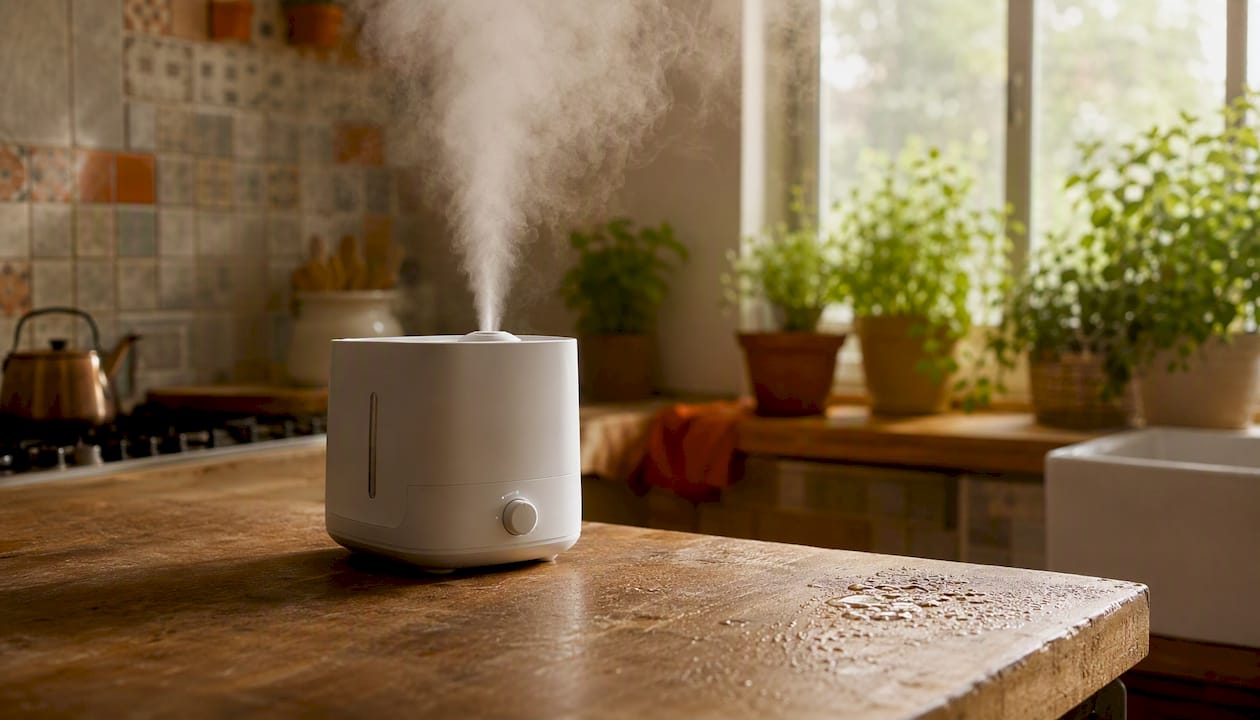
The fastest way to fix dry air in your house is to measure first, then act. Grab a hygrometer, check your indoor relative humidity (RH), and if it reads low, run a portable humidifier in the room where you spend the most time. You can see a meaningful improvement within a few hours.
Three things you can do right now:
- Run a portable humidifier on a low or medium setting in your bedroom or living room, targeting 40–50% RH.
- Place bowls of water near (not on) heat sources like radiators or floor vents. Evaporation adds modest moisture to the air without any equipment.
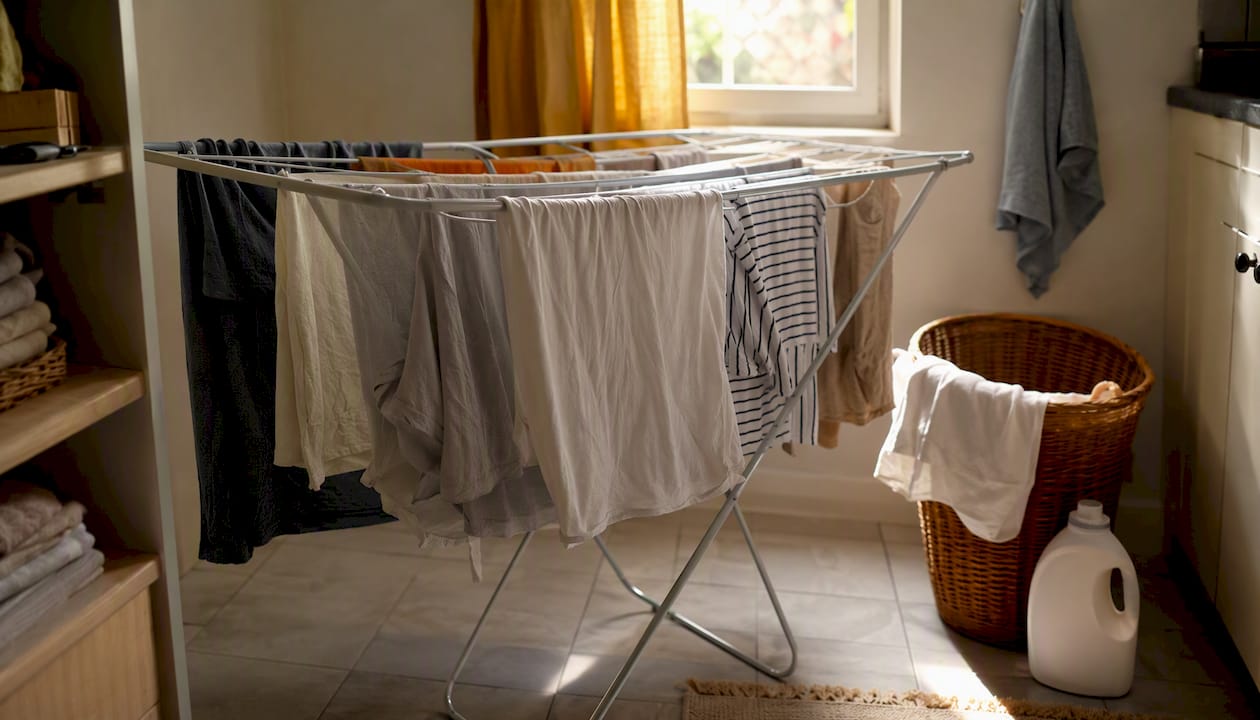
- Dry a load of laundry on an indoor rack instead of the dryer. A single load releases a surprising amount of moisture as it dries.
Research published in PubMed confirms that keeping indoor RH between 40% and 60% reduces airway irritation and appears to lower the airborne viability of some respiratory viruses. Above that threshold, mold and dust mites thrive.
Pro Tip: If you don’t own a hygrometer yet, pick one up before buying a humidifier. A basic digital model costs $10–$50 per EPA guidance, and it tells you whether you actually have a humidity problem or something else entirely.
Key Takeaways
| Point | Details |
|---|---|
| Measure before you act | A hygrometer ($10–$50) tells you whether you have a real humidity problem and how severe it is. |
| Target 40–50% RH | This range satisfies both the health goal (40–60% per PubMed research) and the mold-prevention goal (30–50% per EPA). |
| Quick fixes work fast | A portable humidifier in a closed room shows results in 2–6 hours; bowls of water and indoor laundry drying work within hours but are temporary. |
| Clean humidifiers daily | Empty and rinse the tank every day; deep-clean every 3 days for cool-mist and ultrasonic units to prevent bacterial and mold growth. |
| Workbenchguide tracks it all | Use Workbenchguide’s reminders, checklists, and contractor Q&A to keep monthly and seasonal humidity maintenance on schedule. |
Table of Contents
- How do you know if your home’s air is too dry?
- Why is your house so dry in the first place?
- Low-cost, same-day fixes you can try right now
- Choosing between portable and whole-house humidification
- How to clean and maintain your humidifier safely
- How your HVAC system affects indoor humidity
- How long does it take and what does it cost?
- When should you call a professional?
- Your homeowner checklist: monitor, act, and maintain
- The fix that most homeowners skip
- Workbenchguide keeps your humidity maintenance on schedule
- Sources
How do you know if your home’s air is too dry?
Your body usually tells you before any gadget does. Cleveland Clinic notes that common symptoms of excessively dry indoor air include:
- Dry, tight, or itchy skin
- Chapped lips that don’t respond to lip balm
- Scratchy or sore throat, especially in the morning
- Frequent nosebleeds or a persistently dry nose
- Static electricity shocks when you touch doorknobs or pets
- Worsening asthma, bronchitis, or sinus symptoms
If two or more of these sound familiar and they get worse in winter or when the heat is running, low humidity is almost certainly a factor.
Measuring indoor humidity: a quick procedure
- Buy or borrow a digital hygrometer. Basic models run $10–$50 and are widely available at hardware stores.
- Place it at seated head height, away from windows and exterior walls, in the room where you spend the most time.
- Let it stabilize for 30 minutes before reading.
- Record readings in at least two rooms: your bedroom and your main living area. Basements often read differently from upper floors.
- Take readings at different times of day. Humidity fluctuates with cooking, showers, and outdoor temperature swings.
What the numbers mean: The EPA recommends keeping indoor RH between 30% and 50% to limit mold risk.
You can monitor humidity at home year-round with a simple setup, and the payoff in comfort and health is real.
Why is your house so dry in the first place?
Understanding the cause helps you pick the right fix rather than just masking the problem.
- Your heating system. Furnaces and forced-air systems heat cold outdoor air and push it through your home. Cold air holds very little moisture to begin with, and heating it further drops the relative humidity dramatically. This is the single biggest driver of winter dryness in most U.S. homes.
- Cold outdoor air infiltration. Gaps around doors, single-pane windows, and poorly sealed electrical outlets let frigid, dry outside air seep in constantly. Sealing those gaps reduces both heat loss and the steady influx of dry air.
- Climate and season. Arid climates (the Southwest, high-altitude regions) and cold-winter climates (the Midwest, Northeast) both produce chronically low indoor humidity. The problem peaks between November and March when heating runs longest.
- Household behaviors. High thermostat settings, long hot showers with bathroom exhaust running the whole time, and running kitchen exhaust fans excessively all pull moisture out of your indoor air.
- Building and system issues. Over-ventilation with dry outdoor air, an oversized HVAC system that short-cycles, or a complete absence of whole-home humidification can make dryness a structural problem rather than a seasonal one. A damp crawlspace or unsealed foundation can also create moisture imbalances that mislead you into adding humidification in the wrong places, so inspect those areas as part of your diagnosis.
Low-cost, same-day fixes you can try right now
You don’t need to spend hundreds of dollars to feel relief today. These options work within hours.
Portable humidifiers
Place a portable humidifier in the room where you feel symptoms most, typically the bedroom. Run it overnight with the door mostly closed so the moisture stays concentrated. Keep it at least a foot from walls and furniture to prevent localized condensation.
Household evaporation methods
- Set shallow bowls or pans of water on or near radiators and baseboard heaters. The heat speeds evaporation.
- Simmer a pot of water on the stove for 20–30 minutes. It’s temporary, but it works fast.
- Dry laundry on a rack indoors instead of the dryer. One load can raise humidity noticeably in a medium-sized room.
- Add a few moisture-releasing houseplants. Peace lilies, Boston ferns, and spider plants all transpire steadily.
Behavior changes that help
Turn your thermostat down a degree or two. Cooler air doesn’t require as much moisture to feel comfortable, and your heating system won’t strip humidity as aggressively. Take shorter, warm (not scalding) showers, and WebMD notes that moisturizing immediately after showering helps protect skin from the drying effect of heated indoor air.
Run bathroom exhaust fans only during and briefly after showers, not for hours afterward. Extended exhaust use pulls humid air out of your home.
Safety and hygiene
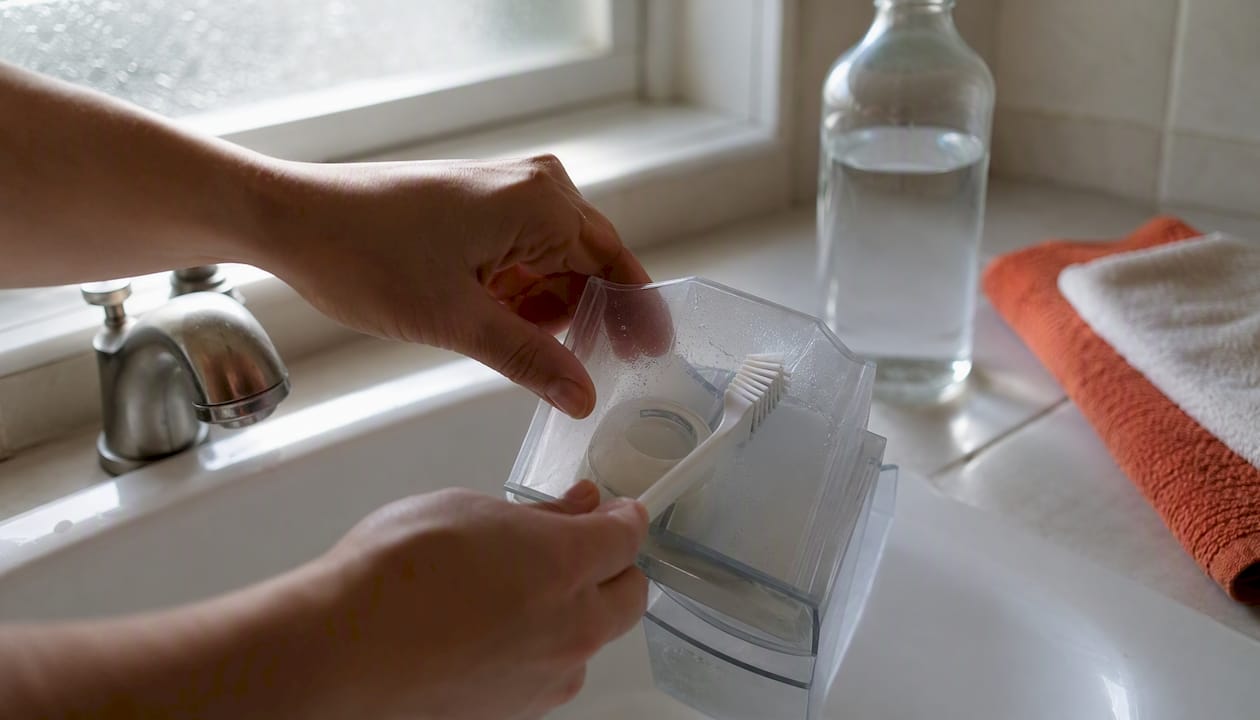
Watch for condensation on windows or cold walls. That’s your sign you’ve gone too far and need to dial back the humidifier. Empty and rinse humidifier tanks daily. Standing water grows bacteria fast.
Pro Tip: Combine two methods at once for faster results: run a humidifier in the bedroom while drying laundry on a rack in the living room. You’ll raise the whole-home average more quickly than either method alone.
Choosing between portable and whole-house humidification
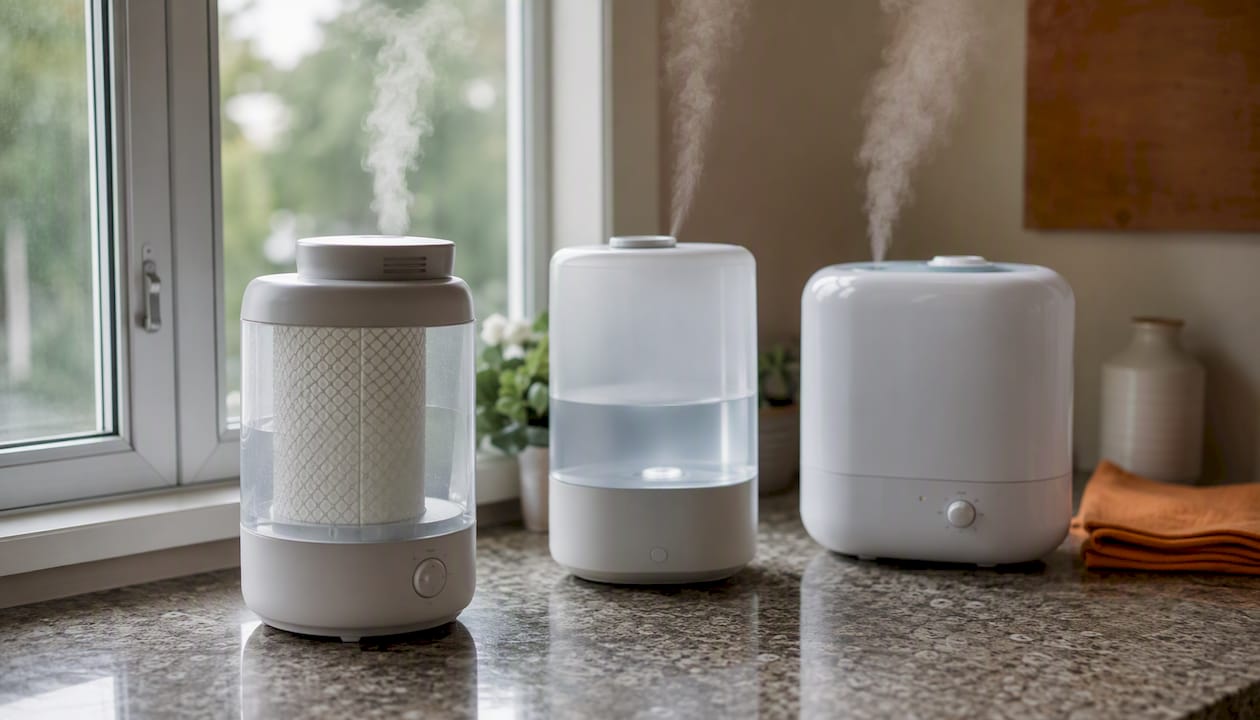
Portable units are the right call for one or two rooms, a tight budget, or a rental where you can’t modify the HVAC. Whole-house humidifiers make sense when dryness affects every room, when a household member has serious respiratory issues, or when you’re already scheduling HVAC work.
| Type | Best for | Coverage | Maintenance | Cost shape | Noise | Mold/bacteria risk |
|---|---|---|---|---|---|---|
| Cool-mist evaporative | Single rooms, allergy-prone households | Up to 100 square feet | Wick filter replacement every 1–2 months | Low purchase, low operating | Moderate fan noise | Low if filter is changed |
| Ultrasonic (cool or warm) | Bedrooms, quiet spaces | Up to ~500 sq ft | Daily rinse, weekly deep clean | Low purchase, very low operating | Near-silent | Moderate (mineral dust if tap water used) |
| Warm-mist / steam vaporizer | Small rooms, cold climates | Up to ~300 sq ft | Weekly descaling | Low purchase, slightly higher electricity | Quiet | Low (boiling kills microbes) |
| Whole-house (bypass/fan-powered) | Entire home, systemic dryness | Whole home | Annual service, water panel replacement | Higher upfront ($300–$1,000+ installed), low per-room operating | Silent | Low with annual maintenance |
A few rules of thumb: ultrasonic units are quiet and efficient but produce mineral dust if you use tap water, so pair them with distilled water. Evaporative units self-regulate humidity naturally because the wick stops evaporating efficiently once the air is saturated. Warm-mist units are the simplest to keep clean because boiling kills most microbes, but they use more electricity and pose a burn risk around children.
Whole-house humidifiers connect directly to your furnace and water supply. Professional installation is required for most models, and the system needs an annual water panel or pad replacement to prevent mineral buildup and mold inside the duct.
How to clean and maintain your humidifier safely
A dirty humidifier can make air quality worse, not better. Mayo Clinic is direct on this: humidifiers must be cleaned and maintained regularly, and used with attention to humidity readings, to avoid releasing bacteria and mold into the air.
Cleaning schedule
- Daily: Empty the tank completely, rinse with clean water, and let it air-dry before refilling. Never let water sit in the tank between uses.
- Every 3 days (cool-mist and ultrasonic units): Disinfect the tank with a diluted white vinegar solution or a manufacturer-approved cleaner. Rinse thoroughly.
- Weekly: Wipe down the base, check for mineral deposits (white or gray crust), and inspect the wick or filter for discoloration or odor.
- Monthly: Replace the filter or wick if it shows any stiffness, discoloration, or smell, even if the manufacturer’s schedule says it has longer.
- End of season: Deep-clean the entire unit before storing. Never store a humidifier with water in the tank.
Use distilled or demineralized water in ultrasonic and cool-mist humidifiers. Tap water contains minerals that these units aerosolize into a fine white dust that settles on furniture and, more importantly, gets inhaled. Distilled water eliminates that problem and slows mineral buildup inside the unit, extending its life.
Warning signs to watch for
- Condensation forming on windows, walls, or cold surfaces means RH is too high. Turn the unit down or off.
- A musty or sour smell from the unit means bacterial or mold growth. Stop using it, deep-clean immediately, and replace the filter.
- White dust on furniture near an ultrasonic unit means you need to switch to distilled water.
Pro Tip: Set a phone reminder to empty and rinse the tank every morning. It takes 60 seconds and is the single most effective thing you can do to keep a humidifier safe.
How your HVAC system affects indoor humidity
Your furnace and ductwork are the primary drivers of winter dryness, and they’re also your most powerful lever for fixing it at scale. EPA guidance identifies HVAC maintenance — changing filters, clearing vents, and inspecting ducts — as a foundational step before relying on supplemental devices.
Routine HVAC steps that directly affect humidity
- Change furnace filters every 1–3 months. Clogged filters restrict airflow, make your system work harder, and circulate drier, staler air.
- Confirm all supply and return vents are unblocked. Furniture or rugs covering vents disrupt airflow balance and can create dry pockets in rooms.
- Check your thermostat setting. Every degree you lower the thermostat reduces how aggressively the system strips moisture from the air.
- Consider an in-duct humidifier. A bypass or fan-powered humidifier installed on the furnace plenum adds moisture to every room the system serves, automatically.
Weatherization trade-offs
Sealing your home tightly reduces heating costs and stops dry outdoor air from infiltrating. But a very tight home can also trap stale air. If you’ve done significant air sealing, consider a heat-recovery ventilator (HRV) or energy-recovery ventilator (ERV). These bring in fresh outdoor air while recovering most of the heat, without dumping dry winter air directly into your living space.
Proper HVAC maintenance is one of the highest-leverage things you can do for both comfort and energy efficiency.
- When to call an HVAC technician: in-duct humidifier installation, suspected duct mold, combustion appliance ventilation checks, or if your system is short-cycling or running constantly without reaching the set temperature.
Pro Tip: Schedule your annual HVAC service in September or early October, before heating season starts. Technicians are less busy, and you’ll catch filter and humidifier issues before the first cold snap.
How long does it take and what does it cost?
Timeline by fix type
- Portable humidifier: You’ll feel a difference in 2–6 hours in a closed room. Whole-home RH takes longer to shift, especially in a large or leaky house.
- Bowls of water and drying laundry: Noticeable effect in 1–3 hours, but it’s temporary. RH drops back once the water evaporates or the laundry dries.
- Whole-house humidifier: Installation typically takes a few hours once scheduled. The system reaches steady-state humidity within 24–48 hours of first use, depending on home size and outdoor conditions.
- Weatherization and sealing: Immediate reduction in cold-air infiltration after sealing, with humidity benefits building over days as the home holds moisture better.
Ballpark costs
- Basic digital hygrometer: $10–$50 (per EPA guidance)
- Portable humidifier (tabletop to console): roughly $25–$150 depending on tank size and features
- Whole-house humidifier (installed): typically $300–$1,000 or more, depending on unit type and labor
- Annual water panel replacement for whole-house units: $15–$40 for the part
- Distilled water (if used in portable units): roughly $1 per gallon at most grocery stores
Operating costs for portable units are low. A mid-size evaporative humidifier running 8 hours overnight uses less electricity than a standard light bulb. Whole-house units add modest water usage to your utility bill, but the per-room cost is far lower than running multiple portables.
When should you call a professional?
Most dry-air problems are DIY-friendly. A few are not.
Red flags that warrant a professional
- Persistent condensation on interior walls or ceilings (not just windows), which can signal a vapor barrier or insulation problem
- Visible mold on drywall, framing, or HVAC components
- A musty odor that persists even after cleaning humidifiers and checking for standing water
- Humidity that stays stubbornly low (below 25%) despite running multiple humidifiers, which may indicate excessive air leakage or an oversized HVAC system
- Suspected duct contamination or mold inside the air handler
Which professional to call
- HVAC technician: in-duct humidifier installation, duct inspection, ventilation balancing, combustion appliance checks. Look for NATE-certified technicians.
- Indoor air quality (IAQ) specialist: if you want comprehensive air testing before and after fixes, or if occupants have serious respiratory conditions.
- Mold remediation contractor: if you see active mold growth on building materials. This is not a DIY job.
Before the pro arrives
- Record hygrometer readings from at least two rooms over 24–48 hours.
- Photograph any condensation, mold, or water staining.
- Note any recent changes: new weatherstripping, a new furnace, added insulation.
- List your current humidification setup and how long the problem has persisted.
Questions to ask
- Are you licensed and insured in this state?
- Have you installed in-duct humidifiers before, and do you test humidity before and after?
- Will this work require a permit?
- What warranty covers parts and labor?
Regular HVAC servicing catches most of these issues before they become expensive problems.
Your homeowner checklist: monitor, act, and maintain
Dry air is a maintenance problem, and maintenance problems respond to schedules. Here’s a practical rhythm to keep your home’s humidity in the healthy range year-round.
Monthly tasks
- Check your hygrometer in the bedroom, living room, and basement. Record the readings.
- Inspect your furnace filter. Replace it if it’s gray or clogged.
- Run a cleaning cycle on any portable humidifier in use.
- Confirm supply and return vents are clear of furniture or rugs.
Seasonal tasks
- Before heating season (September/October): Seal gaps around doors and windows, schedule HVAC service, install or inspect your whole-house humidifier if you have one, and stock up on replacement filters and distilled water.
- Mid-winter check (January): Take hygrometer readings in all main rooms. If any room reads below 35% consistently, consider adding a portable unit or adjusting your whole-house humidifier output.
- Spring transition (March/April): Deep-clean and store portable humidifiers. Check for any condensation damage or mold that developed over winter.
A seasonal home maintenance checklist keeps these tasks from slipping through the cracks.
How Workbenchguide supports this
Workbenchguide’s maintenance reminders, inspection checklists, and contractor Q&A feature are built for exactly this kind of recurring task. Set a monthly reminder to check your hygrometer readings, attach photos of any condensation or mold you spot, and use the contractor Q&A if you’re unsure whether a reading warrants a professional call. The guides and checklists hub includes ready-made HVAC and humidity-monitoring templates you can adopt immediately.
The fix that most homeowners skip
Most articles about dry indoor air send you straight to the humidifier aisle. That’s not wrong, but it skips the step that actually determines whether you buy the right thing, use it correctly, and avoid trading a dry-air problem for a mold problem.
Measure first. Those two readings call for completely different responses.
The other thing worth saying plainly: whole-house humidifiers are genuinely excellent, but they’re not the first move for most homeowners. A portable unit in the bedroom, combined with basic sealing and a lower thermostat setting, solves the problem for the majority of households at a fraction of the cost. Save the whole-house option for when dryness is systemic, affecting multiple rooms, and persisting despite portable fixes.
The mold risk is real but manageable. Those three habits prevent the vast majority of humidifier-related air quality problems.
Workbenchguide keeps your humidity maintenance on schedule
Fixing dry air once is straightforward. Keeping it fixed across seasons, across rooms, and through HVAC changes is where most homeowners lose track. Workbenchguide gives you smart maintenance reminders so your monthly hygrometer checks and filter replacements actually happen, step-by-step DIY guides for tasks like humidifier cleaning and weatherization, and HVAC inspection checklists you can run yourself or hand to a technician.
When a reading looks off or you’re unsure whether a problem needs a pro, the contractor Q&A feature connects you with expert advice without the cost of a service call just to ask a question.
Start with the home maintenance checklist to build your humidity-monitoring routine into a broader seasonal schedule. It takes about five minutes to set up and saves the kind of oversight that turns a $15 filter replacement into a $500 HVAC repair.
Sources
- Indoor air humidity revisited: Impact on acute symptoms, work productivity, and risk of influenza and COVID-19 infection
- Care for Your Air: A Guide to Indoor Air Quality
- Humidifiers: Ease skin, breathing symptoms – Mayo Clinic
- How dry air impacts your health
This article is general information, not a substitute for advice from a qualified doctor. Consult a qualified healthcare professional about your own circumstances before acting on anything here.
Leave a Reply