
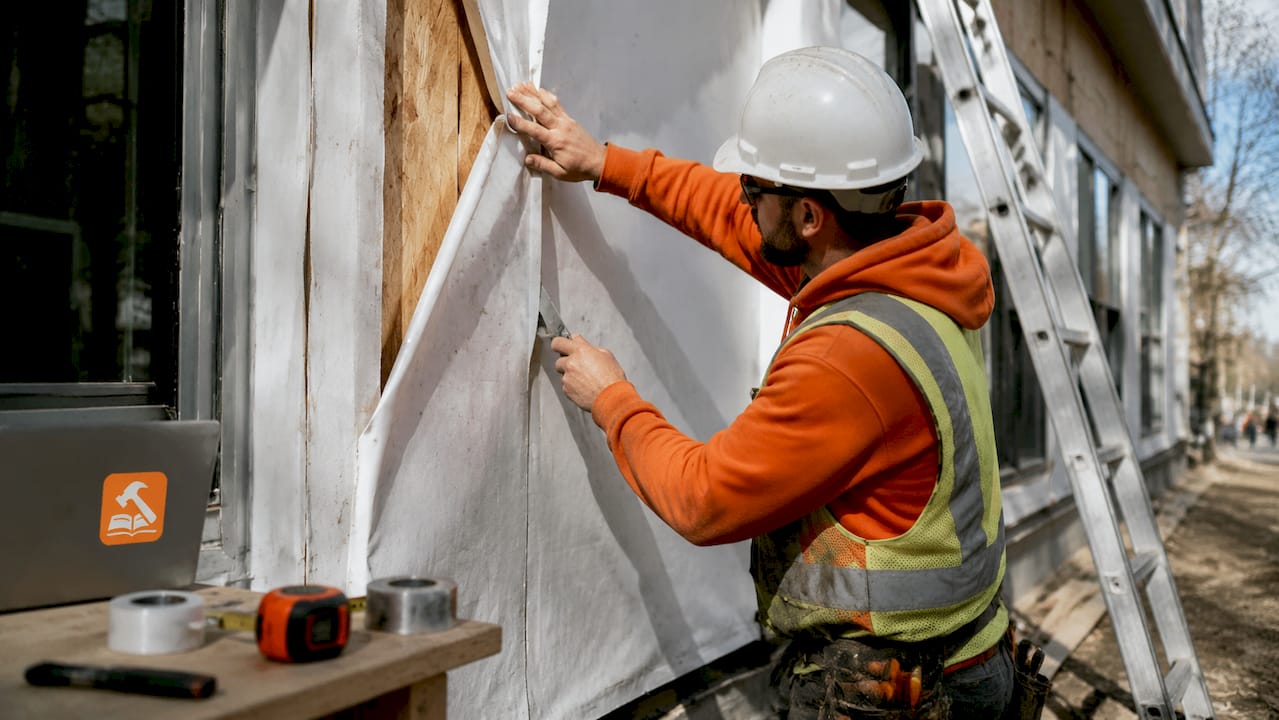
House wrap is defined as a water-resistive barrier (WRB) installed over exterior wall sheathing, beneath siding, to block liquid water from reaching your home’s structure while allowing water vapor to escape. The role of house wrap goes beyond simple weather protection. Mandatory under the International Residential Code since 2006, it is a building code requirement, not an optional upgrade. Products like DuPont Tyvek HomeWrap and Benjamin Obdyke HydroGap have become industry standards precisely because they solve two problems at once: keeping rain out and letting your walls breathe.
What is the role of house wrap in protecting your home?
House wrap does two jobs that sound contradictory until you understand the science. It blocks bulk water from rain and wind-driven moisture, and it lets water vapor pass through so trapped humidity can escape. Without that vapor release, moisture builds up inside your wall cavity and creates the exact conditions mold and rot need to thrive.
Think of house wrap like a Gore-Tex jacket. Rain beads off the outside, but sweat vapor moves through from the inside. Your walls work the same way. Cooking, showering, and breathing all push moisture vapor toward your exterior walls. If that vapor cannot escape, it condenses on cold surfaces inside the wall and causes damage you will not see until it is expensive.
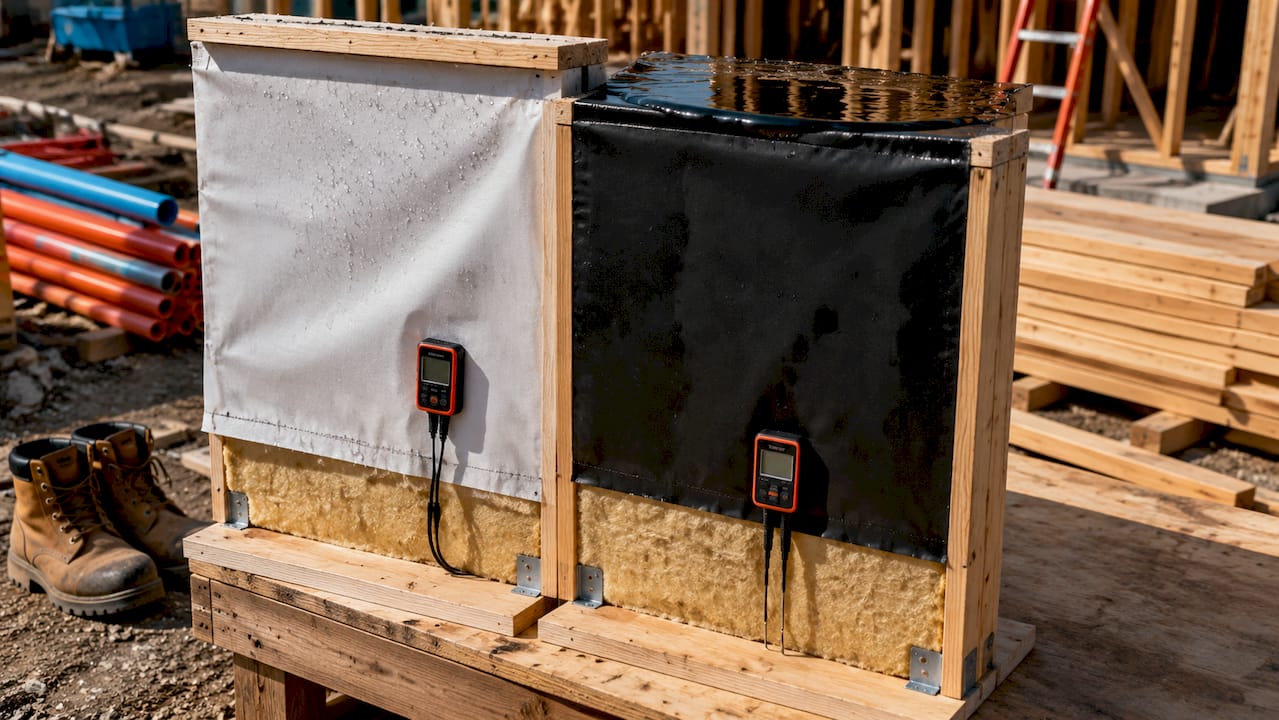
Proper house wrap reduces air leakage, which directly improves energy efficiency and indoor comfort. A well-sealed wall system can meaningfully cut heating and cooling costs. That benefit alone makes house wrap worth understanding before you touch a single piece of siding.
Water-resistant vs. waterproof: what the difference means for your walls
| Property | Water-Resistant (House Wrap) | Waterproof Material |
|---|---|---|
| Blocks liquid water | Yes | Yes |
| Allows vapor to escape | Yes | No |
| Risk of moisture trapping | Low | High |
| Suitable for wall systems | Yes | No |
| Example products | DuPont Tyvek, HydroGap | Polyethylene sheeting |
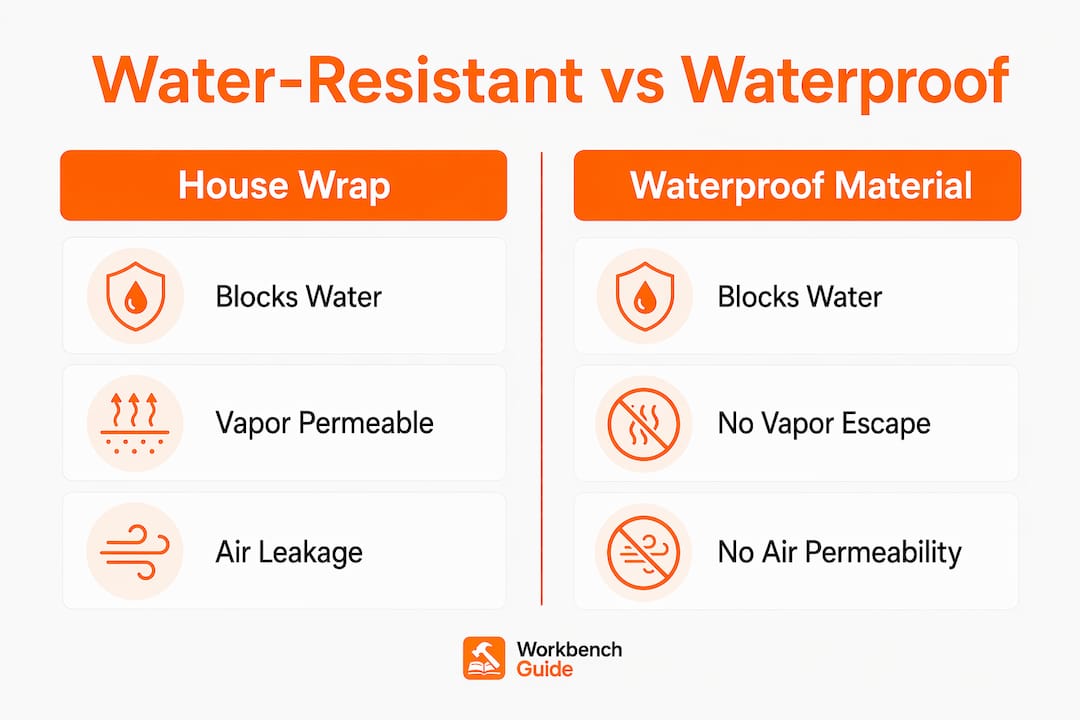
The table above shows why choosing the wrong material is a serious mistake. Polyethylene sheeting is fully waterproof, which makes it the wrong choice for exterior walls. It traps vapor and creates a moisture time bomb inside your wall assembly.
Why house wrap is not waterproof (and should not be)
The biggest misconception homeowners carry into a siding project is that house wrap should be fully waterproof. That thinking leads to real damage. Using a truly waterproof material traps moisture and leads to mold growth and premature structural failure. A wall that cannot breathe is a wall that rots from the inside out.
Perm ratings measure how much water vapor a material allows to pass through. Quality house wraps maintain perm ratings of 10–60, with premium products exceeding 100 perms. Higher perm ratings mean better vapor release, which is critical in humid climates and tightly built homes.
Here is what gets homeowners into trouble:
- Confusing vapor barriers with water-resistive barriers. A vapor barrier (like poly sheeting) belongs on the warm side of insulation in cold climates, not on the exterior wall.
- Assuming more layers mean more protection. Doubling up with non-breathable materials cuts off vapor escape entirely.
- Skipping house wrap on “covered” walls. Brick, stone, and vinyl siding all allow water infiltration. The wrap behind them is the real line of defense.
“Wall claddings are not waterproof. House wrap manages the water that gets behind siding.” — Pro Remodeler
This is the insight most homeowners miss. Your siding is not a waterproof shell. It is a rain screen. House wrap is what actually protects the structure behind it.
House wrap installation tips that actually matter
Installation quality determines whether house wrap performs or fails. A product installed incorrectly can actually funnel water into your wall cavity instead of directing it away. Installing house wrap shingle-style with correct overlaps is the single most important technique to get right.
Follow these steps for a correct installation:
- Start at the bottom and work up. Begin at the base of the wall and roll the wrap horizontally. Each upper course overlaps the one below by at least 6 inches, just like roof shingles shed water downward.
- Overlap vertical seams by 6–12 inches. Vertical seams are where most installation errors happen. Insufficient overlap lets wind-driven rain find a path behind the wrap.
- Seal the bottom edge to the sheathing. Sealing the bottom edge prevents air leakage and directs any water that gets behind the wrap away from the foundation. Most installers leave this edge loose, which turns it into an air leak point.
- Tape all seams, tears, and penetrations. Use manufacturer-approved tape. Generic tape fails over time and voids product warranties. Around windows and doors, tape is non-negotiable.
- Wrap around corners continuously. Never butt two pieces at a corner. A continuous wrap around corners eliminates one of the most common leak points on any house.
Pro Tip: If you are doing this project solo, consider a self-adhered house wrap. Self-adhered wrap eliminates the need for staples and multiple installers, making it a realistic one-person job with better airtightness than mechanically fastened products.
Reversed overlaps are the most damaging installation error. If you lap the lower course over the upper course, you create a pocket that collects water and directs it straight into the wall. That mistake turns a protective layer into a water injection system.
How house wrap works with siding, flashing, and your full wall system
House wrap does not work alone. Builder David Joyce describes it as the skin of a building, working alongside flashing, sealants, and siding to prevent structural rot and air infiltration. Remove any one of those components and the system weakens significantly.
Here is how each component plays its part:
- Siding is the first line of defense against rain and wind. It sheds the majority of water before it ever reaches the wrap. But siding is not sealed. Water gets behind it at every seam, nail hole, and corner.
- House wrap is the secondary defense. It catches the water that siding misses and directs it downward and out. The WRB is the last line of defense before water reaches your structural sheathing and framing.
- Flashing seals the transitions. Window sills, roof-to-wall intersections, and door frames all need metal or flexible flashing integrated with the house wrap. Flashing without proper wrap integration leaks at every edge.
- Sealants fill the gaps flashing cannot cover. Around utility penetrations, hose bibs, and electrical boxes, sealant applied over the wrap creates a continuous barrier.
House wrap is compatible with virtually every cladding type. Brick veneer, vinyl siding, fiber cement, stone, and wood all require a WRB behind them. For brick and stone specifically, the wrap also needs to accommodate a drainage plane so water that enters the cavity can exit at the weep holes. Choosing the right siding material for your climate affects which house wrap product performs best behind it.
UV-resistant house wraps can withstand exposure to sun and freeze cycles for 90–180 days during construction pauses. That matters if your project gets delayed between sheathing and siding installation. Standard wraps degrade faster and should be covered within 30–60 days.
Key takeaways
House wrap is a non-negotiable part of any wall system because it blocks liquid water, releases trapped vapor, and reduces air infiltration in a single layer of material.
| Point | Details |
|---|---|
| Vapor permeability is critical | House wrap must allow vapor to escape; fully waterproof materials trap moisture and cause rot. |
| Perm ratings guide product selection | Choose wraps rated 10–60 perms minimum; high-performance products exceed 100 perms for humid climates. |
| Shingle-style overlap prevents leaks | Always lap upper courses over lower by at least 6 inches to direct water down and out. |
| Seal the bottom edge | Taping the bottom edge to sheathing closes a frequently missed air leakage point. |
| House wrap is a system component | It works with flashing, sealants, and siding together; no single element protects the wall alone. |
What i have learned after years of watching house wrap go wrong
I have seen house wrap installed on dozens of homes, and the pattern is always the same. Homeowners and even some contractors treat it like a formality, something to slap up fast before the siding crew arrives. That attitude is what leads to mold discoveries during a bathroom remodel five years later.
The detail that surprises most people is the bottom edge. Every guide talks about overlapping seams. Almost none of them emphasize sealing the bottom edge to the sheathing. That gap at the base of the wall is where cold air rushes in during winter and where any water that gets behind the wrap sits instead of draining. Tape it. Every time.
My other strong opinion: if you are doing a DIY re-side or new build, spend the extra money on a self-adhered product. The continuous adhesion gives you a better air seal than stapled wraps, and you can do it yourself without a second set of hands. The weatherproofing benefits you get from a properly installed self-adhered wrap are measurably better than a stapled product with gaps at every fastener.
Finally, treat house wrap as part of your ongoing home inspection routine, not just a one-time installation task. When you inspect your siding each year, check for any exposed wrap, tears near windows, or lifted edges at the bottom. Catching a small tear before it becomes a wet wall cavity is the difference between a $10 roll of tape and a $10,000 mold remediation.
— Sean
Keep your home protected year-round with Workbenchguide
Understanding house wrap is one piece of a larger home protection picture. Moisture damage, air leaks, and structural rot all start with small maintenance gaps that compound over time. Workbenchguide gives you the tools to stay ahead of those problems with step-by-step DIY guides, seasonal reminders, and project checklists built for homeowners who want to do things right. Start with the year-round maintenance checklist to build a complete schedule that covers your exterior, insulation, and weatherization tasks before they become costly repairs.
FAQ
What does house wrap actually do?
House wrap blocks liquid water from reaching your wall sheathing while allowing water vapor to pass through and escape. It also reduces air infiltration, which improves energy efficiency and prevents moisture buildup inside wall cavities.
Is house wrap necessary for all homes?
Yes. House wrap has been mandatory under the IRC since 2006 as a water-resistive barrier for all new residential construction. Existing homes being re-sided should also have wrap installed or replaced.
What is the difference between house wrap and building paper?
Both serve as water-resistive barriers, but house wrap is a synthetic material with higher tear resistance, better vapor permeability, and longer UV exposure ratings than traditional asphalt-saturated building paper. House wrap also offers measurably better air resistance in most product comparisons.
Can i install house wrap myself?
Yes, especially with a self-adhered product. Self-adhered house wrap eliminates staples and can be applied by one person. The critical steps are starting at the bottom, overlapping upper courses over lower by at least 6 inches, and sealing all seams and the bottom edge with manufacturer-approved tape.
How long does house wrap last?
House wrap is designed to last the life of the building when properly covered by siding. Exposed wrap degrades from UV exposure, with most products rated for 90–180 days of UV exposure before siding must be installed.