
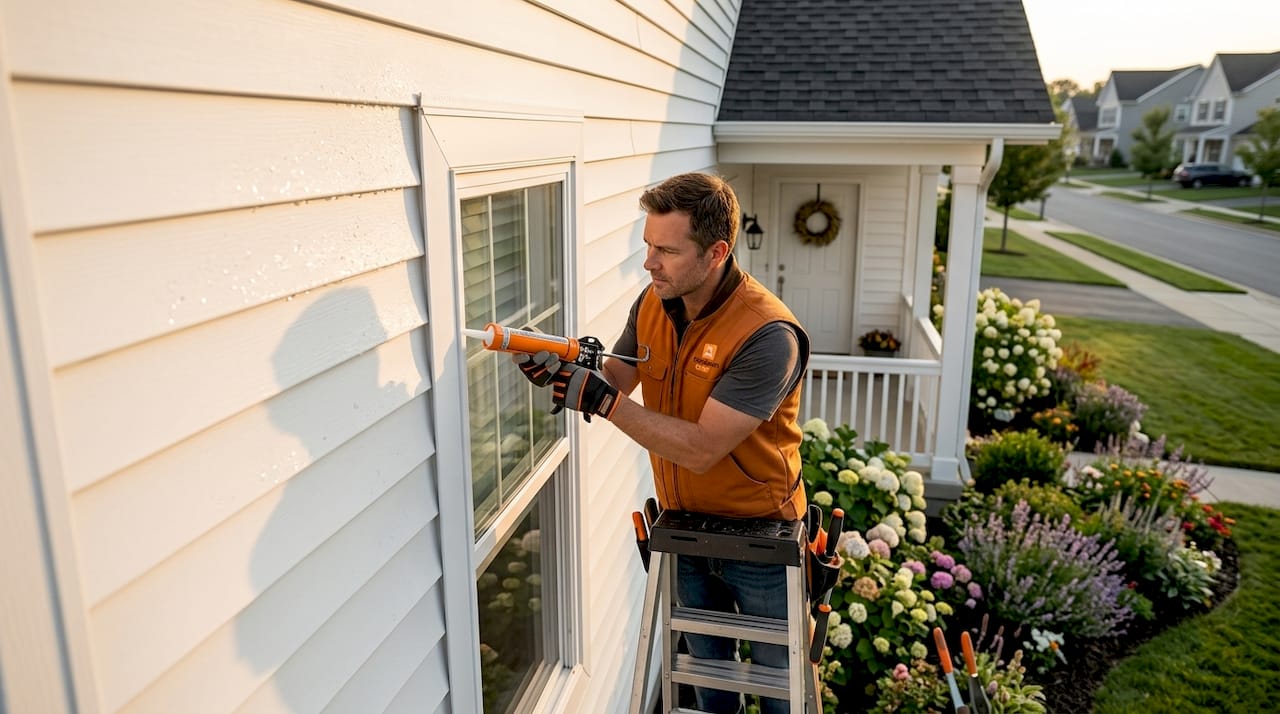
Weatherproofing a home’s exterior is the most direct way to prevent moisture damage, structural decay, and escalating repair costs before they start. The industry term for this practice is “exterior moisture management,” and it covers everything from weather-resistant barriers (WRBs) and air barriers to sealants, flashing, and cladding selection. If you own a home or manage a property, understanding why weatherproof exterior protection matters is not optional. A single neglected gap around a window frame can allow water intrusion that leads to mold, rot, and thousands of dollars in remediation. This article walks you through the core components, the best materials, and the practical steps that make the difference between a durable home and a maintenance nightmare.
Why weatherproof your exterior: the core case
Weatherproofing protects your home from four primary threats: liquid water, wind-driven rain, air leakage, and vapor diffusion. Each one can cause serious damage on its own. Together, they accelerate structural deterioration faster than most homeowners expect. The good news is that a properly weatherproofed exterior addresses all four simultaneously, and the investment pays back through lower repair bills and longer material lifespans.
The financial argument is straightforward. Fixing seepage after finishes are applied costs far more and causes far greater disruption than waterproofing during initial construction or renovation. Mold remediation, structural repairs, and full siding replacements routinely run into five figures. Weatherproofing upfront costs a fraction of that.
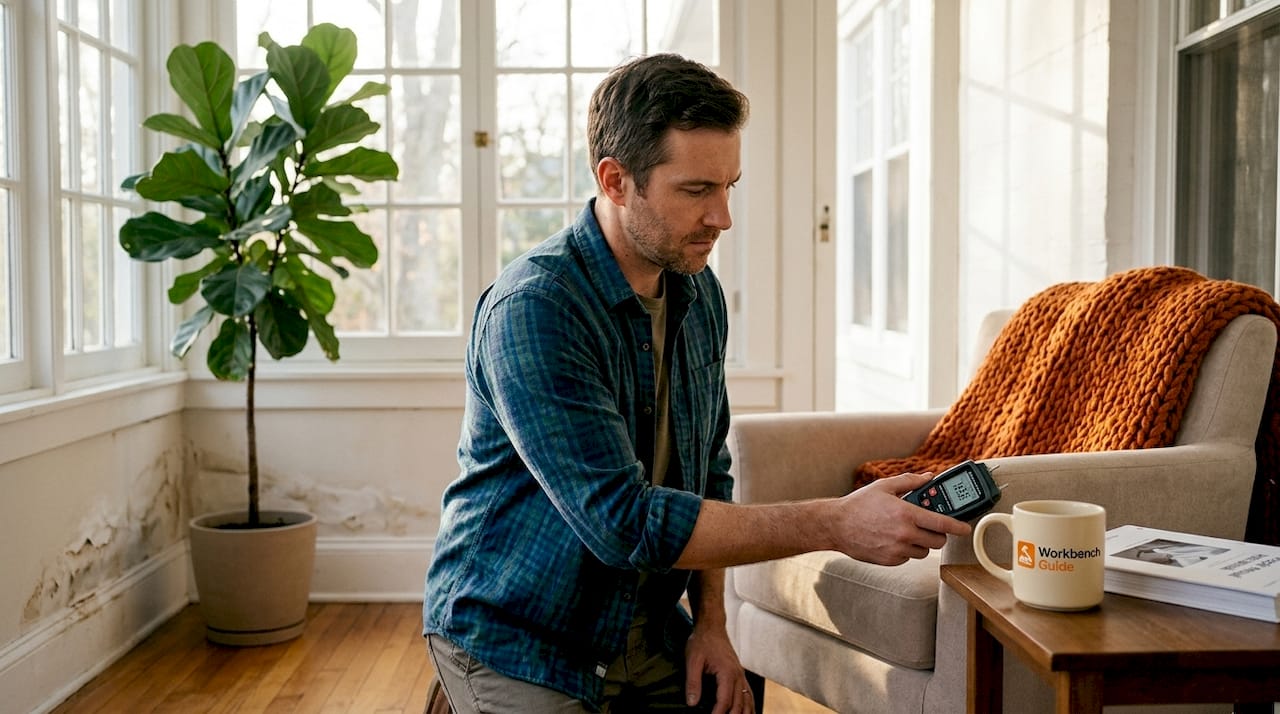
The health argument is equally compelling. Moisture that penetrates walls creates conditions for mold growth, which degrades indoor air quality and triggers respiratory problems. Controlling moisture at the exterior shell keeps the interior environment clean and safe.
What is weatherproofing and how does it differ from waterproofing?
Weatherproofing is broad protection against multiple environmental forces, including rain, wind, temperature swings, and air pressure differences. Waterproofing is a subset of weatherproofing. It specifically prevents liquid water from passing through a surface or assembly. You need both, but confusing them leads to gaps in your home’s defense.
Here is how the key components break down:
- Weather-resistant barriers (WRBs): Installed behind exterior cladding, WRBs shed water that gets past the outer surface while allowing vapor to escape. Products like Tyvek HomeWrap and Typar BuildingWrap are common examples.
- Air barriers: Stop uncontrolled air movement through wall assemblies. Air leakage carries moisture far more aggressively than vapor diffusion alone.
- Flashing: Metal or membrane strips installed at transitions, windows, doors, and roof edges to redirect water away from vulnerable joints.
- Sealants and caulking: Fill gaps around penetrations, trim, and framing to block both air and water entry.
- Exterior cladding: The outermost layer, whether fiber cement, vinyl, or wood composite, acts as the first line of defense and determines how much weather stress reaches the layers beneath.
Waterproofing products like elastomeric coatings and liquid-applied membranes are applied to specific high-risk surfaces such as foundations, decks, and below-grade walls. They block liquid water completely but do not address air leakage or vapor management. A complete weatherproofing strategy uses both approaches in the right locations.
How do WRBs and air barriers protect your exterior walls?
A weather-resistant barrier prevents water infiltration while allowing vapor to escape, protecting walls from moisture damage such as mold and rot. This dual function is what makes WRBs so critical. They are not simply plastic sheeting. They are engineered membranes that manage the movement of water in both liquid and vapor states.
Under building codes IRC R703.2 and IBC 1404.2, WRBs are required on most new construction and major renovations. In coastal and marine climate zones with frequent wind-driven rain, drainable house wraps or rainscreen assemblies are mandated to balance water resistance with drying potential. This is not a technicality. It reflects decades of building science research showing that walls need to dry out, not just stay dry.
Air barriers work alongside WRBs to address a separate but related threat. An air barrier stops uncontrolled air movement that transports moisture 100 times more than vapor diffusion, making it a critical layer in wall assemblies. Most homeowners focus on vapor barriers and miss this entirely. Controlling air leakage is often more critical than vapor retarder placement.
Proper installation follows a specific sequence:
- Install the WRB over sheathing, lapping upper layers over lower layers so water runs down and out.
- Tape all seams and penetrations with compatible flashing tape to maintain continuity.
- Install flashing at all windows, doors, and roof-to-wall transitions before cladding goes on.
- Verify air barrier continuity at top plates, rim joists, and any penetrations for pipes or wires.
- Install cladding with a drainage gap where climate conditions require it.
Flashings at transitions and penetrations are a primary source of water intrusion, and controlling air leakage is crucial because it carries far more moisture than vapor diffusion. Skipping or rushing flashing details is the single most common cause of expensive water damage in residential construction.
Pro Tip: When inspecting an existing home, check the caulking around every window and door frame first. Cracked or missing caulk at these transitions is the fastest path for water to bypass even a well-installed WRB.
What exterior materials offer the best weatherproof performance?
Material selection determines how much protection your WRB and air barrier actually need to provide. A durable, weather-resistant cladding reduces the frequency and severity of water intrusion events. Here is how the most common options compare:
| Material | Installed cost (per sq ft) | Weather resistance | Maintenance interval |
|---|---|---|---|
| Fiber cement | $10–$18 | Excellent, resists rot and impact | Repaint every 10–15 years |
| Vinyl | $6–$12 | Good, no rot but can crack in cold | Low, occasional cleaning |
| Aluminum | $9–$15 | Excellent UV and moisture resistance | Very low, ideal for coastal areas |
| Wood composite (WPC) | $8–$14 | Good, better than PVC for color retention | Moderate |
Fiber cement typically costs $10–$18 per square foot installed and delivers longer durability than vinyl, which runs $6–$12 per square foot but may require more frequent maintenance. The upfront cost difference often disappears over a 20-year period when you factor in repainting, repairs, and replacement cycles.
WPC cladding provides better color retention, fire resistance, and longer service life compared to PVC, though PVC is cheaper upfront and lighter weight. Aluminum cladding shows excellent UV resistance and waterproof capability, making it the top choice for coastal environments where salt air accelerates corrosion in other materials.
For exterior lighting fixtures and trim elements, material selection affects long-term durability just as much as it does for cladding. Powder-coated aluminum and marine-grade stainless steel outperform standard steel or plastic in high-moisture environments.
Pro Tip: If you are replacing siding on a budget, prioritize fiber cement on the north and west faces of your home first. These elevations receive the most wind-driven rain and UV exposure in most U.S. climate zones.
What practical steps can homeowners take to weatherproof outside?
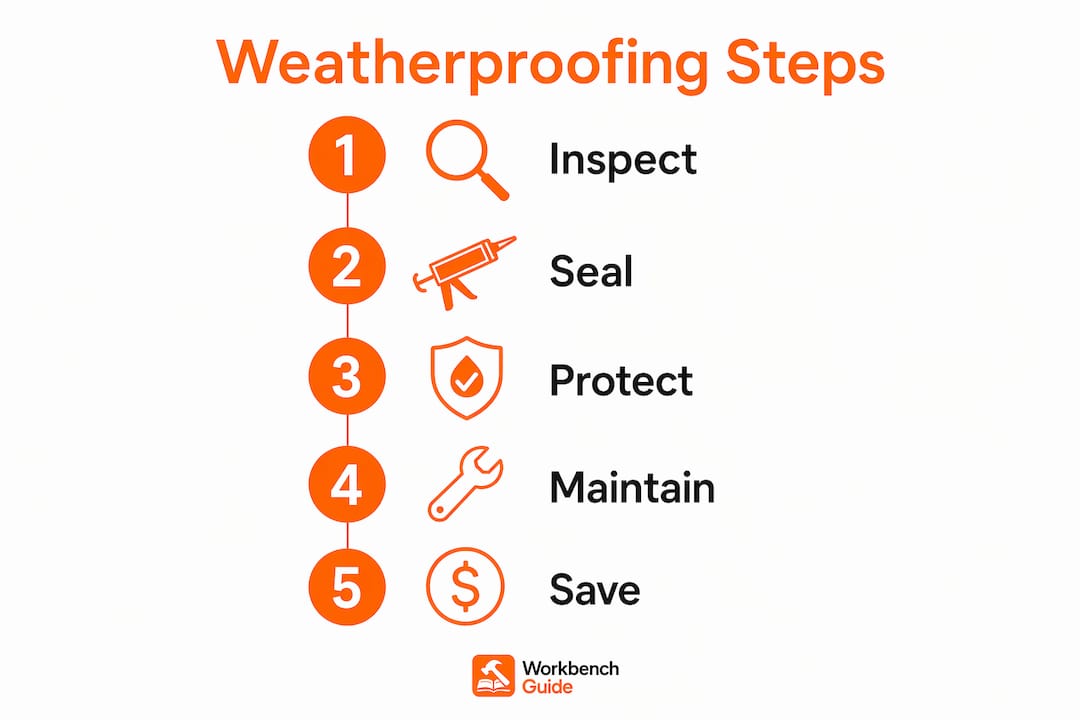
Effective exterior weatherproofing is not a single project. It is a maintenance system. These steps cover both new work and ongoing upkeep:
- Inspect and reseal all penetrations annually. Check caulking around windows, doors, utility penetrations, and trim. Replace any caulk that is cracked, shrinking, or pulling away from the substrate. Use a polyurethane or silicone sealant rated for exterior use.
- Check roof shingles and flashing after every major storm. Damaged shingles and lifted flashing are the most common entry points for water that eventually reaches exterior walls. Address these within days, not weeks.
- Upgrade WRBs during any siding replacement. If you are pulling off old cladding for any reason, install a new WRB and retape all seams. The labor cost to do this while the wall is open is minimal compared to doing it as a standalone project.
- Maintain a drainage gap behind cladding. In humid climates, a 3/8-inch to 1/2-inch rainscreen gap between the WRB and cladding allows water to drain and walls to dry. This single detail dramatically extends the life of both the WRB and the cladding.
- Clean gutters and downspouts twice a year. Overflowing gutters dump water directly against the foundation and lower wall assembly. This is one of the most preventable causes of moisture intrusion in residential buildings.
Moisture will penetrate walls eventually, so assemblies with drying potential in at least one direction are critical to avoid damage. This is why drainage gaps and vapor-permeable WRBs matter as much as the initial water-blocking layers.
A fall maintenance checklist is one of the most practical tools for staying ahead of weatherproofing failures before winter weather arrives. Workbenchguide provides seasonal checklists that walk you through every exterior inspection point so nothing gets missed.
What are the long-term benefits of weatherproofing your home’s exterior?
The advantages of exterior weatherproofing extend well beyond keeping water out. Here is what a properly protected exterior delivers over time:
- Reduced mold and rot. Moisture-managed walls do not create the conditions mold needs to grow. This protects both the structure and the indoor air quality.
- Lower lifetime maintenance costs. Materials with longer repaint intervals and fewer maintenance cycles reduce lifetime labor and material costs, even when the initial price is higher. A fiber cement exterior repainted once every 12 years costs far less to maintain than a wood exterior repainted every 5 years.
- Extended structural lifespan. Framing lumber that stays dry lasts for generations. Framing that cycles through wet and dry conditions repeatedly degrades within decades.
- Higher resale value. Buyers and inspectors notice well-maintained exteriors. A home with no moisture history, no staining, and intact cladding commands a premium in any market.
- Improved indoor comfort. Air barriers that stop uncontrolled air movement also reduce drafts, cold spots, and heating and cooling losses. The energy savings are a direct financial benefit.
The exterior maintenance guide from Workbenchguide covers the full range of strategies homeowners can use to protect their property and reduce lifetime maintenance costs. Combining that resource with a consistent weatherproofing approach gives you a complete system.
Key takeaways
Weatherproofing your home’s exterior requires a layered system of WRBs, air barriers, flashing, quality cladding, and regular maintenance to prevent moisture damage and reduce long-term repair costs.
| Point | Details |
|---|---|
| WRBs are code-required | IRC R703.2 and IBC 1404.2 mandate WRBs on most new construction and major renovations. |
| Air leakage is the bigger threat | Uncontrolled air movement carries 100 times more moisture than vapor diffusion through walls. |
| Material choice drives maintenance costs | Fiber cement at $10–$18 per sq ft outlasts vinyl and reduces repaint cycles significantly. |
| Flashing failures cause most leaks | Transitions at windows, doors, and roof edges are the primary entry points for water intrusion. |
| Early investment prevents costly repairs | Waterproofing during construction or renovation costs far less than fixing moisture damage after finishes are in place. |
Why I think most homeowners weatherproof too late
Most homeowners I talk to treat weatherproofing as something they do after a problem appears. A water stain on the ceiling, a musty smell in the basement, paint peeling off the siding. By that point, the damage is already inside the wall assembly, and the repair bill is always bigger than expected.
The part that frustrates me most is how preventable it all is. The difference between a home that holds up for 40 years and one that needs major repairs every decade is almost always installation quality and material selection at the start. Not exotic products. Not expensive technology. Just proper WRB installation, taped seams, and flashing details done right.
I also see a persistent misconception that waterproofing and weatherproofing are the same thing. Homeowners apply a waterproof coating to their foundation and assume the job is done. They miss the air leakage at the rim joist, the unsealed gap behind the window trim, and the missing flashing at the roof-to-wall transition. Each one is a slow leak waiting to become a big repair.
The most practical shift you can make is to treat weatherproofing as a maintenance system, not a one-time project. Inspect your exterior every fall, reseal what needs resealing, and address flashing issues before winter. That habit alone will save you more money than any single product upgrade.
— Sean
Stay ahead of exterior repairs with Workbenchguide
Workbenchguide is built for exactly this kind of proactive home care. The year-round maintenance checklist gives you a structured schedule for every exterior inspection task, from checking caulking and flashing to cleaning gutters and assessing siding condition. You get step-by-step DIY guides, seasonal reminders, and contractor referrals when a job goes beyond what you want to tackle yourself. Staying organized with the right checklist means you catch weatherproofing failures early, before they turn into expensive structural repairs. Start with the checklist and build your exterior protection routine from there.
FAQ
What is weatherproofing in simple terms?
Weatherproofing is the process of protecting a building’s exterior from rain, wind, air leakage, and temperature changes using barriers, sealants, flashing, and weather-resistant cladding. It is broader than waterproofing, which only addresses liquid water.
How often should you weatherproof your home’s exterior?
Full weatherproofing upgrades happen during construction or major renovations, but maintenance tasks like resealing caulk, inspecting flashing, and cleaning gutters should be done at least once a year, ideally every fall before winter weather arrives.
What is the difference between a WRB and a vapor barrier?
A WRB sheds liquid water while allowing vapor to pass through, keeping walls dry without trapping moisture. A vapor barrier blocks vapor movement entirely and is used in specific climate conditions where vapor diffusion is the primary concern.
Which exterior cladding material is most weather resistant?
Fiber cement and aluminum are the top performers for weather resistance. Fiber cement resists rot, impact, and moisture, while aluminum offers excellent UV resistance and is ideal for coastal environments with high humidity and salt air exposure.
Does weatherproofing increase home value?
A well-maintained, moisture-free exterior with intact cladding and no water damage history increases resale value and reduces negotiation leverage for buyers. Inspectors flag moisture issues consistently, and addressing them proactively protects your asking price.