
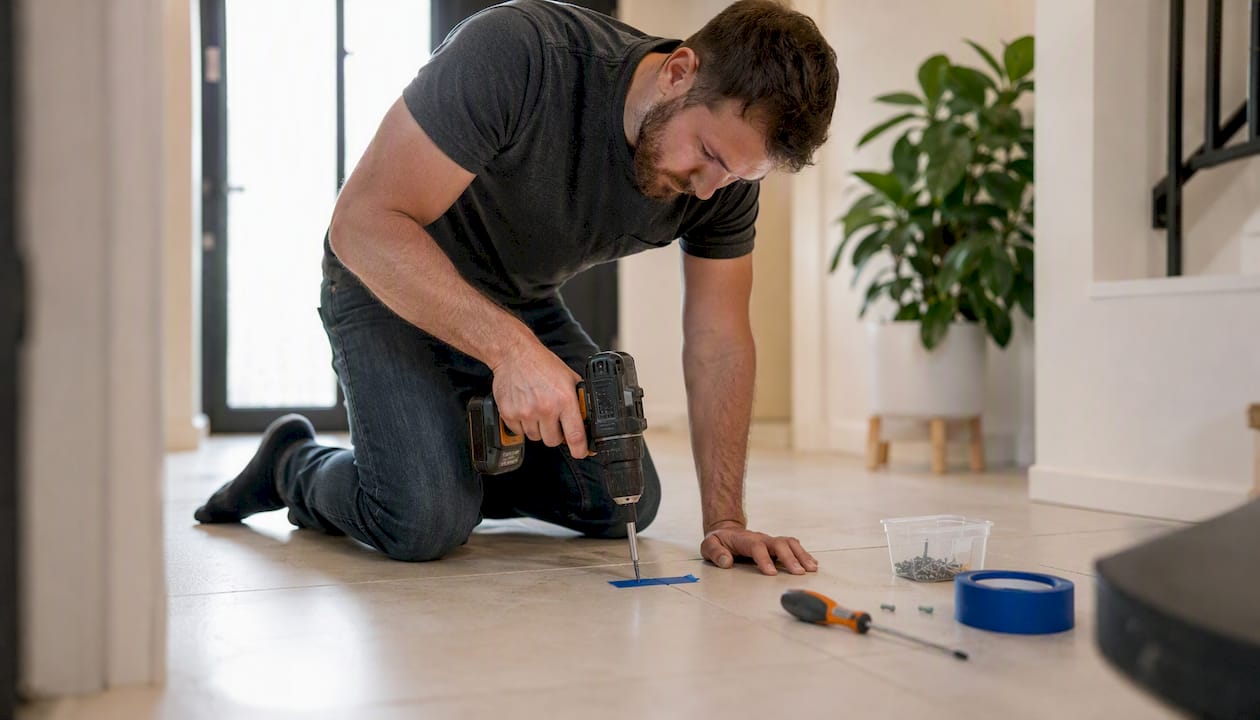
Most squeaky floors can be fixed by resecuring the subfloor to the joists using breakaway screws or, for surface-level board rubbing, by working powdered lubricant into the seam. That’s the short version. Here is the three-step plan to try before anything else:
- Locate the squeak precisely by walking the floor slowly while a partner listens from below, or by pressing and releasing each board until you isolate the exact spot.
- Try baby powder or powdered graphite first if the squeak is a soft, surface-level rub between boards. Sweep the powder into the seam, step on it a few times, and vacuum the excess.
- Use a breakaway screw kit (Counter-Snap or Squeeeeek-No-More style) for any squeak that powder doesn’t fix. These kits drive a scored screw through the subfloor into the joist, then snap the head off flush.
A single-spot DIY repair takes a short amount of time and can be done with inexpensive materials. You generally don’t need to pull up flooring or hire a contractor for most household squeaks. Safety note: always confirm joist location before drilling, and keep a stud finder nearby.
Pro Tip: Mark every squeak with painter’s tape before you start repairs. It’s easy to lose track of a spot once you’re on your knees with a drill.
Key Takeaways
Fixing squeaky floors is almost always a DIY job when you diagnose the cause first and match the repair to the symptom.
| Point | Details |
|---|---|
| Try lubricant first | Baby powder or powdered graphite can quiet surface board-to-board squeaks quickly and inexpensively. |
| Use breakaway screws for structural squeaks | Counter-Snap or Squeeeeek-No-More kits resecure subfloor to joists and snap flush, leaving a tiny fillable hole. |
| Avoid driven shingle shims | Shims can lift the subfloor and create humps; use construction adhesive plus pull-down screws instead. |
| Control humidity seasonally | Keeping indoor humidity between 35% and 55% year-round prevents new gap-related squeaks from forming. |
| Workbenchguide for ongoing prevention | Workbenchguide’s maintenance reminders and DIY checklists help homeowners schedule floor inspections before small squeaks become structural repairs. |
Table of Contents
- What tools and materials do you need for squeaky floor repair?
- What actually causes squeaky floors?
- How do you locate the exact squeaky spot?
- How do you fix squeaky hardwood floors from above?
- How do you fix squeaks under carpet without removing it?
- Fixing squeaks from below: shims, glue, and reinforcement
- How do you prevent squeaky floors from coming back?
- When should you hire a contractor instead of DIYing?
- Extra pro tips from experienced contractors and inspectors
- Sources
What tools and materials do you need for squeaky floor repair?
Having everything on hand before you start saves a frustrating mid-project trip to the hardware store. Most of these items are available at Home Depot, Lowe’s, or online.
For a complete DIY tool checklist, Workbenchguide has a full breakdown of what every homeowner should keep on hand.
When to use a specialty kit vs. common screws: Breakaway kits include a depth-control fixture that stops the screw at exactly the right depth so the head snaps cleanly below the subfloor surface. Standard screws don’t have that feature, so they’re better suited for below-floor repairs where the screw head doesn’t need to disappear.
What actually causes squeaky floors?
A squeak is friction. Two surfaces that shouldn’t be moving against each other are doing exactly that, usually because something has come loose or the wood has shifted. The cause determines the fix, so diagnosing before drilling matters.
Loose nails and fasteners are the most common culprit. As wood expands and contracts through seasons, nails work their way out of joists slightly. Each step drives the nail back in, then pulls it out again. That back-and-forth is the squeak. Tom Silva at This Old House explains this clearly: the movement between the nail shank and the wood is what generates the sound, not the board itself.
Subfloor-to-joist separation is a structural version of the same problem. When the subfloor panel lifts away from a joist, even a millimeter of gap creates flex under foot traffic. This type of squeak tends to be louder, lower-pitched, and spread over a wider area than a surface rub.
Board-to-board rubbing is a surface issue. Adjacent hardwood planks rub at their edges when the tongue-and-groove joint loosens. This squeak is usually sharp and localized, and it often responds to lubricant.
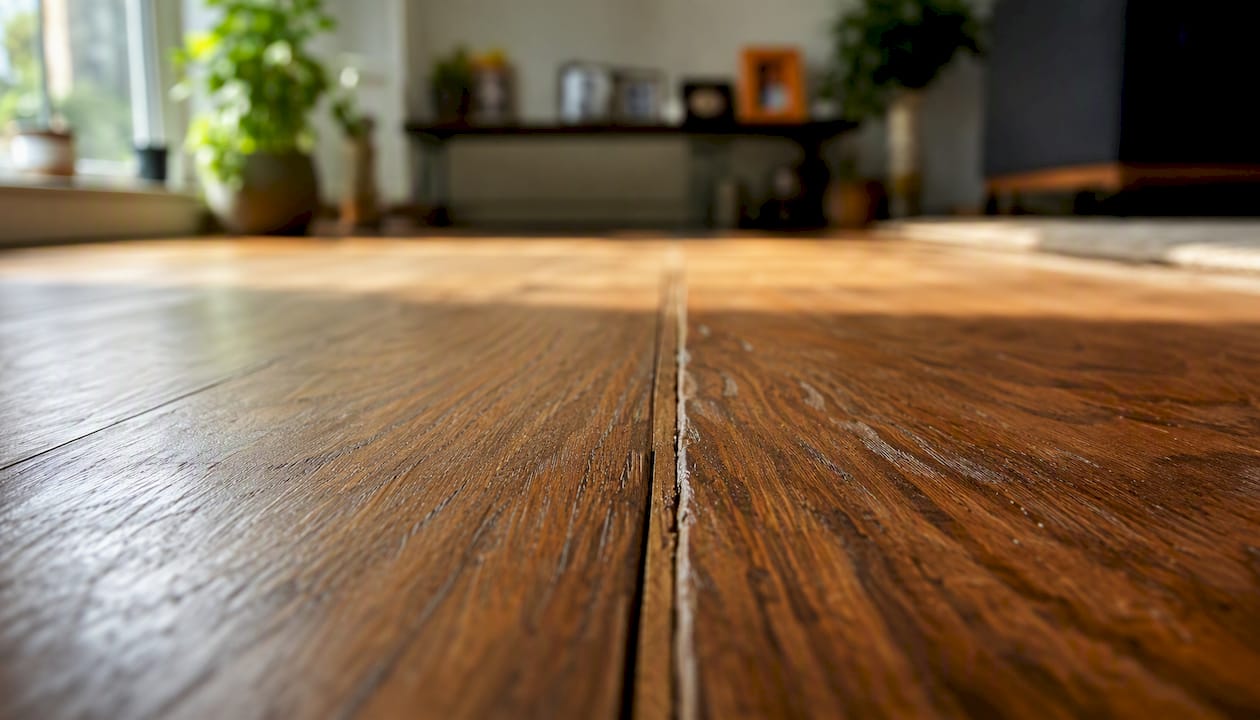
Seasonal wood movement is the sneaky one. A floor that’s quiet in summer can develop squeaks by February when indoor humidity drops and wood contracts. Apartment Therapy notes that Mallory Micetich of Angi specifically recommends running a humidifier in dry winter months to reduce wood contraction and the new squeaks it creates.
Pro Tip: If your squeaks appear every winter and disappear by April, humidity is almost certainly the cause. Fix the humidity first before you start drilling.
How do you locate the exact squeaky spot?
Guessing where to drill is how repairs go wrong. Spend five minutes locating the squeak precisely and you’ll save an hour of backtracking.
Above the floor
- Walk the floor slowly, heel-to-toe, in a grid pattern across the room.
- When you find a squeak, press and release the board repeatedly to confirm the exact plank.
- Mark it with a small piece of painter’s tape.
- Check for visual clues: a slightly raised nail head, a visible gap between boards, or a board that rocks when you press one end.
- Use a stud finder to locate the nearest joist. Most joists run 16 inches on center, so once you find one, measure 16 inches to confirm the next.
The This Old House DIY floor repair guide recommends using guide strings stretched across the floor to map joist lines before committing to multiple fastener placements. It’s a small extra step that prevents a lot of misplaced screws.
From below (basement or crawlspace)
- Have a partner walk the floor above while you watch from below with a flashlight.
- Look for movement at the subfloor panel edges, or use a screwdriver to apply upward pressure and replicate the load.
- Listen for the squeak location and mark the joist with chalk or tape from below.
Through carpet
- Tap the floor firmly with your knuckles in a grid pattern. A hollow sound indicates a gap between subfloor and joist.
- Use a stud finder through the carpet to locate joists. Confirm with a short test screw driven into the carpet at the suspected joist location.
- Mark joist lines on the carpet with masking tape before drilling.
Safety note: Continuous-filament (Berber-style) carpets can snag on drill bits. Work slowly and keep the drill perpendicular to the floor.
How do you fix squeaky hardwood floors from above?
This is where most homeowners start, and for good reason: you don’t need basement access, and the repair is nearly invisible when done right.
When to use lubricant vs. a screw kit
Use powder or lubricant when:
- The squeak is sharp and localized to one board edge
- The board doesn’t visibly flex under foot pressure
- The squeak is seasonal (appears in dry months)
Use a breakaway screw kit when:
- The board flexes or rocks when you step on it
- Powder provides no relief after a few days
- The squeak covers a wider area or sounds structural
Step-by-step: breakaway screw method
- Locate the joist nearest the squeak using a stud finder.
- Attach the depth-control fixture from your Counter-Snap or Squeeeeek-No-More kit over the marked spot.
- Drive the scored screw through the fixture, through the finish floor and subfloor, and into the joist.
- Snap the screw head off at the scored line. The head breaks below the subfloor surface, leaving a small hole in the finish floor.
- Fill the hole with a color-matched wax filler stick or wood filler. Press it in, let it set, and buff lightly with a soft cloth.
This Old House demonstrates that baby powder injected between boards works well for surface squeaks, while the breakaway screw method handles subfloor movement. Both are worth trying in sequence.
Cosmetic finishing
Wax sticks are available in a range of wood tones at most hardware stores. Hold a few against the floor in natural light before buying. After filling, a light pass with a clean cloth blends the repair into the surrounding finish. The hole from a breakaway screw is roughly 1/8 inch, so the patch is barely visible from standing height.
Pro Tip: Test your wax stick color on a scrap piece of wood or an inconspicuous corner before filling the repair hole. Wax is hard to remove once it’s set.
How do you fix squeaks under carpet without removing it?
Pulling up carpet to fix a squeak is rarely necessary. The scored-screw method from This Old House is specifically designed for carpeted floors and leaves no visible trace.
Scored-screw method (step by step)
- Locate the joist through the carpet using a stud finder. Confirm with a short test screw.
- Place the depth-control tripod fixture from your kit over the marked spot, directly over the joist.
- Drive the scored screw through the carpet, pad, subfloor, and into the joist. The fixture controls depth automatically.
- Snap the screw head off. The head breaks below the subfloor surface, and the carpet fibers close back over the small entry point.
- Space additional screws approximately 8 inches apart along the problem area for broader squeaks.
This method works because the screw pulls the subfloor tight against the joist, eliminating the gap that causes movement. The repair is invisible under the carpet.
Angled galvanized finish nail method
For minor squeaks where a kit isn’t available, drive a Number 10 or 12 galvanized finish nail at a 45-degree angle through the carpet and subfloor into the joist. Pull the carpet nap back gently before driving so the nail head sits below the surface, then release the fibers back over it. This works best on cut-pile carpet, not looped or Berber styles where fibers can snag.
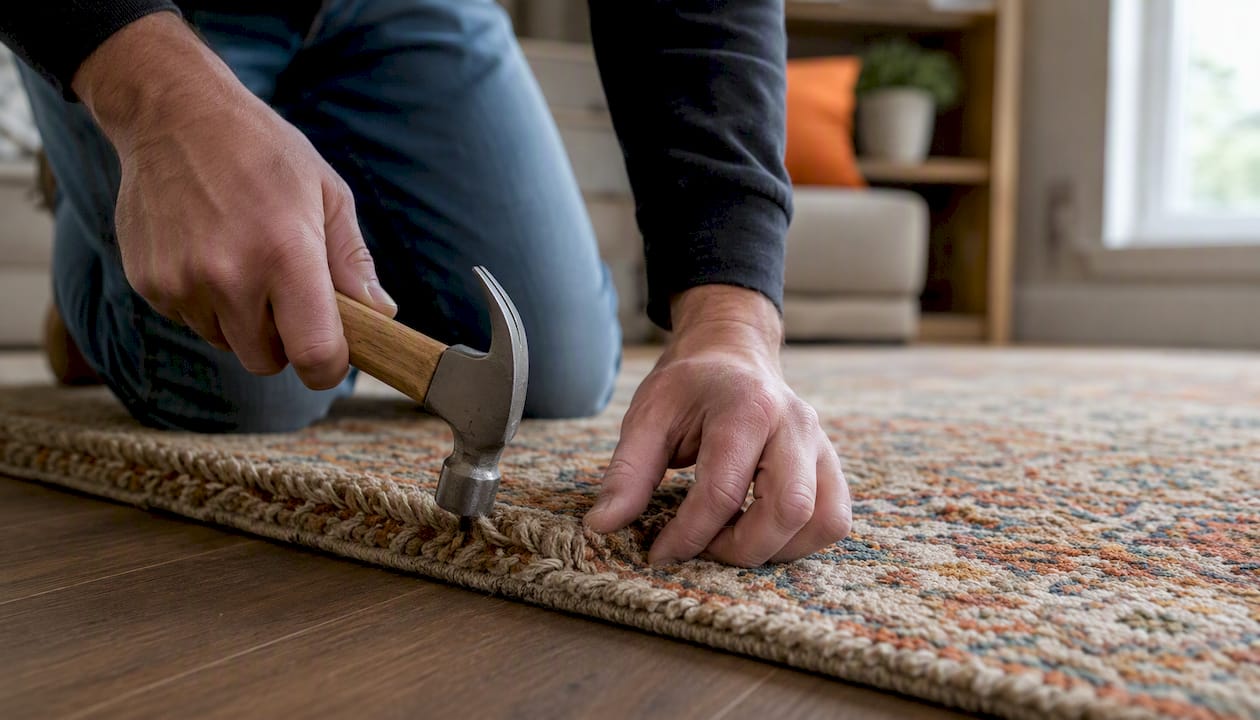
A note on powders under carpet
Baby powder or powdered graphite can temporarily quiet board-to-board rubbing even under carpet, but it’s harder to apply precisely and can create a slippery surface if it migrates. If you try it, vacuum thoroughly after a few days.
Carpet-type caution: Continuous-filament or looped carpets (Berber) are more vulnerable to fiber damage from drilling. Work slowly, keep the drill bit perpendicular, and consider the scored-screw kit over loose nails for these carpet types.
Fixing squeaks from below: shims, glue, and reinforcement
If you have basement or crawlspace access, below-floor repairs tend to be the most durable. You’re addressing the source directly rather than working around it.
Inspection checklist before you start
- Look for visible gaps between the subfloor panel and the top of the joist.
- Check for popped nails or staples that have pulled away from the joist face.
- Press upward on the subfloor while a partner walks above. Watch for movement.
- Look for moisture staining, soft spots, or sagging, which indicate a larger problem than a simple squeak.
Step-by-step below-floor repairs
- Construction adhesive: Apply a bead of construction adhesive (Liquid Nails or equivalent) along the top of the joist where the subfloor has separated. Have your partner stand on the floor above to press the panel down while the adhesive cures. Clamp or temporarily screw through the subfloor from above to hold it during curing.
- Pull-down screws: Drive screws up through the joist into the subfloor to pull the panel tight. Use screws short enough that they won’t penetrate the finish floor above. Measure the combined thickness of subfloor and finish floor first.
- Metal angles or blocking: For larger gaps or where adhesive alone isn’t enough, fasten a metal angle bracket or a block of wood to both the joist and the subfloor panel. This creates a rigid connection that eliminates flex.
- Popped nails: Have your partner stand on the joist above to push the panel down, then drive the popped nail back in. If the nail has lost holding power, add a metal angle or block rather than relying on the nail alone.
Pro Tip: When driving pull-down screws from below, measure the subfloor thickness first. A screw that’s even 1/4 inch too long will poke through the finish floor above.
The APA technical note on floor squeaks is explicit on one point: avoid driven shingle wedges. Tapping a wedge into the gap between subfloor and joist seems logical, but if it’s driven even slightly too far, it lifts the subfloor panel and creates a hump in the floor. Adhesive plus pull-down screws or metal angles is the preferred approach.
How to quiet squeaky stairs
Stairs squeak for the same basic reasons as floors: loose connections, wood movement, and friction. The geometry is just different.
Common stair causes:
- The tread has pulled away from the stringer (the angled side board).
- Nails at the nosing (front edge of the tread) have popped.
- The riser and tread are rubbing at their joint.
Above-stairs fixes:
- Drive trim-head screws through the tread into the riser below at a slight downward angle. Countersink the heads and fill with wood filler.
- Apply carpenter’s glue at the tread-to-riser joint, clamp if possible, and let it cure fully before use.
- For a more durable fix, pull the tread entirely, apply fresh adhesive, and re-fasten with screws rather than nails.
Pro Tip: Drill pilot holes before driving screws into stair treads. Hardwood treads split easily, and a split tread is a much bigger repair than a squeak.
How do you prevent squeaky floors from coming back?
The best squeak repair is the one you never have to make. A few low-effort habits keep floors quiet year-round.
Humidity control is the highest-leverage prevention step most homeowners skip. Wood expands in humid conditions and contracts when the air dries out. That contraction opens gaps between boards and between subfloor and joists. The Apartment Therapy recommendation is to keep indoor humidity between 35% and 55% year-round. A whole-house humidifier or a room humidifier in dry winter months can prevent new squeaks from forming without any tools at all.
Simple maintenance checklist:
- Every fall: check crawlspace or basement for moisture, new gaps, or sagging subfloor panels.
- Every spring: walk each room slowly and mark any new squeaks with tape before they worsen.
- Annually: inspect visible trim screws on stairs and re-tighten any that have loosened.
- After any plumbing work: check the floor around the repair area for new movement caused by subfloor disturbance.
A home maintenance checklist that includes floor inspections and humidity checks keeps these tasks from slipping through the cracks. Workbenchguide’s maintenance reminders are built exactly for this kind of recurring, easy-to-forget check.
Pro Tip: A cheap digital hygrometer (under $15) mounted in your main living area tells you instantly whether your indoor humidity is in the safe range. It’s one of the most useful tools in a homeowner’s kit.
When should you hire a contractor instead of DIYing?
Most squeaks are DIY-friendly. Some aren’t. Knowing the difference saves you from turning a $25 repair into a $2,000 mistake.
Red flags that warrant a professional:
- Multiple adjacent squeaks across a wide area, suggesting subfloor panel failure or joist damage
- Visible sagging or unevenness in the floor surface
- Squeaks accompanied by a springy or soft feel underfoot (possible joist rot or moisture damage)
- No basement or crawlspace access, making below-floor repairs impossible without demolition
- Squeaks that return within weeks of a DIY repair, suggesting a structural issue
Scott Home Inspection notes that widespread squeaking combined with soft spots or visible floor deflection often points to a structural problem beyond loose fasteners. That’s a contractor call.
Typical time and cost ranges:
- Single-spot DIY repair: 15–60 minutes, under $30 in materials
- Multi-spot DIY session (full room): 2–4 hours, $30–$80 in materials
- Professional subfloor re-securing (contractor, single room): typically a half-day of labor
- Joist repair or sistering: multi-day project, significantly higher cost depending on scope and access
Before a contractor arrives, take photos of every marked squeak location, note which rooms are affected, and confirm whether crawlspace or basement access is available. That information cuts diagnostic time and keeps the estimate accurate.
When a repair involves structural elements or specialized finish work, the challenges of DIY versus professional work are worth weighing carefully. Some jobs look simple until you’re two hours in.
Extra pro tips from experienced contractors and inspectors
A few things that don’t fit neatly into a step-by-step but make a real difference in practice.
Seasonal humidity tip: Mallory Micetich of Angi, quoted in Apartment Therapy’s floor repair guide, specifically calls out dry winter months as the prime time for new squeaks. Running a humidifier from November through March in most U.S. climates addresses the root cause rather than chasing individual squeaks.
The shim warning: The APA technical note is one of the clearest practitioner sources on this: driven shingle wedges are a common DIY instinct that often backfires. The wedge lifts the subfloor rather than pulling it down, which can create a visible hump and new squeaks nearby. Adhesive and pull-down screws are the durable alternative.
Two quick hacks worth knowing:
- Baby powder injection: Fill a hair-dye squeeze bottle with baby powder and squeeze it directly into the board seam. The narrow tip gets powder deeper into the joint than tapping it in from above. Step on the board a few times to work it in, then vacuum the surface.
- String-line joist mapping: Before driving multiple screws across a large area, find one joist, measure 16 inches to the next, confirm with a test screw, then stretch a string line across the floor to guide your fastener placement. This prevents the scattered-screw pattern that misses joists entirely.
If you’re also dealing with noise from doors or walls, noise-reducing interior door options can complement floor repairs when you’re trying to quiet a room overall.
The case for fixing squeaks sooner rather than later
Most household squeaks aren’t emergencies. A loose nail or a dry board gap won’t bring your floor down. But the ones that get ignored tend to get worse, not better. A small gap between subfloor and joist that causes a minor squeak in January can widen by the following fall, and what was a 20-minute fix becomes a half-day job.
The diagnostic-first approach matters here. Reaching for a drill before you know whether the squeak is surface-level or structural is how homeowners end up with a patched floor that still squeaks. Spend five minutes locating and categorizing the problem, and the repair almost always goes faster and cleaner.
Preventative maintenance is where the real savings are. A floor inspection takes ten minutes twice a year. Catching a popped nail or a humidity problem early costs almost nothing. Catching it after the subfloor has separated from three joists costs considerably more.
Keep your floors quiet with Workbenchguide
Fixing a squeak is satisfying. Forgetting to check for new ones until they’ve gotten worse is how small repairs become expensive ones. Workbenchguide gives you step-by-step DIY repair guides and smart maintenance reminders so floor inspections, humidity checks, and seasonal walkthroughs actually happen on schedule.
- Repair checklists and contractor Q&A: Follow guided repair steps for squeaky floors and dozens of other household fixes, or get a contractor’s answer when a repair is beyond DIY scope.
- Maintenance scheduling and task tracking: Set recurring reminders for fall and spring floor inspections, crawlspace checks, and humidity monitoring so nothing slips through.
Start with the home maintenance checklist to build a year-round inspection schedule that catches problems before they cost you.
Sources
The sources below are the most useful references for going deeper on any repair method covered here.
- How To Fix Squeaky Floors – Apartment Therapy
- Why Do I Have Squeaky Floors (And What Can I Do About It?) – Scott Home Inspection
Leave a Reply