

Your deck takes a beating every single season. Rain warps boards. UV rays fade finishes. Leaves trap moisture and breed mildew. Most homeowners only notice these problems after a board snaps underfoot or a railing wiggles loose, and by then, you’re looking at a repair bill that could have been avoided entirely. The good news is that a simple, proven checklist keeps all of this under control. This guide walks you through every step of deck maintenance, from setting a realistic schedule to cleaning, inspecting, and protecting your investment, so your outdoor space stays safe, sturdy, and good-looking year after year.
Table of Contents
- Set your deck maintenance schedule
- Structural and safety inspection musts
- Cleaning routines for wood and composite decks
- Protective finishes and coatings for wood decks
- Deck maintenance at-a-glance: Your checklist summary
- What most DIYers miss about deck maintenance
- Take the next step with easy home maintenance solutions
- Frequently asked questions
Key Takeaways
| Point | Details |
|---|---|
| Seasonal maintenance matters | Following a set schedule for cleaning and inspections prevents costly damage and extends deck life. |
| Spot-clean for longevity | Promptly clean spills and debris to avoid surface discoloration and warranty issues. |
| Safety starts with inspection | Check connections, railings, and hardware regularly to keep your deck safe and sturdy. |
| Right products, right methods | Use only manufacturer-approved cleaners and observe correct timing for stains and sealants. |
Set your deck maintenance schedule
With the value of diligent maintenance established, let’s break down how to set up your recurring deck care schedule. The biggest mistake homeowners make isn’t skipping one big cleaning. It’s having no routine at all. Without a plan, small problems pile up silently until you’re facing rot, structural damage, or a failed inspection.
The key is building a tiered schedule that fits naturally into your life. Think of it in three layers: weekly, monthly, and seasonal.
Weekly tasks take just a few minutes and prevent the slow damage caused by organic debris. Leaves, pine needles, and dirt pack between deck boards and trap moisture against the wood or composite surface. That’s how rot and mildew start. A quick sweep or leaf blower pass is all you need.
Monthly tasks involve a closer look. Rinse the surface with a garden hose to remove pollen, dust, and light grime that accumulates over the month. Check for any obvious issues like loose fasteners or standing water after rain.
Seasonal tasks are where the real work happens. A recurring seasonal cadence with routine debris removal weekly, rinsing monthly, and a deeper full cleaning twice per year (spring and fall) forms the backbone of any good deck care program. Think of spring as your post-winter recovery check and fall as your pre-winter protection step.
Integrating your deck care into your year-round home maintenance routine makes it easier to stay consistent. Pair it with gutter cleaning, HVAC filter changes, and other recurring tasks so nothing slips through the cracks.
Pro Tip: Set calendar reminders on your phone right now for late April and late September. Label them “Deck Inspection and Deep Clean.” That two-minute task today could save you thousands later.
Maintenance frequency at a glance:
| Task | Frequency | Why it matters |
|---|---|---|
| Debris removal (sweep/blow) | Weekly | Prevents moisture trapping and mildew |
| Surface rinse with hose | Monthly | Removes pollen, dust, light grime |
| Full deep clean | Twice a year (spring/fall) | Prevents staining, surface degradation |
| Structural safety inspection | Annually (spring) | Catches hardware corrosion, loose connections |
| Sealing or staining (wood only) | Every 1 to 3 years | Protects against UV and moisture damage |
Tracking your seasonal home prep across all home systems, not just your deck, gives you a fuller picture of where your home stands each season. And when fall arrives, don’t overlook winterizing your home as part of the same overall push.
Structural and safety inspection musts
Once you’ve set up your schedule, make structural safety your next priority. A visually clean deck can still be a dangerous one if the bones beneath it are compromised. This is where a methodical walk-through saves lives, not just money.
According to the North American Deck and Railing Association (NADRA), deck safety inspection should include an end-to-end review covering connections like the ledger and flashings, structural members, guardrails, stairs, and hardware for corrosion or looseness. NADRA designates May as Deck Safety Month specifically because spring is the ideal time to catch damage from winter before the heavy-use summer season begins.
“Homeowners are encouraged to use NADRA’s consumer checklist and schedule spring inspections as part of regular deck safety maintenance.” — NADRA
Here’s what every DIY homeowner should check during an annual inspection:
- Ledger board: This is the board that connects your deck to your house. Check for rot, separation from the house, and missing or rusted hardware. A failed ledger board is one of the leading causes of deck collapses.
- Flashing: Flashing seals the gap between the ledger and the house siding. If it’s missing, bent, or corroded, water infiltrates and quietly rots the structure from the inside out.
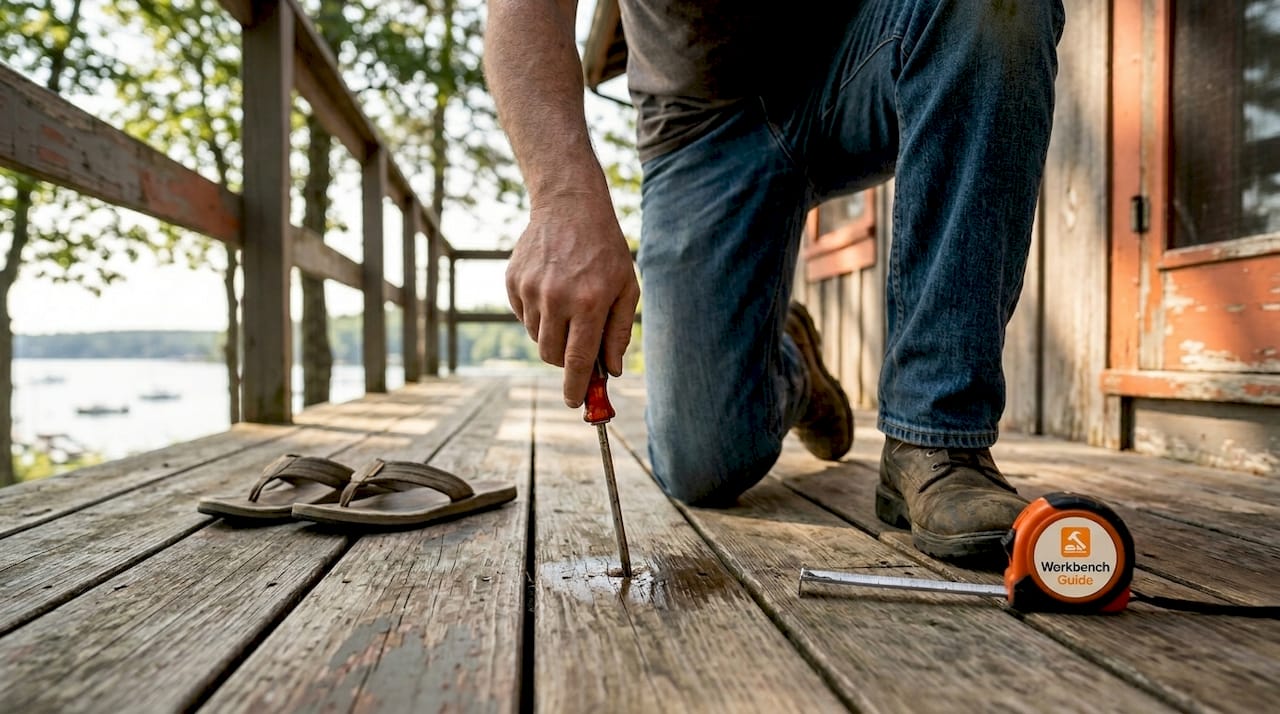
- Decking boards: Press a screwdriver into any boards that look soft or discolored. If it sinks in, that board needs to go.
- Joists and beams: Look underneath the deck with a flashlight. Check for rot, insect damage, or cracks along the grain of the wood.
- Railings and balusters: Grab each post and shake it firmly. It shouldn’t move. Balusters (the vertical spindles) should be spaced close enough to prevent a 4-inch sphere from passing through.
- Stairs and stringers: Test each step for bounce or flex. Inspect the stringers (the diagonal supports) for cracks or rot at the base where they contact the ground.
- Hardware and fasteners: Look for rusted or corroded screws, bolts, and joist hangers. Rust weakens metal connectors faster than most people realize.
| Inspection item | Check for | Frequency |
|---|---|---|
| Ledger board | Rot, separation, loose bolts | Annually |
| Flashing | Gaps, rust, bending | Annually |
| Deck boards | Soft spots, cracks, raised nails | Spring and fall |
| Railings and posts | Wobble, rot, loose hardware | Annually |
| Stairs | Bounce, rot at base | Annually |
| Joist hangers | Rust, missing fasteners | Annually |
For a broader look at what a full inspection checklist covers across your home’s exterior, it’s worth reviewing your entire home safety inspection process at the same time each spring.
Pro Tip: Do your structural inspection on a sunny day after a rain. Wet wood reveals staining, soft spots, and areas where water is pooling that you’d otherwise miss on a dry day.
Cleaning routines for wood and composite decks
Structural checks are step one, but a clean deck is equally vital. Dirt, algae, pollen, and spilled food don’t just look bad. They can permanently stain composite surfaces, void warranties, and accelerate rot in wood decks. The right cleaning approach depends entirely on what your deck is made of.
Cleaning a wood deck
- Clear all furniture, planters, and accessories from the surface.
- Sweep away all loose debris, paying close attention to debris packed between boards.
- Pre-wet the surface with a garden hose to loosen dirt.
- Apply a wood deck cleaner (oxygen bleach-based formulas work well and are gentler than chlorine bleach) using a stiff-bristle brush.
- Scrub with the grain of the wood to avoid cross-grain scratches.
- Rinse thoroughly with clean water.
- Allow the surface to dry completely before any staining or sealing.
If you use a pressure washer on wood, keep the pressure at or below 1,200 to 1,500 PSI and hold the wand at least 12 inches from the surface. High pressure can raise the wood grain and cause furring, which makes the surface rough and harder to coat.
Cleaning a composite or PVC deck
Composite decks are lower maintenance, but they are not zero maintenance. Manufacturer-approved cleaners are essential. Avoid harsh chemicals, non-approved bleach-based products, and overly aggressive pressure washing. These can break down the surface cap on capped composite boards and, in some cases, void your warranty.
- Use a soft-bristle brush or mop with warm soapy water for routine cleaning.
- For organic stains like mold or mildew, use a composite deck cleaner specifically formulated for the purpose.
- Pressure wash at low settings (under 1,500 PSI) if needed, keeping the nozzle moving.
- Clean in the direction of the board grain to avoid streaking.
- Rinse completely after cleaning to remove any residue.
Composite deck longevity depends on keeping the surface clean, maintaining drainage and airflow beneath the boards, and using the right approved cleaner. Composite decks don’t need sanding or staining, which is a major advantage, but skipping cleaning altogether accelerates surface discoloration and can reduce the effectiveness of the UV-resistant cap layer.
Pro Tip: Spills happen fast, especially during summer cookouts. Clean up food, grease, and beverages as quickly as possible. Many composite manufacturers specify a cleanup window in their warranty terms, and letting stains sit too long can mean the difference between a covered claim and an out-of-pocket repair.
For a broader overview of the tools and cleaning supplies you should keep on hand, review your full home maintenance kit before the season begins. These safety cleaning tips also apply when handling cleaning products around children and pets.
Protective finishes and coatings for wood decks
Cleaning makes way for the next crucial step: refreshing protective finishes. This section applies specifically to natural wood decks. Composite and PVC surfaces skip this step entirely, which is one reason they’ve grown in popularity.
For wood decks, protective coatings should be reapplied every 1 to 3 years depending on your climate, the type of wood, and the amount of sun and moisture exposure the deck receives. Decks in harsh climates or full sun may need annual touch-ups, while covered or shaded decks in mild climates can go closer to three years between applications.
Step-by-step process for sealing or staining a wood deck:
- Complete your deep cleaning and allow the deck to dry for at least 48 to 72 hours. Moisture trapped under a new coat causes bubbling and peeling.
- Sand lightly with 80-grit sandpaper if the surface is rough or raised from cleaning.
- Perform a water droplet test: sprinkle a few drops of water on the surface. If the water soaks in within 30 seconds, the wood is ready. If it beads up, it needs more drying time.
- Choose your product: a clear sealer for natural look, a semi-transparent stain for color with grain visibility, or a solid stain for maximum UV protection.
- Apply with a brush, roller, or pad applicator on a dry day with temperatures between 50°F and 90°F.
- Work in the direction of the grain and maintain a wet edge to avoid lap marks.
- Apply a second coat if recommended by the product label. Allow full curing time before placing furniture back.
Pro Tip: Always do a small test patch in an inconspicuous area before applying stain to the whole deck. Wood reacts differently based on species, previous treatments, and age. A test patch prevents surprises.
Prepping wood surfaces properly before applying any finish is the difference between a coating that lasts three years and one that peels in three months. Skipping surface prep is the number one reason wood deck finishes fail prematurely, and it’s a costly mistake to fix. Building this into your regular routine also keeps you on track with preventing costly repairs across the whole home.
Deck maintenance at-a-glance: Your checklist summary
For fast, confident upkeep, use this consolidated summary as your go-to seasonal deck care guide. Print it, save it to your phone, or pin it to your garage wall.
Wood vs. composite deck checklist comparison:
| Task | Wood deck | Composite/PVC deck |
|---|---|---|
| Weekly debris removal | Yes | Yes |
| Monthly rinse | Yes | Yes |
| Deep cleaning (spring/fall) | Yes, with wood cleaner | Yes, with approved cleaner |
| Pressure washing | Low PSI only | Low PSI only |
| Sanding | As needed before coating | Not needed |
| Staining or sealing | Every 1 to 3 years | Not required |
| Structural inspection | Annually | Annually |
| Hardware check | Annually | Annually |
Critical task reminders:
- Sweep or blow off debris every week to prevent moisture buildup between boards.
- Inspect railings, stairs, and the ledger board every spring before peak use.
- Check drainage gaps and weep holes after heavy rain to confirm water is moving off the surface freely.
- Spot-clean promptly when food, oils, or organic stains land on composite surfaces to stay within warranty-relevant cleanup windows.
- Test wood for moisture readiness before applying any protective coating.
- Document your maintenance dates in writing so you know exactly when the next cycle is due.
For even more guidance, explore all our home checklists organized by season and project type.
What most DIYers miss about deck maintenance
Here’s the honest truth we’ve seen time and again: most homeowners focus almost entirely on what they can see. They scrub the surface, slap on a fresh coat of stain, and call it done. But the real threats to deck longevity are largely invisible, and the most expensive failures almost always trace back to two overlooked issues: drainage and ledger connections.
Standing water and blocked drainage are among the most common and recurring failure modes in deck maintenance. Water that pools on the surface or collects between boards creates a breeding ground for mildew and algae, accelerates fastener corrosion, and puts constant stress on the deck’s structural connections. Even so-called “low-maintenance” composite decks fail prematurely when drainage is ignored.
The ledger board is the other silent killer. It’s hidden behind siding, almost never visible without deliberately looking, and it’s the single most critical structural connection on an attached deck. A compromised ledger can fail suddenly and without warning, especially after repeated freeze-thaw cycles or sustained moisture exposure.
The counterintuitive insight here is that the homeowners with the most beautiful-looking decks sometimes have the most structurally vulnerable ones. They prioritize appearance over structure. A faded, weather-worn deck with solid fasteners and clear drainage channels is actually safer than a freshly stained deck with standing water pooling at the ledger.
Real deck longevity comes from checking what you cannot see, not just polishing what you can. Make drainage and ledger inspection non-negotiable parts of your spring walkthrough every year. These two checks take under ten minutes combined, and they’re genuinely what separates a deck that lasts 25 years from one that needs a full rebuild after 12. Pair these checks with consistent preventing water damage habits across the rest of your home’s exterior, and you’re protecting the entire investment, not just the surface.
Take the next step with easy home maintenance solutions
Keeping your deck in great shape is much easier when you have the right tools in your corner. At Workbench Guide, we’ve built a full library of step-by-step guides and printable checklists designed specifically for homeowners who want to stay ahead of repairs instead of reacting to them. Start with the complete home maintenance checklist to organize all your seasonal tasks in one place, from deck care to roof checks to HVAC filters. When you’re ready to tackle bigger outdoor upgrades, browse our DIY project ideas for money-saving inspiration. And for every topic in this article and beyond, you can explore all our guides to find exactly what you need next.
Frequently asked questions
How often should I clean my deck?
Clean your deck at least twice a year during spring and fall, with weekly debris removal and monthly rinsing in between.
What is the best way to clean composite decking?
Use a manufacturer-approved cleaner and a soft-bristle brush, avoid harsh chemicals or aggressive pressure washing, and rinse the surface completely after cleaning.
Do I need to seal or stain my composite deck?
No. Composite decks do not require sanding, sealing, or staining; regular cleaning and proper drainage are what keep them performing long-term.
How do I know when to re-stain a wood deck?
Re-stain every 1 to 3 years, but first do a water droplet test and inspect for surface wear to confirm the timing is right for your specific deck and climate.
What are the key signs my deck needs repair?
Look for soft or spongy boards, loose or wobbling railings, rusted hardware, and separation at the ledger board connection, as any of these require immediate attention before the deck is used.