
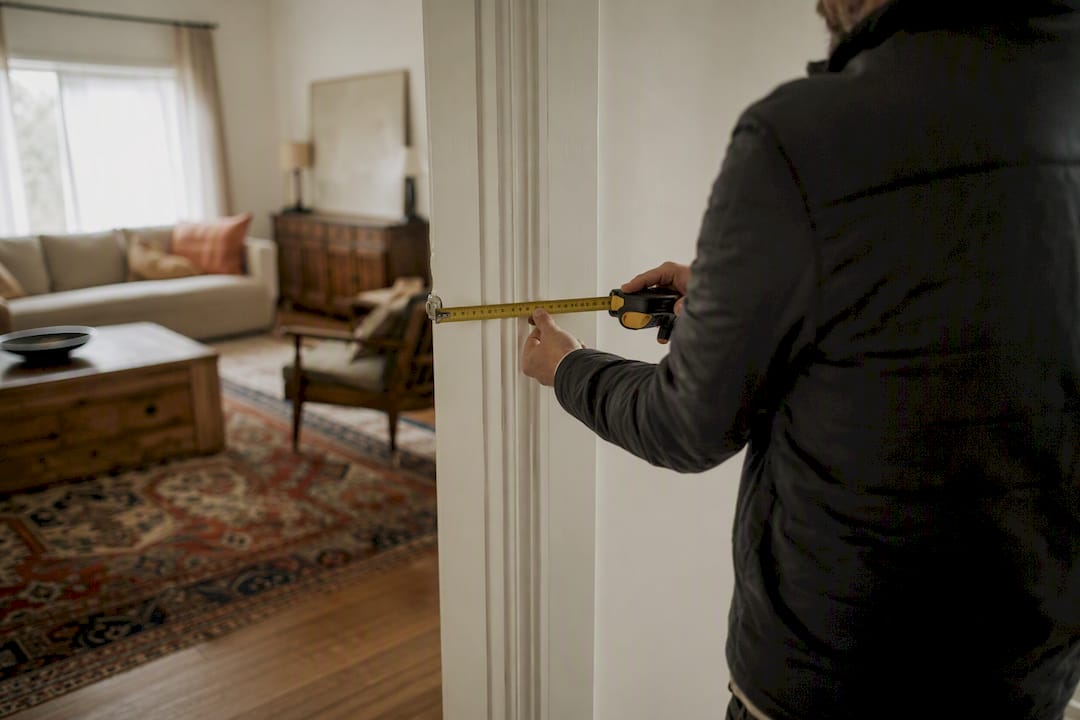
A single master landlord inspection checklist covering move-in, periodic, and move-out visits, paired with strict photo standards and a follow-up ticket system, is the fastest way to protect security deposit claims and stay ahead of surprise repairs. Most disputes over deposits come down to whether the landlord has a signed, dated, and photographed record from move-in day. When such a record exists, cases are often resolved in the landlord’s favor.
The checklist below gives you a 50-point room-by-room walkthrough, wide-then-close photo standards that hold up if a tenant disputes deductions, and a signature protocol that closes the loop legally. You’ll also get a workflow for turning every finding into a tracked repair, not a forgotten note on a clipboard.
Download the template as a printable PDF, a fillable PDF, or a CSV/spreadsheet you can adapt per unit. Use it for:
- A move-in baseline walkthrough before handing over keys
- A mid-lease or annual condition check
- A pre-move-out comparison against the signed move-in record
The structure borrows from a documented 50-item move-in standard, courtroom-tested photo protocols, and typical state notice windows of 24 to 48 hours before entry.
Key Takeaways
A signed, photographed move-in record is the single document most security deposit disputes get decided by, which makes it the highest-priority piece of any inspection routine.
| Point | Details |
|---|---|
| Use one master checklist | Run the same room-by-room list at move-in, periodic checks, and move-out for direct comparison. |
| Photograph wide then close | Shoot a full-room photo first, then close-ups of issues, keeping the same angle every visit. |
| Give proper notice | Provide written notice, commonly 24 to 48 hours, and confirm your state’s exact requirement. |
| Convert findings into tickets | Log every issue with a photo, owner, and deadline the same day you find it. |
| Workbench Guide supports the workflow | The app stores timestamped photos, tracks tickets, and manages multiple properties from one dashboard. |
Table of Contents
- What Should Be in a Landlord Inspection Checklist Template?
- When Should You Do a Rental Property Inspection?
- What Belongs on a Room-By-Room Rental Inspection Checklist?
- How Should Landlords Photograph Inspection Findings?
- What Are the Legal Rules for Entering a Tenant’s Unit?
- What Happens After a Rental Inspection Is Complete?
- How Do You Use a Move-Out Inspection to Support Deposit Deductions?
- Workbench Guide Turns Your Checklist Into a Working System
- Frequently Asked Questions About Landlord Inspection Checklists
- Sources
What Should Be in a Landlord Inspection Checklist Template?
A usable template comes in three formats, and each one serves a different moment in your workflow. The printable PDF works best for a first walkthrough where you’re writing notes by hand and want the tenant to sign a physical page. The fillable PDF is better for tablet use during the walk, since you can type directly into fields and export a signed copy on the spot. The CSV or spreadsheet version is the one you want long term, because it lets you track condition ratings across units and years without retyping anything.
Getting the file into use takes about ten minutes:
- Enter the property address, unit number, and tenant names into the header fields.
- Save one blank master copy per property, then duplicate it for each new inspection date instead of editing the original.
- Load the fillable PDF or spreadsheet onto a tablet or phone before the walkthrough, or print it if you prefer paper.
- Walk the property in the same order every time (exterior, then room by room) so photos and notes line up across inspections.
- Send a signed copy to the tenant’s email within 24 hours of completion.
Pro Tip: Tag each checklist line item with a category (plumbing, electrical, cosmetic) before your first inspection. When you find damage during a walkthrough, that tag can auto-route into a maintenance ticket instead of sitting in a notes field you’ll forget to revisit.
A few habits keep the system from drifting:
- Keep exactly one canonical blank template per property, stored in a shared folder.
- Version each update with a date in the filename (e.g., “Checklist_v3_2026.pdf”).
- Never edit a completed, signed inspection record. Archive it and start a new file for the next visit.
When Should You Do a Rental Property Inspection?
Four inspection types cover the life of a tenancy, and mixing them up is where most landlords lose leverage in a dispute.
The move-in inspection happens before or on the day keys change hands, and it sets the legal baseline every future comparison gets measured against. The periodic or mid-tenancy inspection checks for maintenance issues and lease compliance while the tenant is living there, typically once a year or twice a year depending on the property’s age and history. The drive-by or seasonal inspection is a lighter exterior check, often tied to weather (gutters before winter, AC before summer). The move-out inspection is the final comparison against the signed move-in record and the one that determines deposit deductions.
Standardized inspection scheduling catches maintenance problems early and keeps repair costs from compounding, which matters more in an environment where turnover and vacancy patterns already put pressure on rental income. A property with a known water history or one built before 1990 justifies more frequent checks than a newer unit with a clean record.
Certain events should trigger an inspection outside your normal schedule:
- A tenant returns from an extended absence (30+ days)
- A neighbor or tenant reports a leak, even a minor one
- A storm, flood, or freeze event hits the area
- You’re approaching lease renewal and want documentation before negotiating rent
The four-inspection framework treats the move-in record as evidentiary; periodic and drive-by checks are operational, meant to catch problems, not to build a legal case.
What Belongs on a Room-By-Room Rental Inspection Checklist?
The exact items you check should stay consistent whether it’s move-in day or move-out day, which is what makes comparison possible later. Here’s a condensed version of the 50-point structure landlords actually use.
Exterior and entry. Roof and gutters (look for sagging, missing shingles, debris buildup), siding condition, all exterior locks and deadbolts, steps and handrails for stability, and whether the address number is visible from the street. A step-by-step roof check before winter catches drainage issues before they become ceiling stains.
Kitchen. Test every appliance (stove burners, oven, dishwasher, refrigerator seal), check under-sink plumbing for moisture or slow drips, inspect caulk and grout around the sink, check countertops for cracks or burns, and test every outlet, especially GFCI outlets near water sources. Plumbing that looks fine on a quick glance can hide a slow leak that costs far more to fix once it’s been running unnoticed for months.

Bathrooms. Check all fixtures (faucets, showerhead, toilet) for function and leaks, inspect caulking and grout for mold or gaps, test the exhaust fan, look for water staining on ceilings below upper-floor bathrooms, and confirm the toilet doesn’t rock or wobble at the base.

Living areas and bedrooms. Walls for holes or excessive marks beyond normal wear, floor condition room by room, windows and screens for operation and locks, smoke detector presence and battery status in every bedroom, and confirm at least one egress window per bedroom for safety compliance.
Systems and utilities. Water heater age and any visible corrosion, HVAC system operation in both heating and cooling modes, electrical panel visual check for obvious damage or DIY wiring, and HVAC filter condition. A thorough electrical safety pass matters most in older buildings where outlets haven’t been updated in decades.
Laundry and utility spaces. Dryer vent condition and lint buildup, washer hose connections for cracking, and any visible leaks around the utility sink or floor drain.
Keys, codes, and utilities. Document the exact number of keys handed over and returned, record any smart-lock codes issued and confirm they’re reset between tenants, and note which utilities transfer to the tenant’s name versus which stay on the landlord’s account.
Close every inspection the same way:
- Walk the tenant through any flagged items in person or by phone.
- Have both parties initial each line item, not just the final page.
- Date and time-stamp the signature block.
- Get a full signature from tenant and landlord, or document a refusal if one occurs.
A consistent route and rating system using fixed condition labels (New, Good, Fair, Poor) makes disputes far easier to resolve than free-text notes.
How Should Landlords Photograph Inspection Findings?
The photo method matters more than the camera you use. Shoot a wide shot of the full room first, then a closer shot of any specific issue, and repeat that same angle every inspection so comparisons line up visually. When scale matters (a crack, a stain, a gap), include something for reference, like a tape measure or a coin.
Don’t crop or edit the original files. Export copies for the tenant if needed, but keep the untouched original with its EXIF metadata intact, since that timestamp is often the detail that settles a disputed date. A 50-point walkthrough system built around wide-then-close photography and preserved metadata has held up specifically because nothing about the file has been altered after the fact.
Name and store files so you can find them a year later without guessing:
- Use a consistent pattern like
123main_unit2_2026-03-15_kitchen-001.jpg - Organize folders by property, then by inspection date
- Keep move-in, periodic, and move-out photo sets in separate subfolders under the same property folder
- Export a single signed PDF that bundles the checklist and thumbnail photos together
Pro Tip: For every flagged issue, capture the photo, add a one-line note that references the exact checklist item, and assign it to a repair ticket immediately. Findings without a paper trail tend to get lost between visits.
What Are the Legal Rules for Entering a Tenant’s Unit?
Give written notice before you enter an occupied unit, and stick to reasonable hours unless it’s a genuine emergency. Most states set that notice window at 24 to 48 hours, but the exact number, and who’s allowed to be present, varies by state. Washington’s landlord-tenant code, for instance, requires at least two days’ written notice for routine entries. Florida’s statute spells out reasonable notice and hours and explicitly bars using entry as harassment.
Stay out of the tenant’s personal property during any inspection. Closed containers, dresser drawers, locked boxes, anything that isn’t a fixture or structural element of the unit, is off-limits. Opening or moving personal belongings risks a privacy claim even if your intentions were harmless.
Emergencies are the one exception to the notice rule. A gas leak, an active fire, flooding, or a burst pipe justify immediate entry without advance notice, because delaying to send written notice would make the damage worse.
- Keep a copy of every notice you send, with the date and delivery method
- Log any response from the tenant, including a request to reschedule
- Send the completed inspection outcome to the tenant right after the visit
Pro Tip: If a tenant declines to sign the inspection form, write “tenant declined to sign” directly on the record, complete the walkthrough anyway with timestamped photos, and send the finished document to the tenant’s preferred contact the same day. That single line protects you if the disagreement ever escalates.
What Happens After a Rental Inspection Is Complete?
Every finding you write down should turn into one of two things immediately: a maintenance ticket or a lease-enforcement note. Nothing should sit unassigned.
- Log the issue with a description, attach the relevant photo, and reference the exact checklist line it came from.
- Assign an owner (yourself, a contractor, or a repair service) and set a deadline.
- If the tenant needs to take action, such as removing a prohibited item, notify them with a written timeline.
- Close the ticket only once the repair is confirmed and photographed.
Keep inspection records for as long as you own the property, and never less than the length of your state’s statute of limitations on deposit disputes. The move-in record especially should never be deleted, since it’s the document most disputes get resolved against.
A basic maintenance ticket needs: date found, unit and room, description, assigned owner, target completion date, and a closing photo. A maintenance tracking system built around this exact structure keeps small issues from turning into expensive ones by the next lease renewal.
How Do You Use a Move-Out Inspection to Support Deposit Deductions?
The move-out inspection is a point-by-point comparison against the signed move-in record, nothing more. Anything you didn’t document at move-in is hard to argue was the tenant’s doing.
Line up photos by matching filenames and room order, walk the same checklist sequence you used on day one, and rate each item using the same condition scale. Differences between the two records are your evidence.
Deposit-affecting damage usually includes things like large stains embedded in carpet, holes in walls beyond a few nail holes, broken fixtures, and pet damage to floors or doors. Normal wear and tear covers minor scuffing on walls, faded paint from sunlight, worn carpet in high-traffic paths, and small nail holes from hung pictures. Courts and mediators tend to draw that line consistently, and a landlord who tries to charge for ordinary fading loses credibility fast.
Pro Tip: Offer tenants a pre-move-out walkthrough a week or two before they leave. It gives them a chance to fix small issues themselves and cuts down on disputes over deductions neither side wants to argue about.
Why a signed move-in record settles most deposit arguments
Landlords who skip a detailed move-in inspection often assume the move-out walkthrough will speak for itself. It won’t. A tenant can always claim a stain or a crack was already there, and without a dated, signed, photographed baseline, that claim is nearly impossible to disprove either way.
What I’ve noticed working through cases and inspection templates is that landlords overinvest in the move-out inspection and underinvest in the move-in one, when the opposite priority protects them better. The record that actually wins disputes is the one signed on day one, not the one taken as the tenant is packing boxes. Workbench Guide’s own case work with property owners backs this up: findings that get logged and photographed at move-in convert into fewer disputed tickets later, because the ticketing system ties every repair back to a dated original entry.
Workbench Guide Turns Your Checklist Into a Working System
Workbench Guide gives you what a printable checklist can’t: a place where every inspection photo keeps its original timestamp, every flagged item becomes a tracked task automatically, and every property you manage lives in one dashboard instead of a folder full of loose PDFs. The template library includes the room-by-room structure covered above, ready to load for your next move-in.
Photo storage retains original files (no accidental cropping or overwriting), so your evidence stays intact if a deposit dispute ever goes to a hearing. Ticketing and scheduling turn a flagged issue into an assigned task with a deadline, the same day you find it, and multi-property archives keep move-in, periodic, and move-out records separated cleanly across every unit you own.
If you manage more than one rental, start by importing your first property’s maintenance checklist and scheduling your next move-in walkthrough inside the app. Pair it with a solid tenant screening process on the front end, and you’ve closed the loop from applicant to move-out on one system.
Frequently Asked Questions About Landlord Inspection Checklists
How often should a landlord inspect a rental property?
Move-in and move-out inspections happen every time a tenant changes. Periodic inspections typically run once or twice a year, with more frequent checks warranted for older properties or units with a history of water damage.
What is the difference between a move-in and move-out inspection checklist?
They use the identical checklist and room order. The move-in version establishes the baseline condition; the move-out version compares current condition against that signed baseline to determine deposit deductions.
Can a landlord enter without giving notice?
Only in a genuine emergency, such as a gas leak, fire, or active flooding. Routine inspections require advance written notice, commonly 24 to 48 hours depending on your state.
What should a landlord never inspect during a walkthrough?
Tenant personal property, including locked containers, drawers, and closets full of personal belongings. Inspections should stay limited to the unit’s structure, fixtures, and appliances.
What happens if a tenant refuses to sign the inspection checklist?
Note the refusal directly on the form, complete the walkthrough with timestamped photos anyway, and send the finished record to the tenant right away to document that they had the chance to review it.
This article is general information, not a substitute for advice from a qualified lawyer. Consult a qualified legal professional about your own circumstances before acting on anything here.
Sources
- Move-in records: complete guide — DiscoveryMark
- Rental Property Inspections: A Guide for Landlords | APM
- RCW 59.18.150 — Landlord’s right of entry (Washington State Legislature)
- Florida Statutes §83.53 — Landlord’s access to dwelling unit
Always confirm your own state’s exact notice period and entry rules before scheduling an inspection. Requirements shift from state to state, and getting that detail wrong can undercut an otherwise solid record.
Leave a Reply