
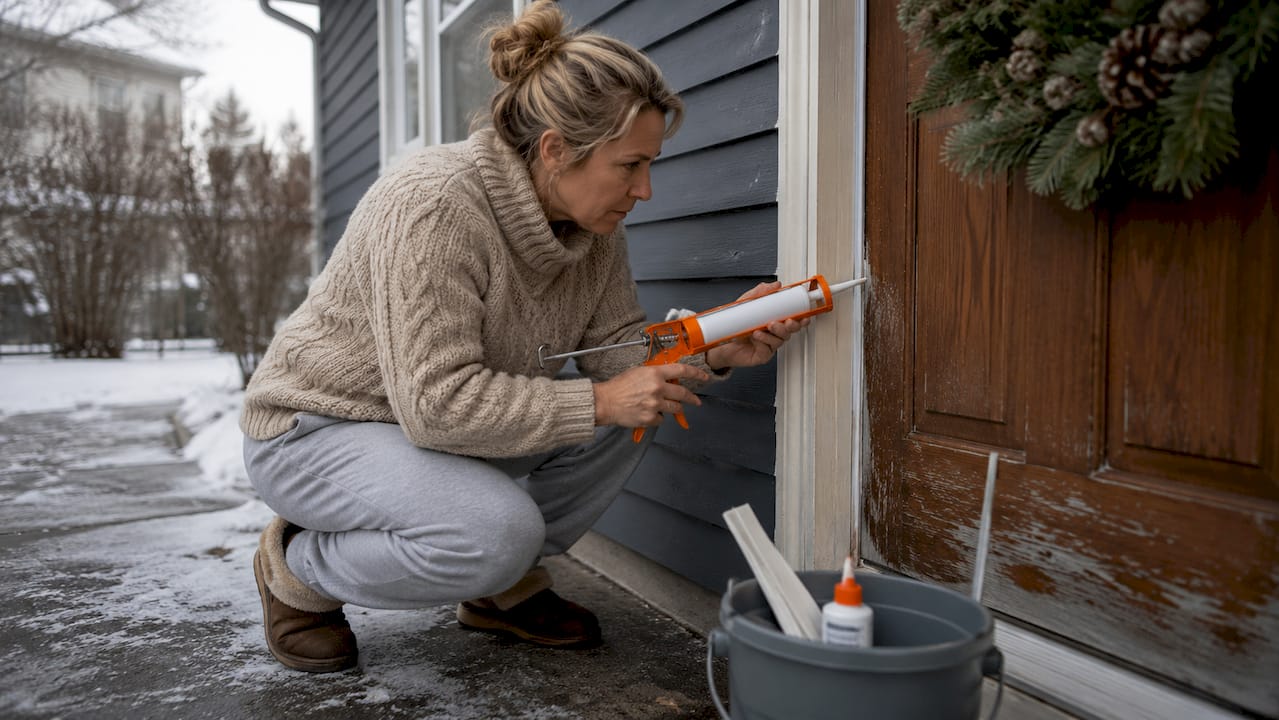
Step by step home winterization is the process of preparing your home to withstand freezing temperatures by sealing drafts, insulating pipes, servicing your heating system, and securing the exterior before cold weather arrives. Done right, it prevents burst pipes, ice dams, and heating failures that cost thousands to repair. This guide covers every stage of the process, from tools and materials to safety checks, so you can protect your home and your budget this winter. Whether you own or rent, these steps apply directly to you.
What tools and materials do you need for step by step home winterization?
Gathering your supplies before you start saves time and prevents mid-project trips to the hardware store. A complete home winterization checklist starts with tools you likely already own and a short list of materials to buy.
Core tools you need:
- Caulking gun and exterior-grade caulk (silicone or latex)
- Weatherstripping (foam, V-strip, or door sweep styles)
- Ladder for gutter and roof access
- Utility knife and measuring tape
- Pipe wrench and bucket for outdoor faucet work
Materials to stock up on:
- Foam pipe insulation sleeves (sized to your pipe diameter)
- Heat tape for pipes in unheated spaces
- Furnace filters (look for MERV 8–11 ratings for residential use)
- Weatherproofing window film kits
- Insulated faucet covers for outdoor spigots
| Tool or Material | Primary Use |
|---|---|
| Caulking gun and caulk | Seal gaps around windows, doors, and foundation |
| Weatherstripping | Block drafts at door and window frames |
| Foam pipe insulation | Protect exposed pipes in crawl spaces and garages |
| Heat tape | Prevent freezing in pipes with no other insulation option |
| MERV 8–11 furnace filter | Maintain HVAC airflow and heating efficiency |
| Insulated faucet cover | Protect outdoor spigots from freezing |
Pro Tip: Measure your window and door frames before shopping for weatherstripping. Buying in bulk for a standard size saves money and avoids mismatched strips that leave gaps.
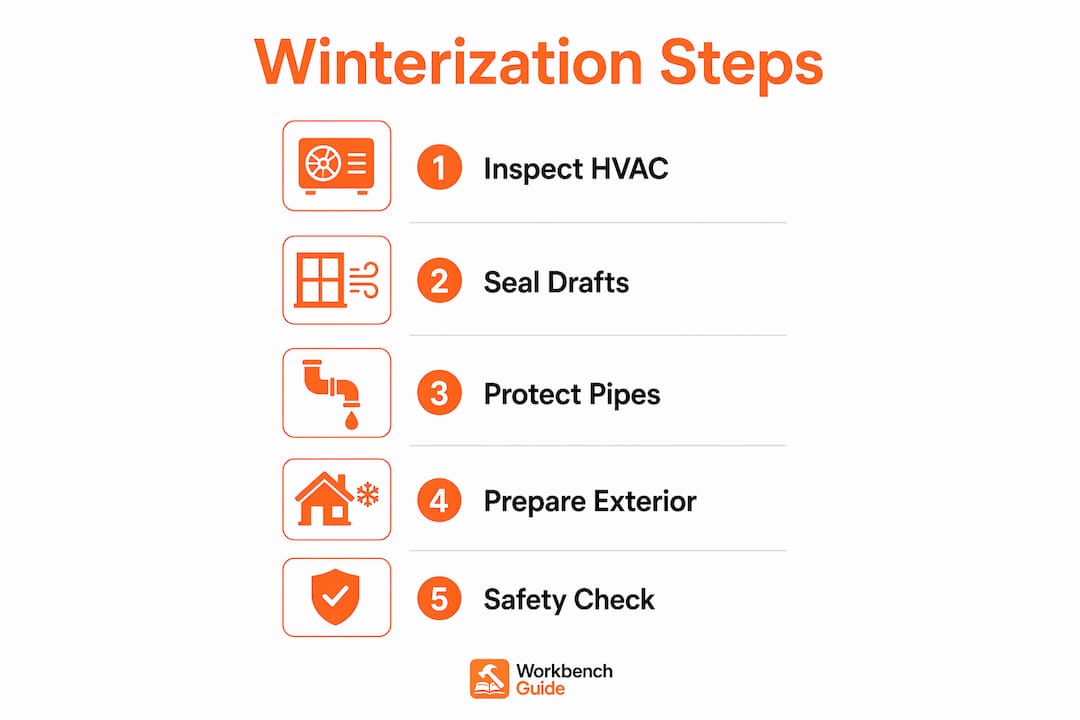
How do you winterize heating and HVAC systems step by step?
Your heating system is the most critical piece of your winter prep. A failure in january or february is not just uncomfortable. It can freeze your pipes within hours.
- Schedule a professional HVAC inspection. A professional HVAC inspection and tune-up costs an average of $350, and it catches problems before they become emergencies. Book in september or october, before technicians are fully booked.
- Test your heating system early. Turn on your furnace or heat pump before the first cold snap. Run it for at least 30 minutes and check every vent for airflow.
- Replace your furnace filter. Regular filter changes keep your system running efficiently and prevent cold spots. A clogged filter forces your furnace to work harder and shortens its lifespan.
- Reverse your ceiling fans. Clockwise fan rotation in winter pushes warm air that rises to the ceiling back down into the room. This simple switch reduces how hard your furnace works. Most fans have a small switch on the motor housing to change direction.
- Test smoke and carbon monoxide detectors. Heating systems that sit idle all summer can develop issues. Carbon monoxide leaks from furnaces are a serious winter risk. Test detectors and replace batteries before you need them.
- Check your thermostat settings. Set your thermostat no lower than 55°F if you leave the house for extended periods. Dropping below that risks pipe freezing even with insulation in place.
Pro Tip: Book your annual HVAC service in late summer. Technicians are less busy, and you get faster scheduling and sometimes better pricing.
A common mistake is skipping the HVAC inspection and only replacing the filter. Filters matter, but a cracked heat exchanger or a failing ignitor will not show up on a filter check. A professional catches those issues before they leave you without heat.
What are the essential steps to protect plumbing from freezing and bursting?
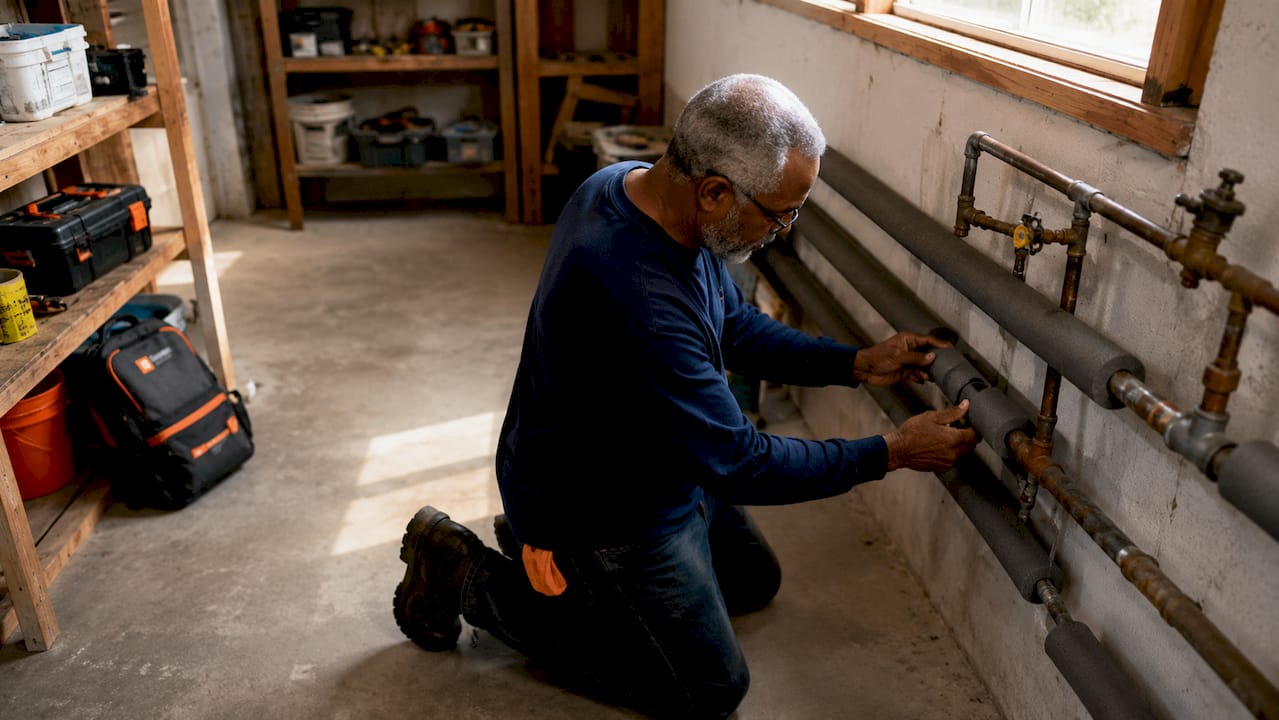
Pipe protection is the highest-stakes part of winterizing your home. Water expands about 9% when frozen, generating enough pressure to split copper and PVC pipes. That expansion is what causes burst pipes, and the water damage that follows can cost far more than the repair itself.
Where to focus your pipe insulation efforts:
- Pipes in unheated spaces: garages, crawl spaces, basements, and attics
- Pipes along exterior walls where cold air penetrates
- Any pipe within 6 inches of an exterior wall or uninsulated surface
Foam pipe insulation sleeves are the easiest fix for most exposed pipes. They slip on without tools and cost very little per foot. For pipes in extremely cold spaces, heat tape provides active warmth and is controlled by a built-in thermostat.
| Insulation Method | Best For | Cost Level |
|---|---|---|
| Foam pipe sleeves | Crawl spaces, basements, garages | Low |
| Heat tape | Extreme cold, unheated attics | Medium |
| Fiberglass wrap | Long pipe runs needing extra protection | Medium |
| Cabinet doors left open | Under-sink pipes on exterior walls | Free |
Outdoor faucets and hose bibs need specific steps:
- Shut off the dedicated indoor valve that feeds each outdoor faucet
- Open the outdoor faucet to drain any remaining water
- Disconnect and drain all garden hoses before the first freeze
- Install insulated faucet covers over each outdoor spigot
Closing the outdoor valve alone is not enough. If a hose stays connected, water trapped between the valve and the hose end can freeze and damage the pipe inside your wall. This is one of the most common and preventable winter plumbing failures.
Pro Tip: If a pipe does freeze, open the faucet slightly to let water drip. That slow movement reduces pressure buildup. Thaw the pipe gently with a hair dryer, starting from the faucet end and working back. Never use an open flame.
How can you winterize your home’s exterior to prevent damage and heat loss?
The exterior of your home takes the hardest hit in winter. Drafts, ice dams, and water infiltration all start outside. A thorough exterior check is a non-negotiable part of any complete winterization plan.
- Seal drafts around windows and doors. Run your hand along window and door frames on a cold day. Any cold air you feel is energy leaving your home. Apply weatherstripping to door frames and caulk any gaps where the frame meets the wall. Replace cracked or missing caulk around window edges.
- Clean your gutters and downspouts. Clogged gutters cause roof and interior water damage by trapping water that backs up under shingles. In freezing temperatures, that trapped water becomes ice and forces shingles apart. Clean gutters in late fall after leaves have finished dropping. Check that downspouts direct water away from your foundation by at least 6 feet.
- Inspect your roof. Look for missing, cracked, or curling shingles. Check the flashing around chimneys and vents. A small gap in flashing lets water in, and freezing temperatures turn that small leak into a major one.
- Install insulated faucet covers. These foam covers fit over outdoor spigots and cost under $5 each. They add a meaningful layer of protection even after you have shut off the water supply.
- Check attic and crawl space insulation. The U.S. Department of Energy recommends R-38 to R-60 insulation for attics in most cold climates. Inadequate attic insulation is a leading cause of ice dams because heat escaping through the roof melts snow, which then refreezes at the cold eaves.
Safety note: Use a stable ladder on level ground for gutter and roof work. Never lean a ladder against a gutter. Have a second person present when working at height. If your roof pitch is steep or your gutters are high, hire a professional.
Pro Tip: Walk your home’s exterior with a notepad and photograph every gap, crack, or damaged area you find. That record helps you track repairs and supports any future insurance claim.
What safety and emergency preparedness steps are critical when winterizing your home?
Safety prep is the part of winterizing your home that most people skip until something goes wrong. These steps protect your household, not just your property.
Safety checks to complete before winter:
- Test smoke detectors and carbon monoxide detectors. Replace batteries and units older than 10 years.
- Have your chimney inspected and cleaned if you use a fireplace or wood stove. Creosote buildup is a leading cause of house fires.
- Check that your heating system’s exhaust vents are clear of debris, nests, and ice blockage.
- Keep a fire extinguisher accessible near the furnace and fireplace.
Emergency supplies to have on hand:
- Flashlights and extra batteries
- A battery-powered or hand-crank weather radio
- At least three days of food and water for every household member
- Blankets, warm clothing, and a first aid kit
- Ice melt or sand for walkways
Icy sidewalks and steps create real legal liability for homeowners. A slip-and-fall on your property can result in a lawsuit even when the ice formed overnight. Keep ice melt stocked before the season starts, not after the first storm.
Thermostat management also matters for safety. If you travel during winter, do not set your thermostat below 55°F. Below that threshold, interior temperatures in unheated rooms and crawl spaces can drop low enough to freeze pipes even with insulation.
Key takeaways
Effective home winterization requires addressing heating, plumbing, exterior sealing, and safety in a specific sequence before cold weather arrives.
| Point | Details |
|---|---|
| Start with HVAC | Schedule a professional inspection early; average cost is $350 and it prevents mid-winter failures. |
| Insulate exposed pipes | Use foam sleeves or heat tape on pipes in garages, crawl spaces, and exterior walls. |
| Disconnect outdoor hoses | Closing the outdoor valve alone is not enough; trapped water in connected hoses still freezes. |
| Clean gutters before freezing | Clogged gutters cause ice dams and roof damage; clear them after leaves fall. |
| Document every step | Photographed winterization records support insurance claims for frozen pipe damage. |
What I’ve learned from years of watching homeowners skip the obvious
Most homeowners focus on the heating system and stop there. That is understandable. A cold house is immediately uncomfortable, so the furnace gets attention. But the calls that turn into expensive repairs almost always trace back to two things: gutters and outdoor hoses.
Gutters feel like a chore with no payoff. You clean them, nothing dramatic happens, and you move on. But when they are blocked and temperatures drop, water backs up, freezes under shingles, and works its way into the attic or walls. By the time you see a stain on the ceiling, the damage is already done. The same logic applies to garden hoses. Leaving one connected to an outdoor spigot feels harmless. It is not.
The other thing I tell every homeowner: document your winterization. Take photos of your pipe insulation, your furnace filter replacement, your sealed windows. Insurance companies can deny frozen pipe claims if you cannot show you took reasonable steps. That photo takes 10 seconds and could save you thousands.
For renters, the scope is smaller but still real. You likely cannot insulate the crawl space or replace the furnace filter yourself. But you can disconnect your hoses, seal drafts around your windows with removable weatherstripping film, and tell your landlord in writing about any drafts or exposed pipes you find. That written notice protects you and creates a paper trail.
The fall maintenance checklist approach works best when you treat winterization as a season-long habit rather than a single weekend project. Start in september. Finish before the first hard freeze. You will spend less money and sleep better in january.
— Sean
Workbenchguide makes winterization easier to manage
Keeping track of every winterization task across plumbing, HVAC, exterior, and safety is a lot to hold in your head. Workbenchguide gives you a structured way to manage it all. The platform offers step-by-step DIY guides, seasonal maintenance reminders, and project checklists built specifically for homeowners and renters. You can track what you have done, schedule what is coming up, and get contractor help when a task is beyond DIY. Start with the home maintenance checklist to build a full winterization plan and stay ahead of costly repairs all year long.
FAQ
What is home winterization?
Home winterization is the process of preparing a house for cold weather by insulating pipes, sealing drafts, servicing the heating system, and securing the exterior to prevent damage and energy loss.
When should I start winterizing my home?
Start in early fall, ideally september or october, before temperatures drop below freezing. Booking HVAC service early also gives you better scheduling availability.
How do I prevent pipes from freezing?
Insulate exposed pipes with foam sleeves or heat tape, disconnect outdoor hoses, shut off outdoor water valves, and keep your thermostat set no lower than 55°F when the home is unoccupied.
Does home winterization affect my insurance coverage?
Yes. Insurance claims for frozen pipe damage can be denied if you cannot document that reasonable winterization steps were completed. Photograph your work as you go.
Can renters winterize their homes?
Renters can seal window drafts with removable film, disconnect garden hoses, and notify landlords in writing about exposed pipes or drafts. Written notice creates a record and prompts landlords to act.