
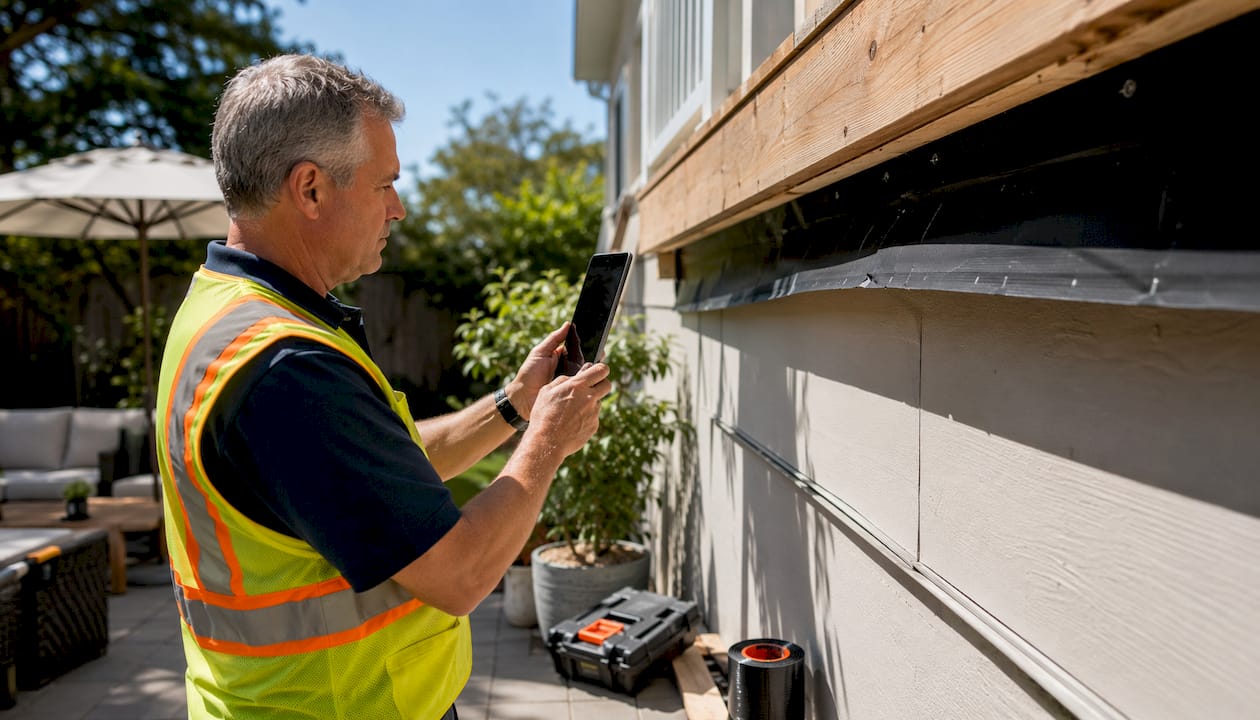
Deck flashing is a layered moisture barrier system installed where your deck ledger meets the house wall, and its job is to direct water away from that connection, not simply seal it. IRC R507.9.1.4 mandates continuous corrosion-resistant flashing at the ledger, integrated under the house’s water-resistive barrier (WRB) and siding. Skip it, and water quietly rots the rim joist behind the ledger. That rot can cause catastrophic deck failure within 5 to 10 years.
The main components of a properly flashed ledger connection:
- Z-flashing or L-flashing: Metal piece that slides behind siding and creates a drip edge over the ledger face
- Self-adhering membrane: Peel-and-stick butyl or rubberized asphalt applied to sheathing before the ledger goes up
- WRB integration: House wrap or building paper that laps over the flashing so water always sheds outward
- Joist flashing tape: Self-adhesive tape on joist tops that seals screw penetrations against water infiltration
Table of Contents
- How does deck flashing work to manage moisture?
- How should you adapt flashing to your climate?
- Common deck flashing installation mistakes to avoid
- How to inspect and maintain your deck flashing
- Common misconceptions about deck flashing
- Key Takeaways
How does deck flashing work to manage moisture?
Flashing is not a sealant. It is a drainage system using gravity and overlapping layers to shed water outward, the same way roof shingles work. Each layer sits above the one below it, so any water that gets behind the siding finds a path out rather than a path in.
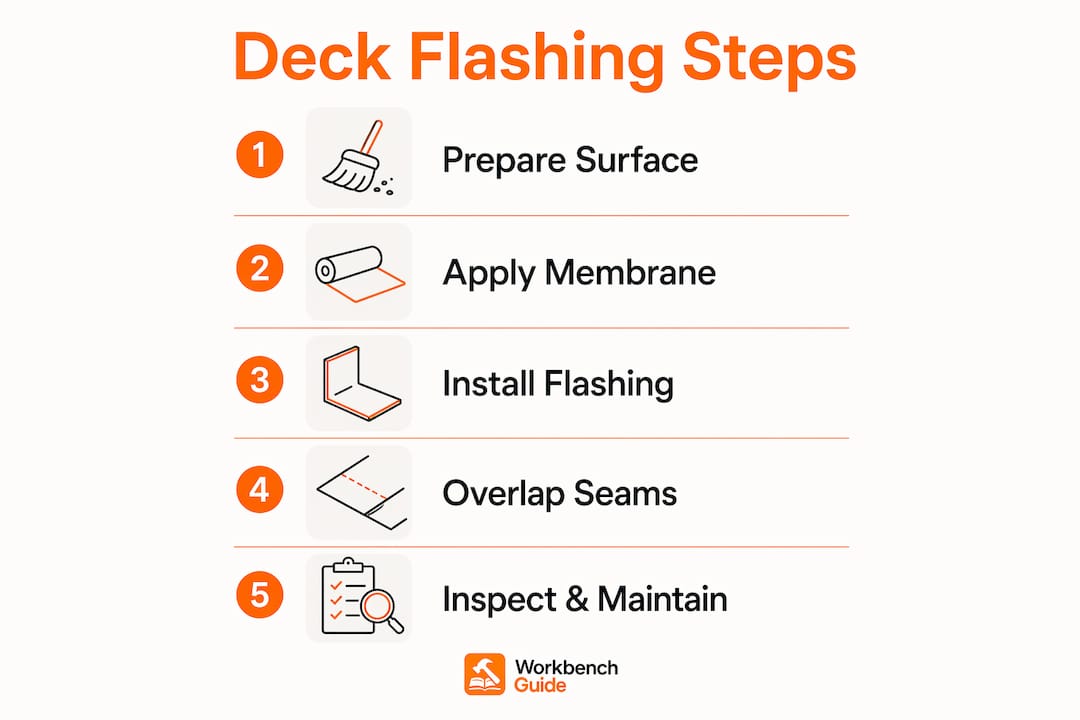
The sequence matters. A self-adhering membrane bonds to the wall sheathing first, behind where the ledger will sit. A second layer of flashing tape wraps over the top of the ledger once it is installed. A rigid metal or plastic cap flashing then sits on top of both tape layers, handling the bulk of the water load. The WRB above folds down over the cap flashing’s upper leg, completing the shingle-fashion stack.
Self-adhering membranes require careful handling of the backing release film. Pull it unevenly and you get air pockets that break the waterproofing seal.
Pro Tip: Look for the embedded release cord in peel-and-stick flashing tape. Pulling it in stages lets you position the membrane before committing the adhesive, which prevents the wrinkles and voids that kill waterproofing performance.
Key layers in a properly integrated flashing system:
- First layer bonds to sheathing behind the ledger position
- Second layer wraps over the ledger top and down the face
- Rigid cap flashing covers both tape layers and protects from UV
- WRB laps at least 2 inches over the cap flashing’s vertical leg
- Lower WRB tucks behind the ledger and its flashing below
How should you adapt flashing to your climate?
Climate-specific flashing strategies matter because a single-layer approach that works fine in the arid Southwest, where rainfall stays under 12 inches annually, will not hold up in the Northeast or Pacific Northwest, where annual rainfall can exceed 40 inches. More moisture means more pressure on every joint and overlap.
For material selection, G185 galvanized steel, copper, and membrane-type flashings are the preferred options. Copper is durable but must not contact galvanized fasteners directly, since the two metals react and accelerate corrosion. Aluminum is common but requires a bituminous membrane barrier when it touches pressure-treated lumber, because the preservative chemicals corrode aluminum over time.

An air gap between the ledger and the siding is a practical backup. Stainless steel spacer washers hold the ledger slightly off the sheathing, letting any moisture that gets past the flashing drain out and dry rather than sit against wood.
Climate-specific considerations at a glance:
- Dry climates: Single-layer membrane or Z-flashing with WRB integration is typically adequate
- High-rainfall regions: Redundant systems combining peel-and-stick tape plus rigid cap flashing perform best
- Humid climates: Air gaps and bituminous membranes add a drying buffer that prevents hidden decay
- Freeze-thaw zones: Use thicker membrane materials rated for temperature cycling to prevent cracking
Common deck flashing installation mistakes to avoid
Incorrect flashing integration causes more ledger rot than missing flashing entirely. The most common error is lapping the flashing over the WRB instead of under it, which funnels water directly behind the ledger rather than away from it. Inspectors catch this constantly on older decks.
Relying on caulk alone is the other big mistake. Caulk degrades, shrinks, and cracks within a few years. It is a supplement to flashing, not a substitute. Many caulking mistakes homeowners make at the ledger connection come from treating sealant as the primary defense when it should only fill minor gaps after the layered system is already in place.
Pro Tip: Apply self-adhering flashing tape to the top edge of every deck joist near the ledger. It seals the fastener shanks as screws penetrate the material, blocking water from soaking into end grain where chemical preservative treatment is thinnest.
Mistakes that undermine flashing effectiveness:
- Flashing lapped over the WRB instead of under it
- Using aluminum directly against pressure-treated lumber without a barrier
- Relying on caulk as the primary moisture defense
- Installing flashing with gaps or seams along the ledger length
- Skipping joist top tape at fastener penetration points
- Using metal thinner than the IRC minimum of 0.019 inches
How to inspect and maintain your deck flashing
Regular flashing inspection belongs on every homeowner’s seasonal checklist, ideally each spring after winter moisture stress and each fall before rain season. You are looking for lifted edges on membrane flashing, rust staining on metal flashing, soft spots in the ledger board, and any gap where siding has pulled away from the wall above the deck.
Flashing maintenance connects directly to siding inspection because the two systems overlap. If siding above the ledger is cracked or has lost its paint seal, water gets behind it and puts pressure on the flashing layers below.
A practical inspection checklist:
- Check metal flashing for rust, lifting, or bent edges
- Press the ledger board for soft spots that indicate rot
- Inspect the WRB flap above the cap flashing for tears or detachment
- Look for efflorescence or staining on the house wall near the ledger
- Confirm joist tape is still adhered and not peeling at edges
- Verify the air gap, if present, is clear of debris
Common misconceptions about deck flashing
The biggest misconception is that flashing seals the ledger connection. It does not. Flashing creates a drainage path so water that gets behind the siding exits safely rather than pooling against wood. Thinking of it as a seal leads homeowners to skip the layered installation and just run a bead of caulk, which fails within a few seasons.
A second misconception is that freestanding decks do not need any moisture protection. While the IRC does not require ledger flashing on a freestanding deck, the post bases and beam connections still need protection from standing water and ground moisture.
Third, many homeowners assume that newer pressure-treated lumber eliminates the need for flashing because the wood is already protected. Pressure treatment slows decay but does not stop it, especially at cut ends and fastener holes where the chemical treatment is thinnest. Flashing and house wrap continuity remain necessary regardless of lumber treatment.
Deck flashing is a layered drainage system, not a sealant, and proper integration with the WRB and siding is what makes it work long-term.
Key Takeaways
| Point | Details |
|---|---|
| Flashing is a drainage system | It directs water outward using gravity and overlapping layers, not caulk or sealants. |
| IRC R507.9 requires it | Continuous corrosion-resistant flashing at the ledger is a code mandate, not optional. |
| Wrong lapping causes rot | Flashing over the WRB instead of under it funnels water behind the ledger. |
| Climate drives material choice | High-rainfall regions need redundant systems; dry climates can use simpler single-layer flashing. |
| Inspect every season | Check for lifted edges, rust, soft ledger wood, and detached WRB flaps each spring and fall. |
Workbenchguide’s home maintenance checklist covers deck flashing inspection alongside every other seasonal task that keeps your home’s structure sound, so nothing slips through the cracks year after year.
Leave a Reply