
Choosing the wrong DIY project is surprisingly easy. You buy materials, watch a few tutorials, and end up with a half-finished shelf or a cracked driveway that looks worse than before. The real challenge isn’t finding project ideas — it’s knowing which ones fit your skill level, budget, and space. This article cuts through the noise by presenting researched, proven projects with step-by-step guidance, cost breakdowns, and honest advice on what actually delivers results. Whether you’re brand new to DIY or looking for your next worthwhile challenge, you’ll leave here with a clear plan and real examples you can start this weekend.
Table of Contents
- How to choose the right DIY project for your home
- DIY plans for modern planters and raised beds
- Hall tree and closet shelving: Practical indoor storage projects
- Easy home repairs: Driveway cracks, squeaky floors, and kitchen upgrades
- DIY project comparison: Which project suits your home best?
- The overlooked value of practical DIY projects
- Transform your home with proven DIY guides and checklists
- Frequently asked questions
Key Takeaways
| Point | Details |
|---|---|
| Start with quick wins | Low-skill projects like decluttering and simple repairs build confidence and save money. |
| Budget-friendly builds | Most storage and garden projects cost under $200 and use basic tools and affordable materials. |
| Repair for lasting impact | Fixing driveway cracks, squeaky floors, and polishing hardwoods improves home value and comfort. |
| Skill-building shortcuts | Pocket holes, self-tapping screws, and freestanding designs simplify construction and let you customize for your space. |
| Use expert guides | Step-by-step plans and checklists make DIY success easier and safer for all skill levels. |
How to choose the right DIY project for your home
Before you buy a single board or rent a single tool, you need a simple framework for picking the right project. Most homeowners skip this step, and that’s exactly why so many DIY projects stall halfway through.
Start by asking three honest questions:
- How much time do I actually have? A hall tree takes a full weekend. Fixing a squeaky floor takes one afternoon.
- What’s my skill level? Be realistic. Using a pocket hole jig (a device that drills angled holes for clean wood joins) for the first time is different from doing it on your fifth project.
- What’s my real budget? Include tools, not just materials. A $20 project can turn into a $120 project when you add the drill bits and clamps you don’t own yet.
The smartest place to start is with quick wins. Quick wins under one hour include decluttering counters, shining sinks, and tightening loose hinges. These tasks cost almost nothing and give immediate visual payoff. On bigger projects, DIY typically takes 3 to 10 times longer than a professional, but you’ll see 40 to 80% savings on labor-heavy tasks like painting or patching. That math adds up fast over a year of consistent project work.
Understanding basic mechanics and safety saves you expensive mistakes. Terms like backer rod (a foam cylinder pressed into wide cracks before applying filler), self-tapping screws (fasteners that drill their own threads into metal or wood), and pocket holes (angled pilot holes that create hidden, strong joints) will appear throughout this article. Knowing what these mean before you reach the hardware store saves real time.
Pro Tip: If you’re new to home projects, check out first-time homeowner tips and use your home maintenance checklist to prioritize tasks before starting anything new.
With criteria in mind, let’s dive into specific project examples you can tackle yourself.
DIY plans for modern planters and raised beds
Building your own raised bed is one of the best entry points into DIY woodworking. You get a functional product, visible results, and a strong foundation of skills you’ll use on every future project.
The most accessible materials are cedar fence pickets and 2×4 lumber. Cedar is naturally rot-resistant, which makes it perfect for outdoor use. A typical build uses cedar pickets for the outer walls and 2x4s for the inner frame that holds everything together under soil pressure. Mitered corners (angled cuts that meet cleanly at 45 degrees) give the finished planter a polished, modern look. Stacking boards in alternating layers adds structural strength without requiring any advanced joinery.
Here’s a simple step-by-step process based on free DIY plans for sizes up to 72×36 inches and 18 to 23 inches tall:
- Cut your lumber to length. Use the cut list from your plans. A 72×36 inch bed needs long side boards, short end boards, and corner posts.
- Build the inner frame. Assemble your 2x4s into a rectangular frame using deck screws. This frame gives the walls something solid to attach to.
- Attach the outer pickets. Secure cedar pickets to the inner frame with 2.5 inch deck screws, keeping spacing even. Mitered corners go on last.
- Square the frame. Measure diagonally from corner to corner. Both measurements should match. Adjust before the screws set.
- Treat or finish the wood. A coat of outdoor wood sealant extends the life of your planter significantly, especially in wet climates.
- Fill and plant. A good soil mix for raised beds is 60% topsoil, 30% compost, and 10% perlite for drainage.
Stat callout: You can build a 72×36 inch raised bed for less than one-third the cost of a comparable store-bought version.
Pro Tip: Use pressure-treated lumber for ground-contact parts or any sections that will sit directly on wet soil. For growing edibles, choose lumber rated for contact with food-growing environments. Explore more DIY woodworking project alternatives and find detailed build guides on the DIY blog.
Planters are just one way DIY projects enhance your landscape; let’s look at practical indoor solutions.
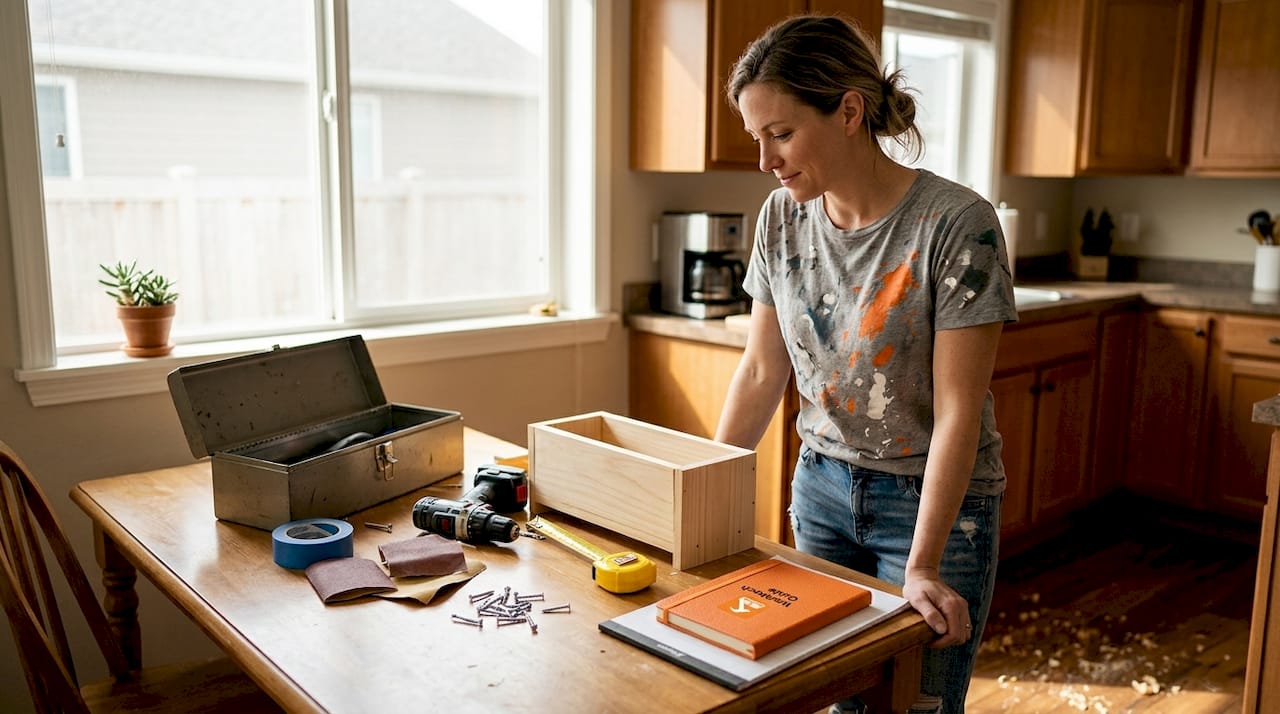
Hall tree and closet shelving: Practical indoor storage projects
Indoor storage projects pay off every single day. A well-built hall tree turns a chaotic entryway into a functional landing zone. Custom closet shelving eliminates wasted vertical space that stock systems never quite solve.
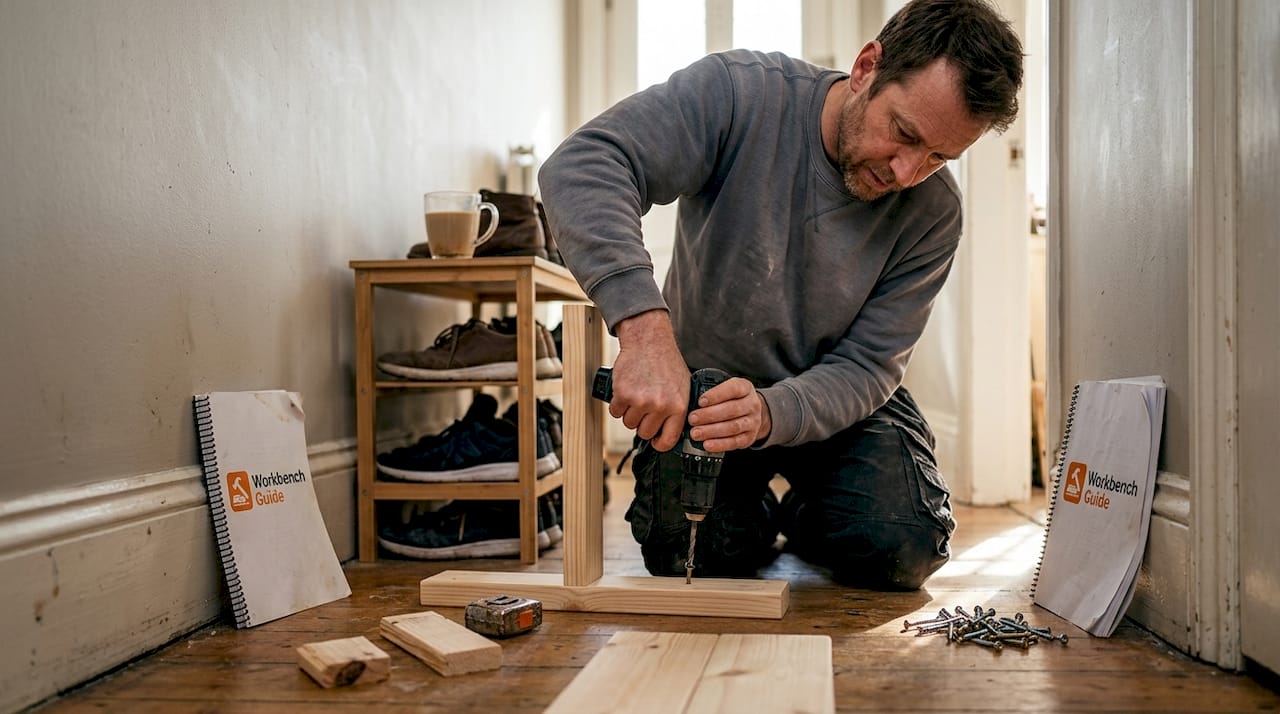
A simple lumber hall tree uses standard 2x lumber and costs around $40 in materials. The build relies on pocket hole joinery to connect legs and aprons (the horizontal support pieces) cleanly and without visible hardware. Self-tapping screws secure the seat and top panel. The freestanding design means no wall anchoring, so you can reposition it as your needs change.
Freestanding closet shelving uses 2×4 legs with 1×4 sides and shelf boards. The key detail is screwing shelves to legs every 3 feet to prevent sag under heavy loads. A running cost of $15 to $20 per foot makes this dramatically cheaper than store systems and far more customizable. You choose the height, depth, and number of shelves.
Key benefits of both builds:
- Fully customizable to fit your exact space and storage needs
- No wall attachment required, which simplifies installation and avoids drywall patching later
- Beginner-friendly joinery that requires only a drill and pocket hole jig
- Reusable design you can disassemble and move to a new home
“Freestanding designs simplify installation and let you rearrange with ease.”
| Feature | Hall tree | Closet shelving |
|---|---|---|
| Approximate cost | ~$40 | $15 to $20 per foot |
| Skill level | Beginner | Beginner |
| Space needed | Small entryway | Closet or open room |
| Versatility | Entryway, mudroom | Any room, fully scalable |
| Wall attachment | Not required | Not required |
| Primary tools | Drill, pocket hole jig | Drill, saw, level |
Storage isn’t the only area DIY can help; home repairs and maintenance are equally rewarding and practical for homeowners. Visit our guide on essential household repairs and browse household repair checklists to stay organized across all your upcoming projects.
Easy home repairs: Driveway cracks, squeaky floors, and kitchen upgrades
Maintenance-driven DIY projects are where homeowners find the biggest hidden savings. A cracked driveway ignored for two winters can turn into a resurfacing job that costs thousands. A squeaky floor left untreated loosens over time and damages subfloor edges. The effort to fix these early is small. The cost to fix them late is not.
Driveway crack repair follows five clear steps based on proven repair methods:
- Clean out all debris and loose material from the crack using a wire brush and compressed air.
- For cracks deeper than half an inch, press in a backer rod to reduce the volume you need to fill and improve adhesion.
- Apply self-leveling filler for horizontal cracks or non-sag filler for vertical or angled surfaces.
- Sprinkle dry sand lightly over the wet filler to improve traction and blend the appearance.
- Allow full cure time (usually 24 to 48 hours) before driving over the repaired area.
Squeaky floor repair is one of those fixes that feels almost magical. You locate the joist (the structural beam under the floor) using a finder bit, then drive special snapping screws through the flooring into the joist using a repair kit jig. The screw head snaps off below the surface, leaving a tiny hole. Fill it with a matching color crayon or wood filler for a nearly invisible repair.
Kitchen upgrades don’t need to be expensive. Annual floor polishing prevents hardwood from going dull and protects the finish between full refinishing jobs. Installing open kitchen shelves on unused wall or corner space adds both function and a clean visual upgrade for under $50 in most cases.
Pro Tip: Always predrill holes before driving screws near wood edges to prevent splitting, and check level every few steps on any shelf or storage build. A crooked shelf looks amateur and stresses the fasteners unevenly.
Overlooked repairs and upgrades with big impact:
- Tighten all door hinges and cabinet hardware throughout the house (takes 20 minutes, costs nothing)
- Recaulk around tubs, sinks, and windows to prevent moisture damage
- Replace worn weatherstripping on exterior doors to cut heating and cooling costs
- Touch up baseboards and trim with leftover paint for a fresh, polished look
You can significantly cut long-term expenses by preventing home repair costs before they compound into major problems.
| Project | Key tools needed | Estimated cost | Time required |
|---|---|---|---|
| Driveway crack repair | Wire brush, caulk gun | $20 to $50 | 1 to 2 hours |
| Squeaky floor fix | Repair jig, drill | $20 to $30 | 1 to 3 hours |
| Floor polishing | Applicator pad, polish | $30 to $50 | 2 to 4 hours |
| Open kitchen shelves | Drill, level, stud finder | $30 to $80 | 2 to 4 hours |
Now that you’ve seen repairs and storage upgrades, here’s a summarizing comparison to help you select the best project based on your specific needs.
DIY project comparison: Which project suits your home best?
Choosing between projects gets easier when you see them side by side. Beginner woodworking projects like planters, hall trees, and shelving rely on the same core skills: pocket holes, self-tapping screws, and cedar or pressure-treated lumber for outdoor durability. Once you learn these fundamentals on one project, the next one takes half the time.
| Project | Cost | Skill level | Impact | Best for |
|---|---|---|---|---|
| Raised bed or planter | $40 to $80 | Beginner | High | Outdoor space, curb appeal |
| Hall tree | ~$40 | Beginner | High | Entryway, mudroom |
| Closet shelving | $15 to $20/ft | Beginner | High | Any room, storage |
| Driveway crack repair | $20 to $50 | Easy | Medium | Driveways, walkways |
| Squeaky floor fix | $20 to $30 | Easy | Medium | Any room with hardwood |
| Kitchen shelf install | $30 to $80 | Beginner | Medium | Kitchens, small spaces |
Pro tips summary for each project:
- Planters and raised beds: Use cedar or pressure-treated lumber, predrill all screws, and square the frame before it dries.
- Hall tree: A pocket hole jig makes the difference between a wobbly build and a solid one.
- Closet shelving: Attach shelves to legs every 3 feet. More supports mean more weight capacity.
- Driveway cracks: Backer rod is the detail most DIYers skip, and it’s the one that makes the repair last.
- Squeaky floors: Snap-off screws are the cleanest fix available without pulling up the floor.
Explore how DIY guides work on Workbench Guide to see how step-by-step instructions and maintenance tracking help you move from project to project with confidence.
Having compared major options, it’s time to hear the expert perspective on what often gets overlooked in DIY project selection.
The overlooked value of practical DIY projects
Here’s a contrarian take that most DIY content won’t tell you: the most photogenic projects are rarely the most valuable ones.
Social media rewards showpiece builds, elaborate pergolas, custom kitchen islands, and statement furniture pieces that look stunning in a photo. But in real life, those projects deliver diminishing returns. They take months, cost far more than expected, and often sit unfinished while the practical problems in your home continue to compound.
The most valuable projects are almost always the boring-looking ones. Tightening a hinge before a door frame splits. Sealing a driveway crack before freeze-thaw cycles turn it into a trench. Building a simple hall tree that stops your entryway from being chaos every morning.
Quick wins under one hour deliver something showpiece builds almost never do: immediate, lasting, daily improvement. And the labor savings are real. At 40 to 80% savings over professional costs on common tasks, a consistent habit of small DIY fixes can save thousands per year.
“A simple repair or storage build can save you thousands and boost your skills overnight.”
There’s also a skill compounding effect that most homeowners miss. Each small project teaches you something. Your first time using a drill teaches you about torque settings. Your first shelf build teaches you about level and stud placement. By the time you’re ready for a bigger project, you’re not starting from zero. You’re building on a real foundation of experience.
Pro Tip: Focus on skill-building projects first, not aesthetic ones. A project that teaches you pocket hole joinery, how to square a frame, or how to use a level pays dividends on every project that follows. Your emergency home repairs guide will be a lot less stressful when you’ve already practiced the core techniques on low-stakes builds.
Transform your home with proven DIY guides and checklists
Ready to put this into action? Workbench Guide makes it easy to move from inspiration to a completed project with a clear system behind you. Use the home maintenance checklist to identify which repairs and upgrades deserve your attention first, then follow step-by-step guides to tackle each one safely and within budget. Build a habit of preventative home maintenance so small issues never become expensive emergencies. Browse the full library of DIY guides and checklists to find the exact project resources you need, from first-time builds to experienced repairs. Your home deserves consistent care, and the right tools and guidance make all the difference.
Frequently asked questions
Which DIY projects are best for beginners?
Quick wins like decluttering, polishing floors, tightening hinges, and building simple planters or freestanding shelves are ideal starting points because they require minimal tools and produce visible, satisfying results quickly.
How much money can I save doing DIY home repairs?
DIY projects typically save 40 to 80 percent over professional labor costs, especially on painting, patching, and minor structural repairs where labor is the biggest line item.
What tools are needed for basic woodworking DIY projects?
A drill, circular saw, screwdrivers, and pocket hole jig with screws cover the vast majority of beginner builds including planters, hall trees, and closet shelving systems.
Are permits needed for DIY projects?
Most minor repairs, storage builds, and cosmetic upgrades don’t require permits; only structural changes, electrical work, or plumbing modifications typically require a permit from your local authority.
What are overlooked maintenance projects that make a big impact?
Polishing hardwood floors annually, tightening cabinet hinges, recaulking wet areas, and repairing driveway cracks each produce lasting home improvements for well under $150 and take only a few hours.
Recommended
- Blog – WorkbenchGuide
- Preventing Costly Home Repairs: The Small Checks That Save Thousands – WorkbenchGuide
- Essential Household Repairs: Step-by-Step Guides for Homeowners
- Preventative maintenance: Save money and protect your home
- How to Increase Home Value with Exterior Upgrades | Sabatalo Contracting
- HVAC diagnostics guide: save 30% energy at home – Akita AC